When do I start my irrigation system back up?
Turn on your irrigation system after the last chance of freezing temperatures has passed (typically late March in the greater Albuquerque area, but possibly as late as mid-April). This will prevent damage to your irrigation system.
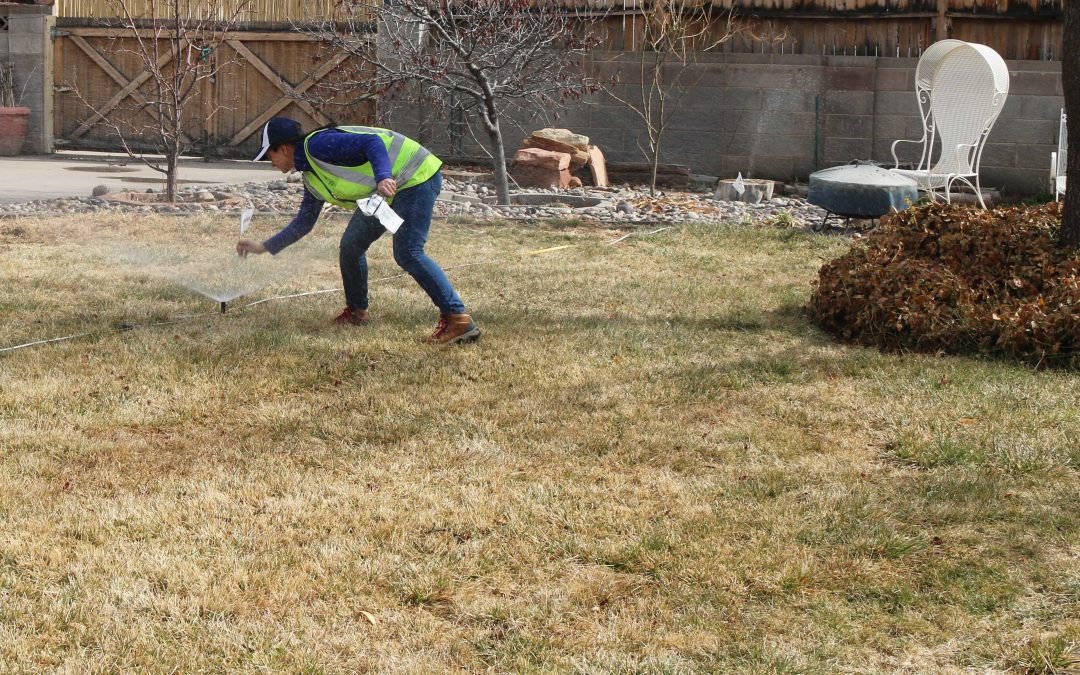
1. Turn on your irrigation system. Then observe and listen.
If you turned off the main valve for your irrigation system over the winter to prevent freezing, turn it back on slowly, only part way. Then wait a few minutes until the system is fully pressurized. If it is not leaking, turn it fully on.
Caution: turning it too fast can create a water-hammer which could break pipes.
- Check the backflow preventer for leaks by inspecting it and checking for wetness.
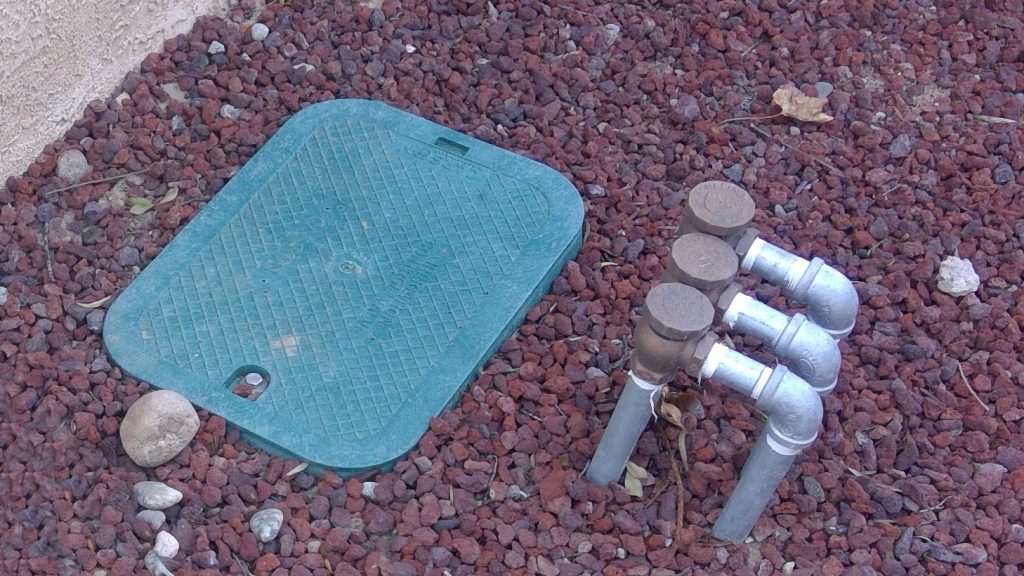
- Open the valve box (it usually has a green cover) and make sure there is no water in the box itself. Look for leaks in the valves, connections, filters and pressure reducers.
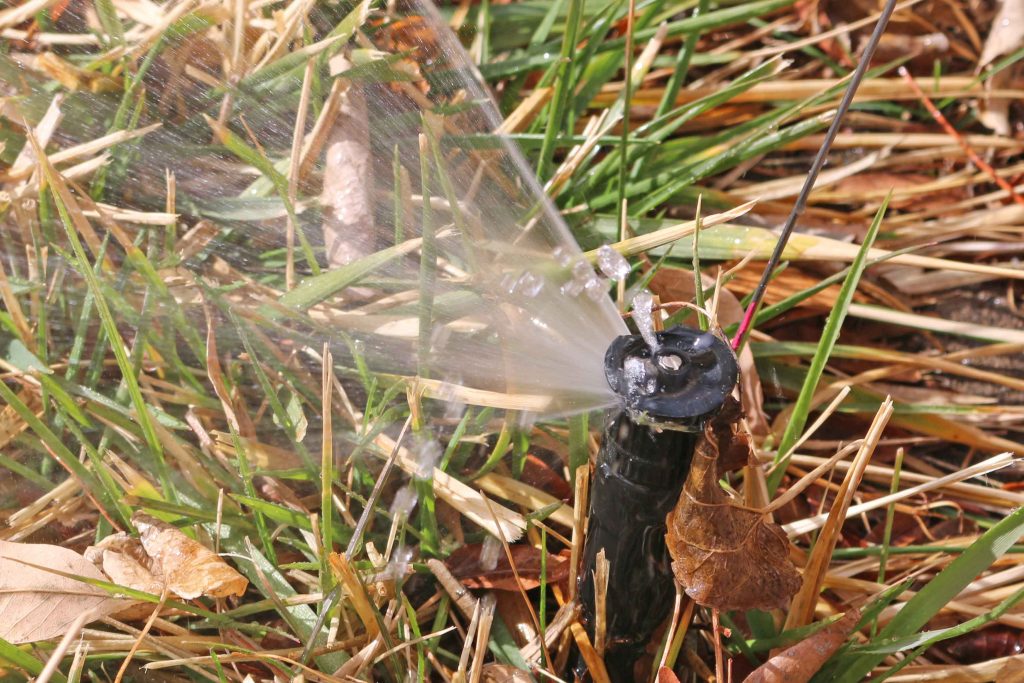
- Run each zone for several minutes (long enough to see every part of it up close). Walk along each irrigation system pipe and inspect all sprinkler, bubbler and/or drip zones.
- For sprinklers:
- Look for signs of a leak, such as at the risers to the heads, the heads themselves, the emitter lines, or the pipes.
- Look for heads not spraying correctly, such as spraying in the wrong direction, spraying too low, or other signs of breakage or misalignment. It is very common for them to go out of alignment when the system was turned off for the winter.
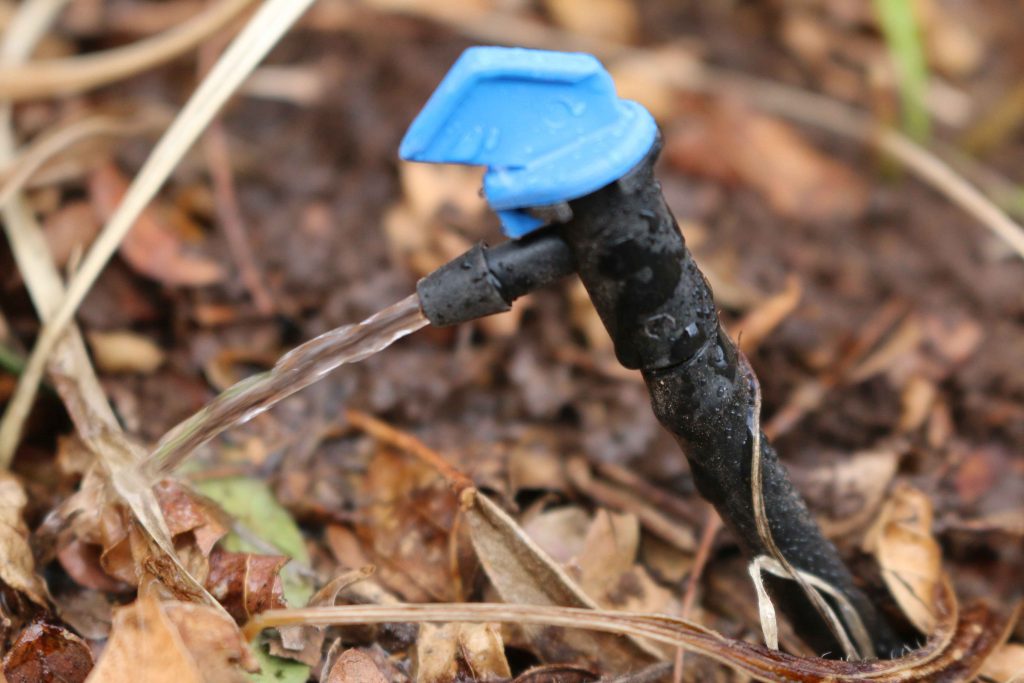
- For drip and bubbler systems:
- Look for missing emitters and/or bubblers. Emitters or bubblers may be hard to see due to plant coverage so listen carefully. Hearing a whooshing sound means an emitter or emitter line has blown off.
2. Re-check the valve boxes again for water leaks now that the system has been on for testing.
3. Perform any necessary repairs and re-check for leaks after repairs are complete.
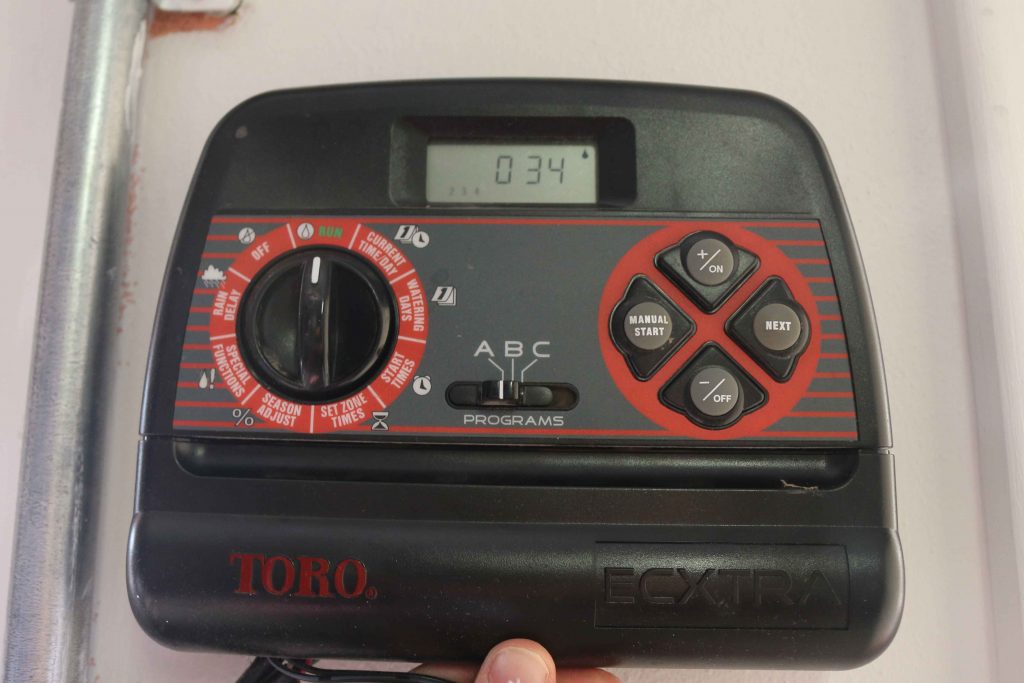
4. Set the timer.
The key to irrigation is to supply enough water to replace evaporative losses from the ground root areas and from the leaves or stems. Too much or too little water can harm your plants. It is important that you set the timer correctly.
- Follow the water recommendations guide to help you set your timer. Mixed zones like lawns and desert friendly landscapes are hard to water together. They usually need different run times. Large trees do not do as well being watered as if they were a lawn. Lawns have shallow roots (1” to 6” is typical) so usually need less water per application than trees with their deep roots (up to 24”). They require longer, deeper watering. Sign up for a FREE Efficient Irrigation Consultation at 505-289-3003 for help with your timer settings.
- Do not confuse start times with zone numbers. Remember that every start time (4 am, 11 am, 5 pm….) on a program (A, B, C…) will run all your zones in series for the program you are running.
- Attach a written copy of your schedule showing programs, zone number and corresponding location to the inside of your controller box.
- Sprinkler heads or emitters vary greatly as to how much water comes out per minute. A slow watering head may need 2 to 4 times the watering time of traditional faster water delivery heads. For example, emitters can be as low as ½ gallon per hour but could be as high as 14 gallons per hour. The same watering time will not work for all zones or all emitter types.
- Bubblers typically deliver 1 or 2 gallons per minute, compared to emitters that can be 1 or 2 gallons per hour. Many people over water when using bubblers for small plants. If you see pooling, run-off or recognize the flow is too fast, then replace the bubbler with a smaller one.
- After watering, test to see if you provided enough, too little, or about right amount of water to the plants. Use a soil probe or a long screwdriver to test soil moisture. Push the screwdriver into the soil about an hour after you’ve watered your plants. It will go easily into moist soil. Mark and measure how far it went into the ground. That will tell you how deep you have watered that plant. Every yard is different, but once you figure out how long it takes your watering system to water to certain depths, you’ll be set.
- If your controller is getting old, you would be wise to install an up to date one. There are lots of options. Some are “smart” controllers and can do many irrigation tasks well and can be operated from your phone or home computer, allowing you anywhere, anytime control. Check out the Irrigation Efficiency Rebates here to help you with the cost.
5. Observe your irrigation system the first month of the season.
We suggest the run times for the first few weeks should be during times of day where you can observe the operation of the system. When you are sure everything is running well, then you can have the system run at times you would not normally be observing. However, we suggest manually running the system zones for a few minutes every two months just to stay on top of any problems that may occur.
Many homeowners want to put a lot of water on at the beginning of the year to make sure the dry roots from the winter get thoroughly soaked. This makes some sense for the first watering of the year. Once the roots are soaked, you can go to shorter run times and number of runs per week to adequately irrigate your plants.
If you are uncertain about the any of the start-up tips, or need help, contact us for FREE Irrigation Efficiency Consultations at 505-289-3003. Or consider hiring a landscape contractor to help you get your system up and running correctly.

Author: Richard Chapman of Smart Use in Albuquerque, NM.