by 505 Outside | Oct 5, 2026 | Uncategorized
Autumn brings many changes to our landscapes and gardens. Certainly, we are enjoying the cooler temperatures and changing light. It is more inviting to spend time outside, and we may find ourselves more inclined to do some of that yardwork that was unbearable in the heat of the summer.
But what is necessary work in the fall garden? Some of us have a tidy streak and find ourselves compelled to rake up the leaves as soon as they begin to fall or cut back the flowers and grasses that mere weeks ago swayed in the breeze and lured in the pollinators. Hold your horses. Your sense of neatness, or perhaps the need to control or tame the wildness going dormant before you, may not be what is best for the garden.
You may have heard the phrase “Leave the leaves.” Increasingly, we are understanding the benefits of letting the fallen autumn leaves lie and, along with that, holding back on some of the pruning, deadheading and raking that may have been your fall garden ritual. There are good reasons to let your landscape and garden remain a bit messy, and science can help you understand why.
Leaves store nutrients for the plant they are attached to throughout the growing season, releasing them into the vascular system as the plant requires. When autumn arrives and leaves fall to the ground, these stored nutrients are slowly released back into the soil, even as the decaying foliage enriches the ground beneath it, adding to the organic profile of the earth and creating systems for all the beneficial microorganisms to flourish. Healthy bacteria, fungi and mycorrhizae thrive in the soil beneath a mulch of decaying organic matter, and the blanketed soil also holds moisture, insulates the soil and reduces the need for supplemental irrigation.
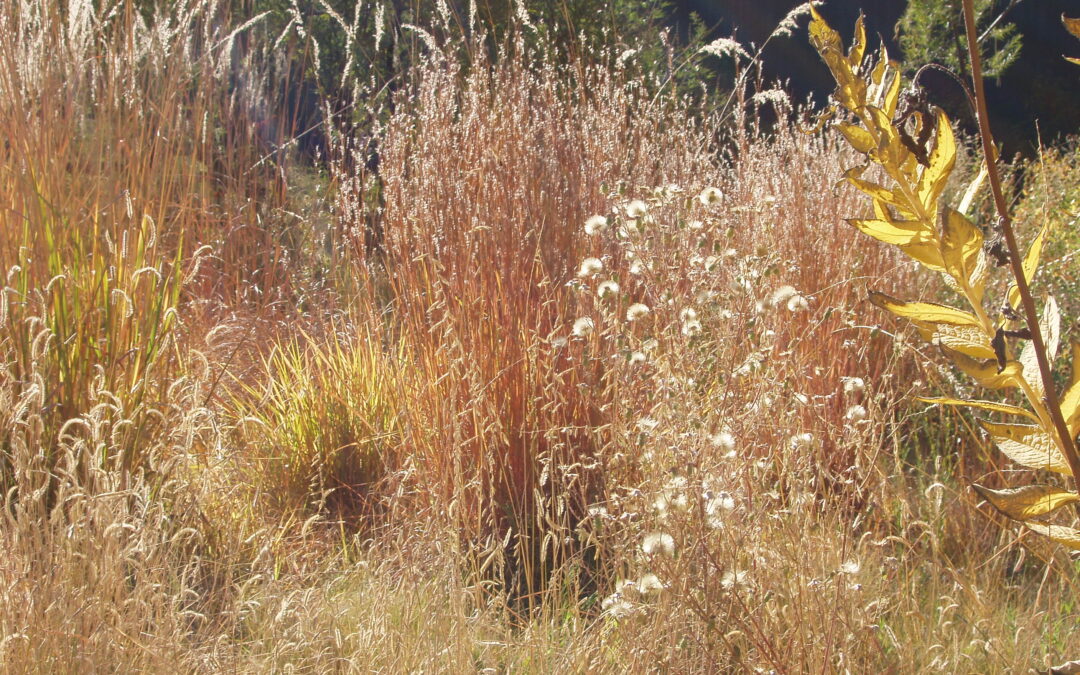
There are also many wildlife benefits to leaving a bit of messiness in the garden over the winter, especially for creatures that may be searching for natural food or nice hiding places to overwinter in, protected from the elements. In addition, there are ornamental benefits. For example, a native grass meadow can take on subtle color shifts, from greys to golds to russet tones, especially if graced with winter precipitation.
If we are fortunate enough to have precipitation in any form, the organic material left in the garden can act as a sort of sponge, soaking up moisture and slowly releasing it into the soil.
For a maintained appearance, rake the leaves and pine needles from patios and walkways if you wish, but let them accumulate and remain as free mulch in your flower beds, under trees and shrubs, on top of organic mulch such as bark or shredded wood, and on the soil surface between grasses in your meadows. You can add any excess to your compost pile if you have it. The exception would be if you had an issue with a fungus, such as powdery mildew. You should dispose of those leaves. If you have gravel or crusher fine mulch, you may want to rake the debris from those surfaces and recycle in appropriate areas of the garden or landscape.
If you have native and ornamental grasses, wait until spring to cut them back. Aesthetically, our plants go through a fall transition fading from red into russet browns and greys. This change signals the changing of the seasons, helping us align with Mother Nature. Erect stems and plump leaves will fade and crumble, setting up a beautiful contrast to the bright green growth of early spring and the tidy appearance after your spring clean-up and cut-back. The faded growth adds visual winter interest to the landscape, seeds for birds and protection for overwintering insects (even butterflies) as well as helping to hold soil moisture. The same goes for perennial flowers, like coneflower, penstemon, gayfeather and bee balm. These plants provide natural winter sustenance for birds and other wildlife and protect the sensitive crown of the plant from potential damage from freezing winter temperatures.
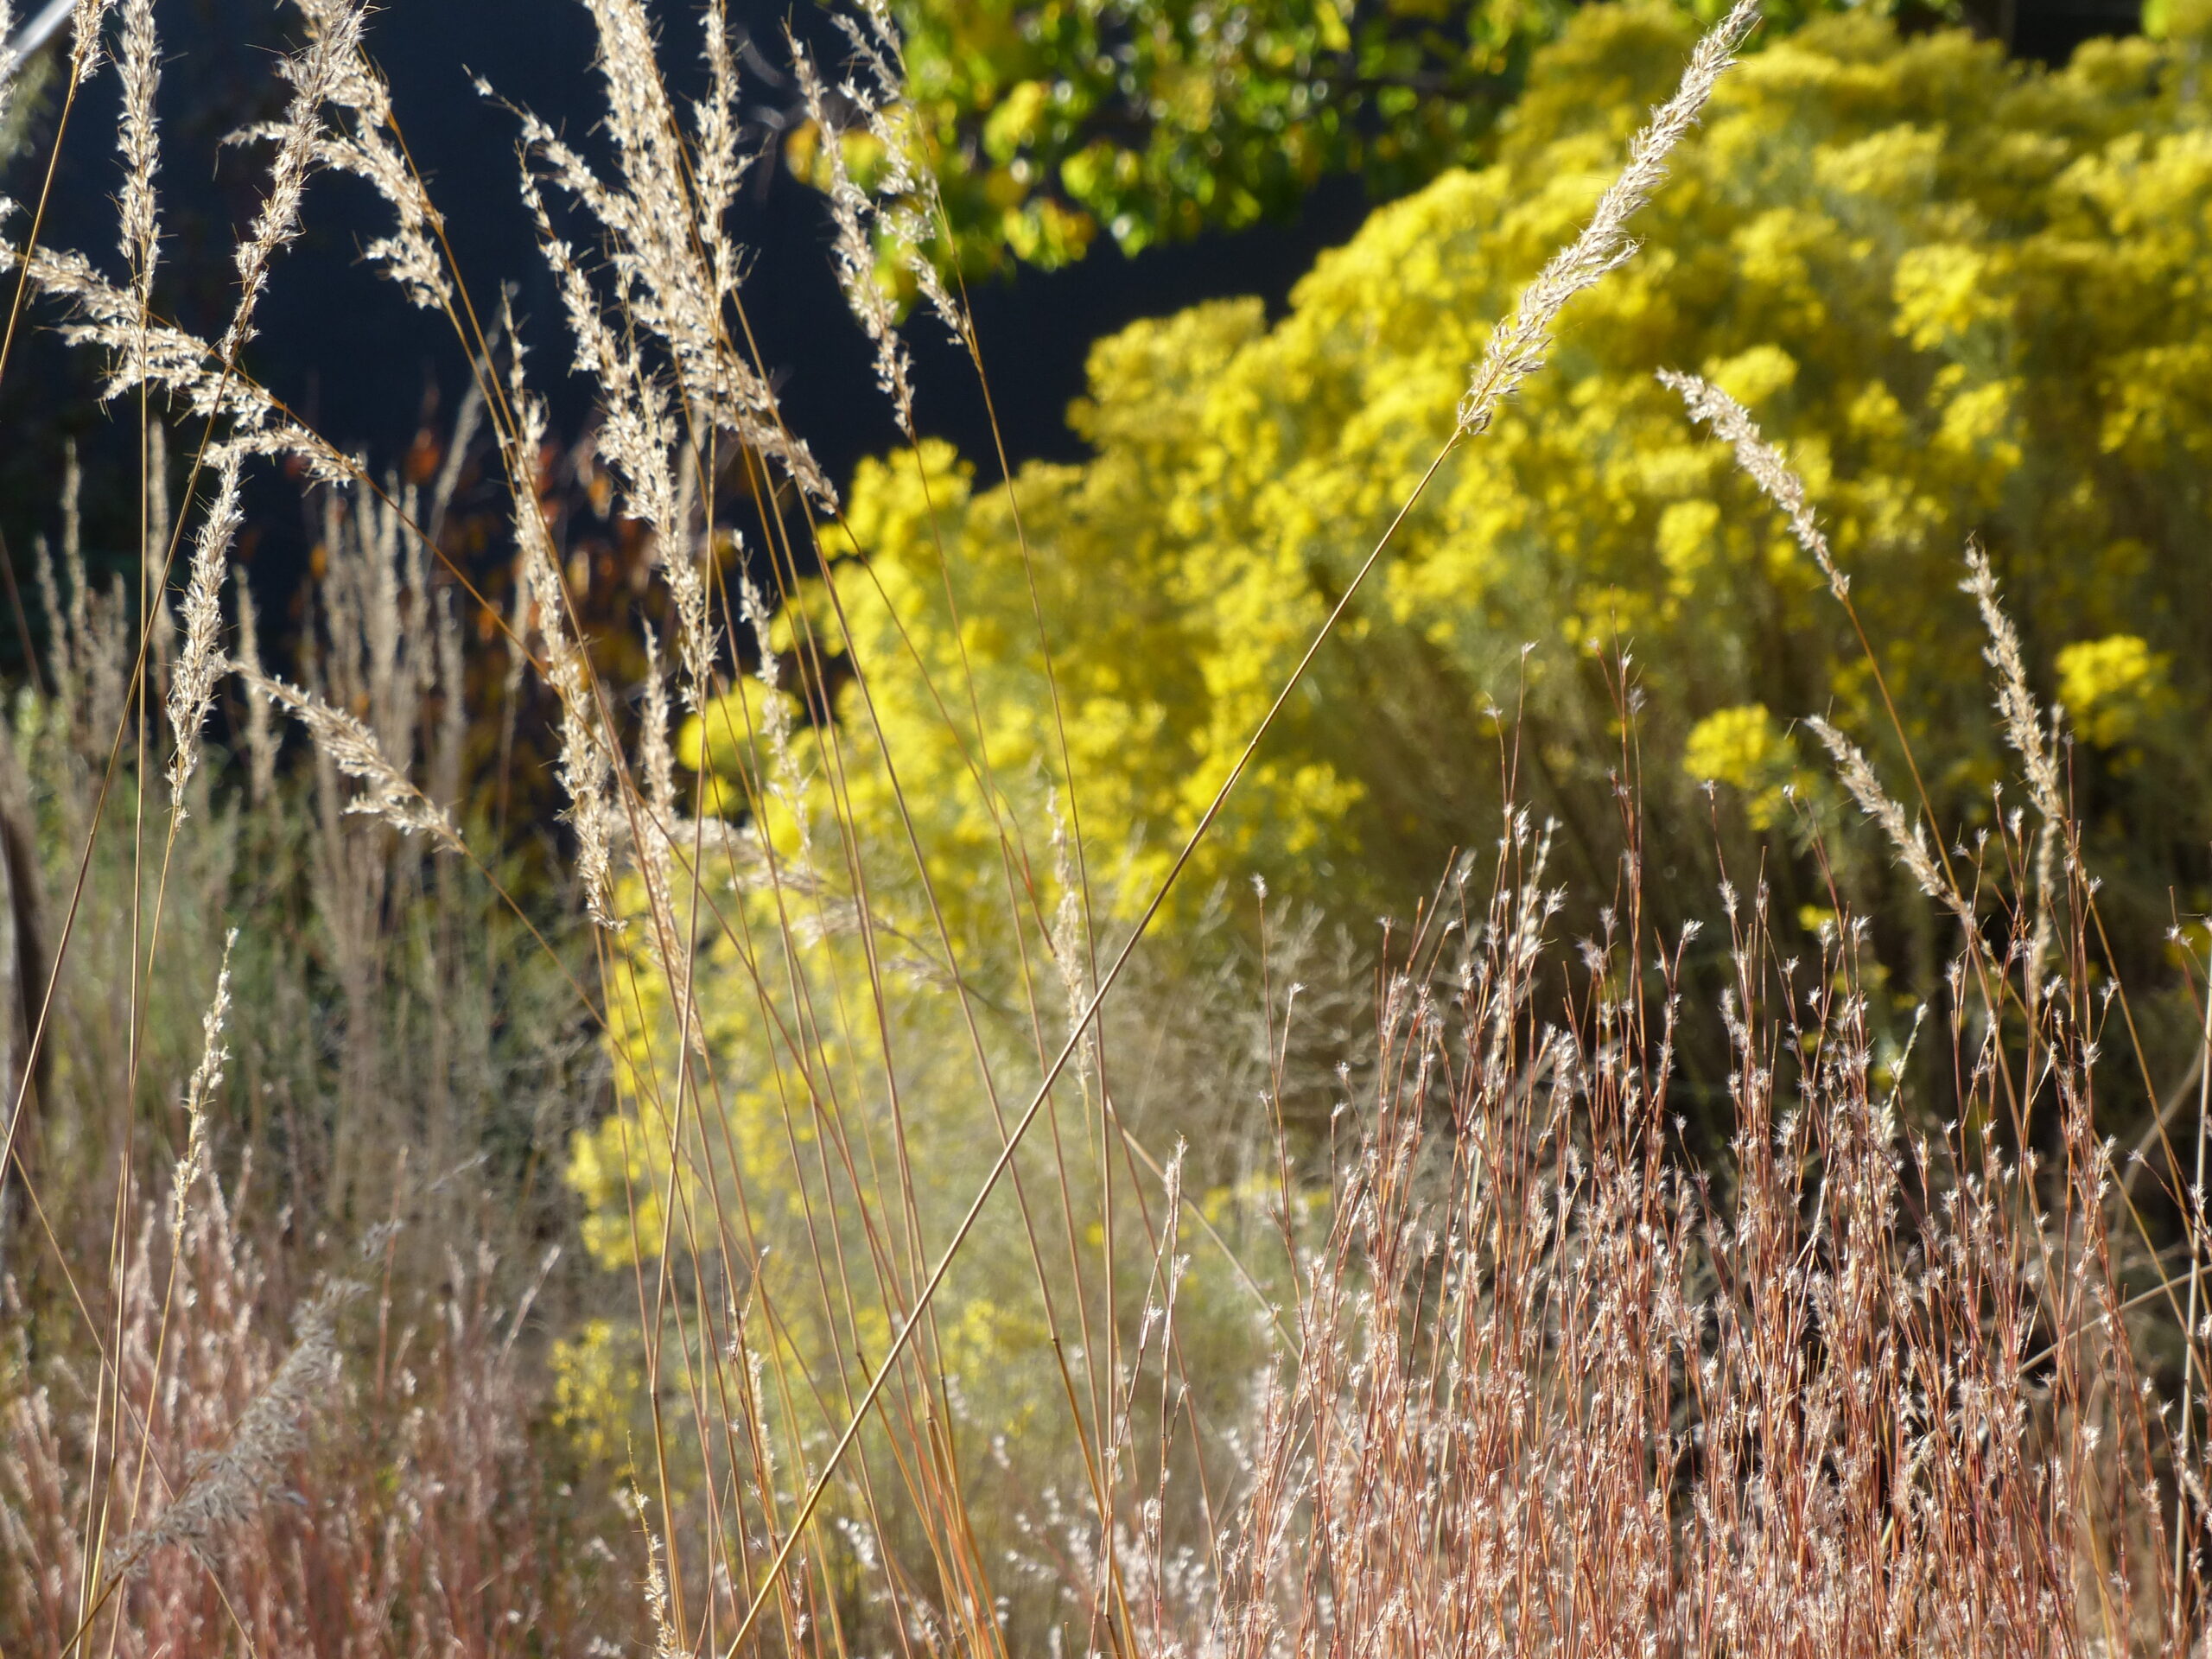
Ornamental Grasses in Fall, Photo by Wes Brittenham
As for fall pruning of shrubs, there are several reasons to hold off on using your hedge trimmers and hand pruners there, too. One reason is that the spent flowers and seed heads on some shrubs such as blue mist spirea or chamisa also provide visual winter interest and food for birds. Some common landscape plants — like autumn sage, Texas sage and lavender as well as herbs like garden sage, rosemary, thyme and oregano — benefit from being left alone in the fall. The older outside growth acts as insulation to the more tender interior of the plant, protecting it from freezing temperatures. If you cut these back in the fall, you may find that winter damage has killed back much of the plant come spring.
There is something peaceful and restorative when looking at a winter landscape. You feel the earth resting after a season of heat and growth, the stored energy in slumber and silence, waiting for the shift in seasons to spring forth in renewal.
Rest with your garden. Let the quiet, meditative nature of the dormant period reset your own seasonal clock. Enjoy the cooler autumn days and the changing of the color, texture and mood of the landscape. Feel the gentle ebb of the need to do something and allow yourself to just sit with the slow season. You deserve a rest, too.
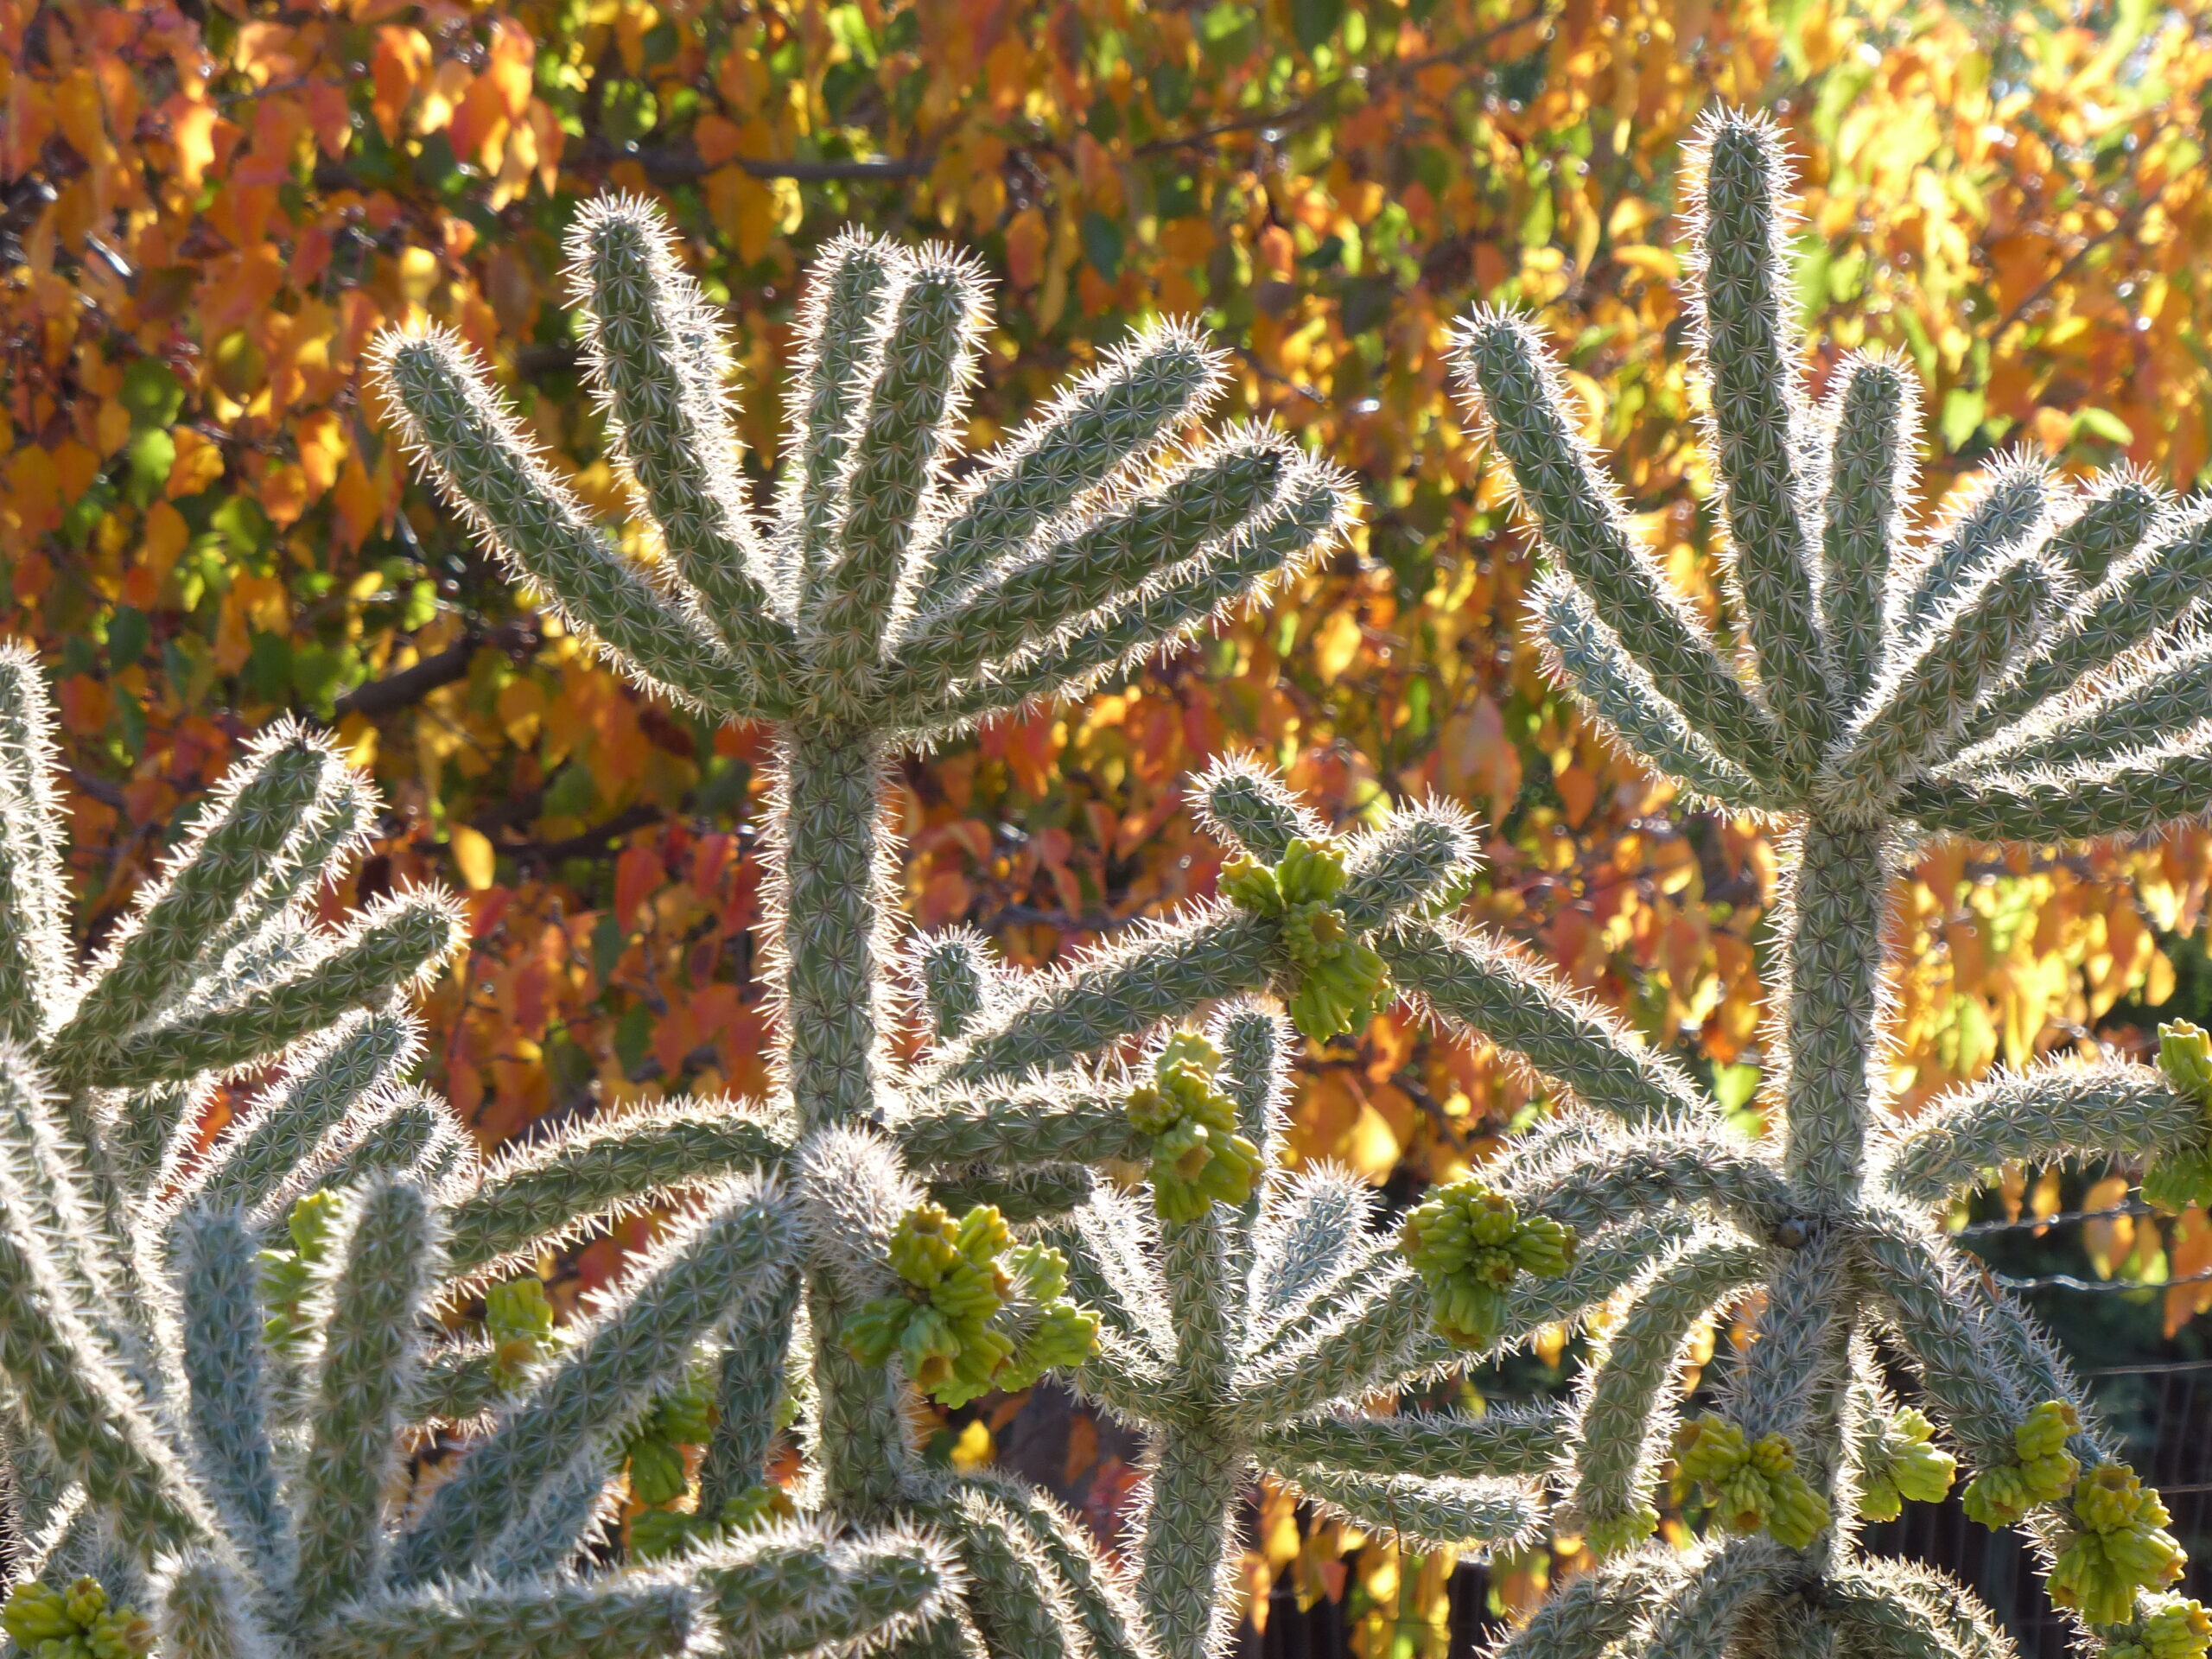
Photo by Wes Brittenham
Learn More Here:
Ornamental Grasses and How and When to Use Them
Plants for Fall Color
Great Natural Areas to Visit this Fall for Respite and Inspiration

Author: Wes Brittenham, artist, gardener and writer. Have a question about the article or anything else? [email protected]
by 505 Outside | Oct 5, 2026 | Grasses, Ornamental Grasses
Type: Evergreen
Exposure: Sun/Shade
Water Use: Medium
Mature Size: 18’ x 18’
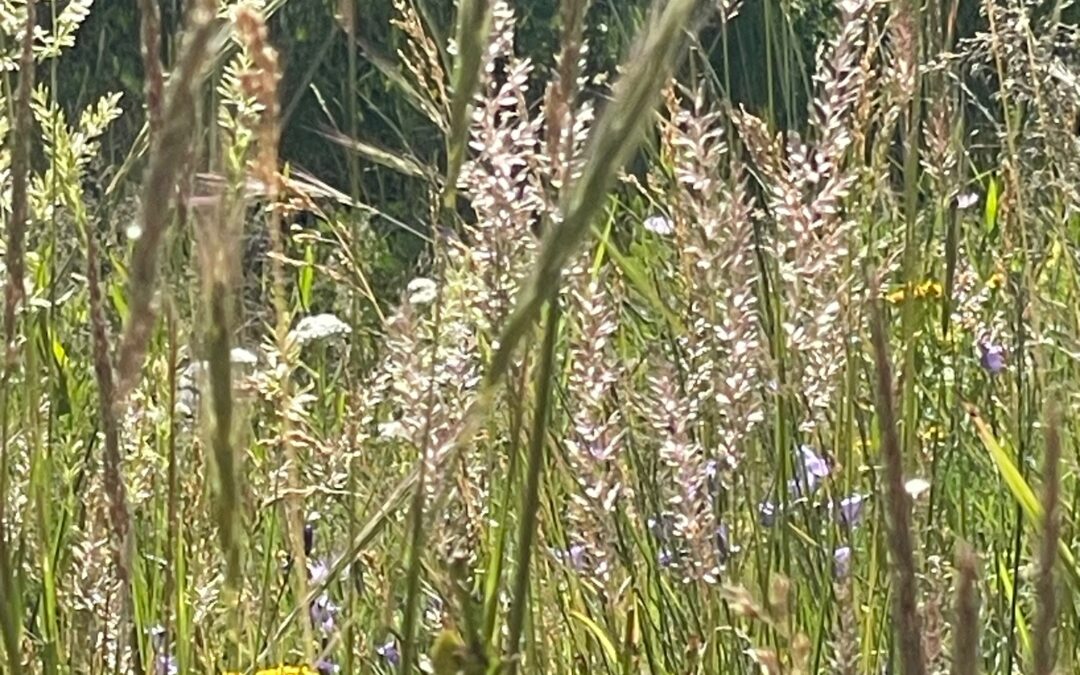
Junegrass (also known as prairie Junegrass) is a cool season native perennial bunchgrass that is drought tolerant and grows well in dry soils. It forms clumps of fine textured blue green leaves with spikes of feathery silver seed heads appearing in late spring to early summer and drying to a tan color as the seed matures. Junegrass can self-seed but not aggressively. The clumps are 10-24 inches tall and can grow to a foot across the spreading tops.
Junegrass is considered a low to moderate water use plant, adaptable to many soil types. It prefers well-drained sandy, rocky or dry soil, and does not do well with heavy clay or wet soil. It does not thrive in hot, humid conditions, and can go dormant in the heat of the summer. It is hardy in USDA zones 3-9.
A lovely specimen grass, Junegrass can be grown in containers. It also looks great in mass plantings or in meadows of mixed native grasses like blue grama, side oats grama and Indian rice grass, along with wildflowers such as asters, coneflowers and penstemons.
Like most grasses, maintenance consists of simply cutting the grass back to a few inches close to the base in early spring before new growth begins. Any seed left on the standing plant over the winter can provide food for birds.
This grass has a fine delicate appearance, and the fresh forming seed spikes are striking when the sun catches the small, feathery heads. You may come upon this grass while hiking on a mountain trail in sunny openings between the trees.

Author: Wes Brittenham, artist, gardener and writer.
by 505 Outside | Aug 31, 2026 | Fall, Home Page, Planting, Xeriscape
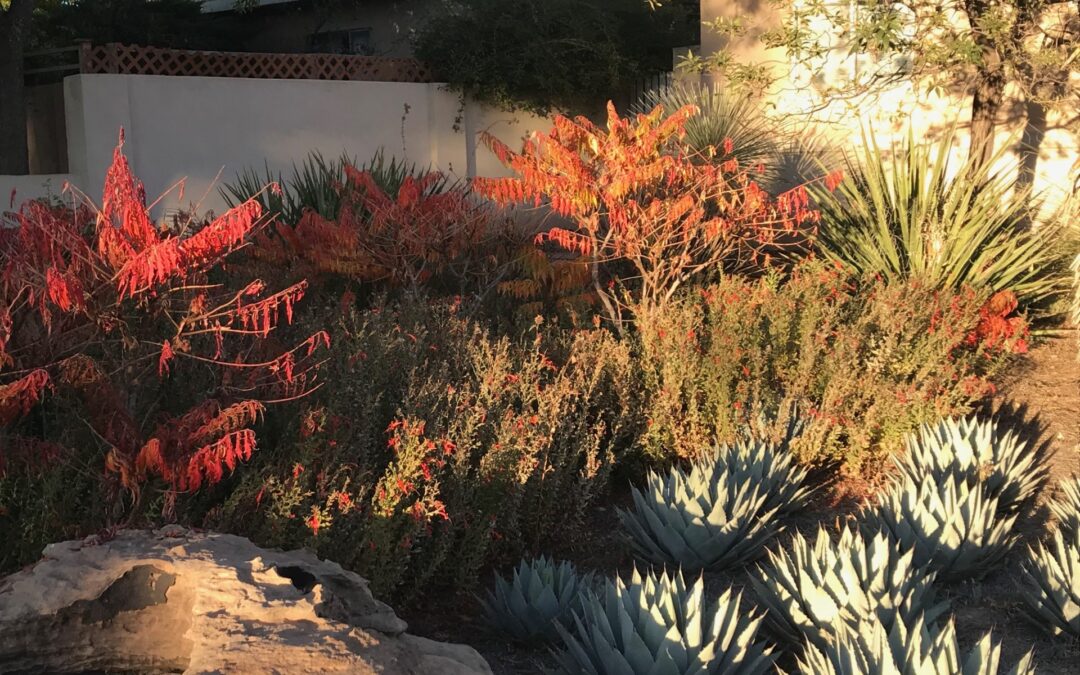
Fall blooming plants and changing leaves can be just as exciting as the bright colors of spring and summer flowers. Fall is also an excellent time for planting: Temperatures begin dropping, making it easier for young plants to become established, and the cooler weather creates a more enjoyable time for gardeners to work outside.
Here are five great flowering options that offer a range of colors:
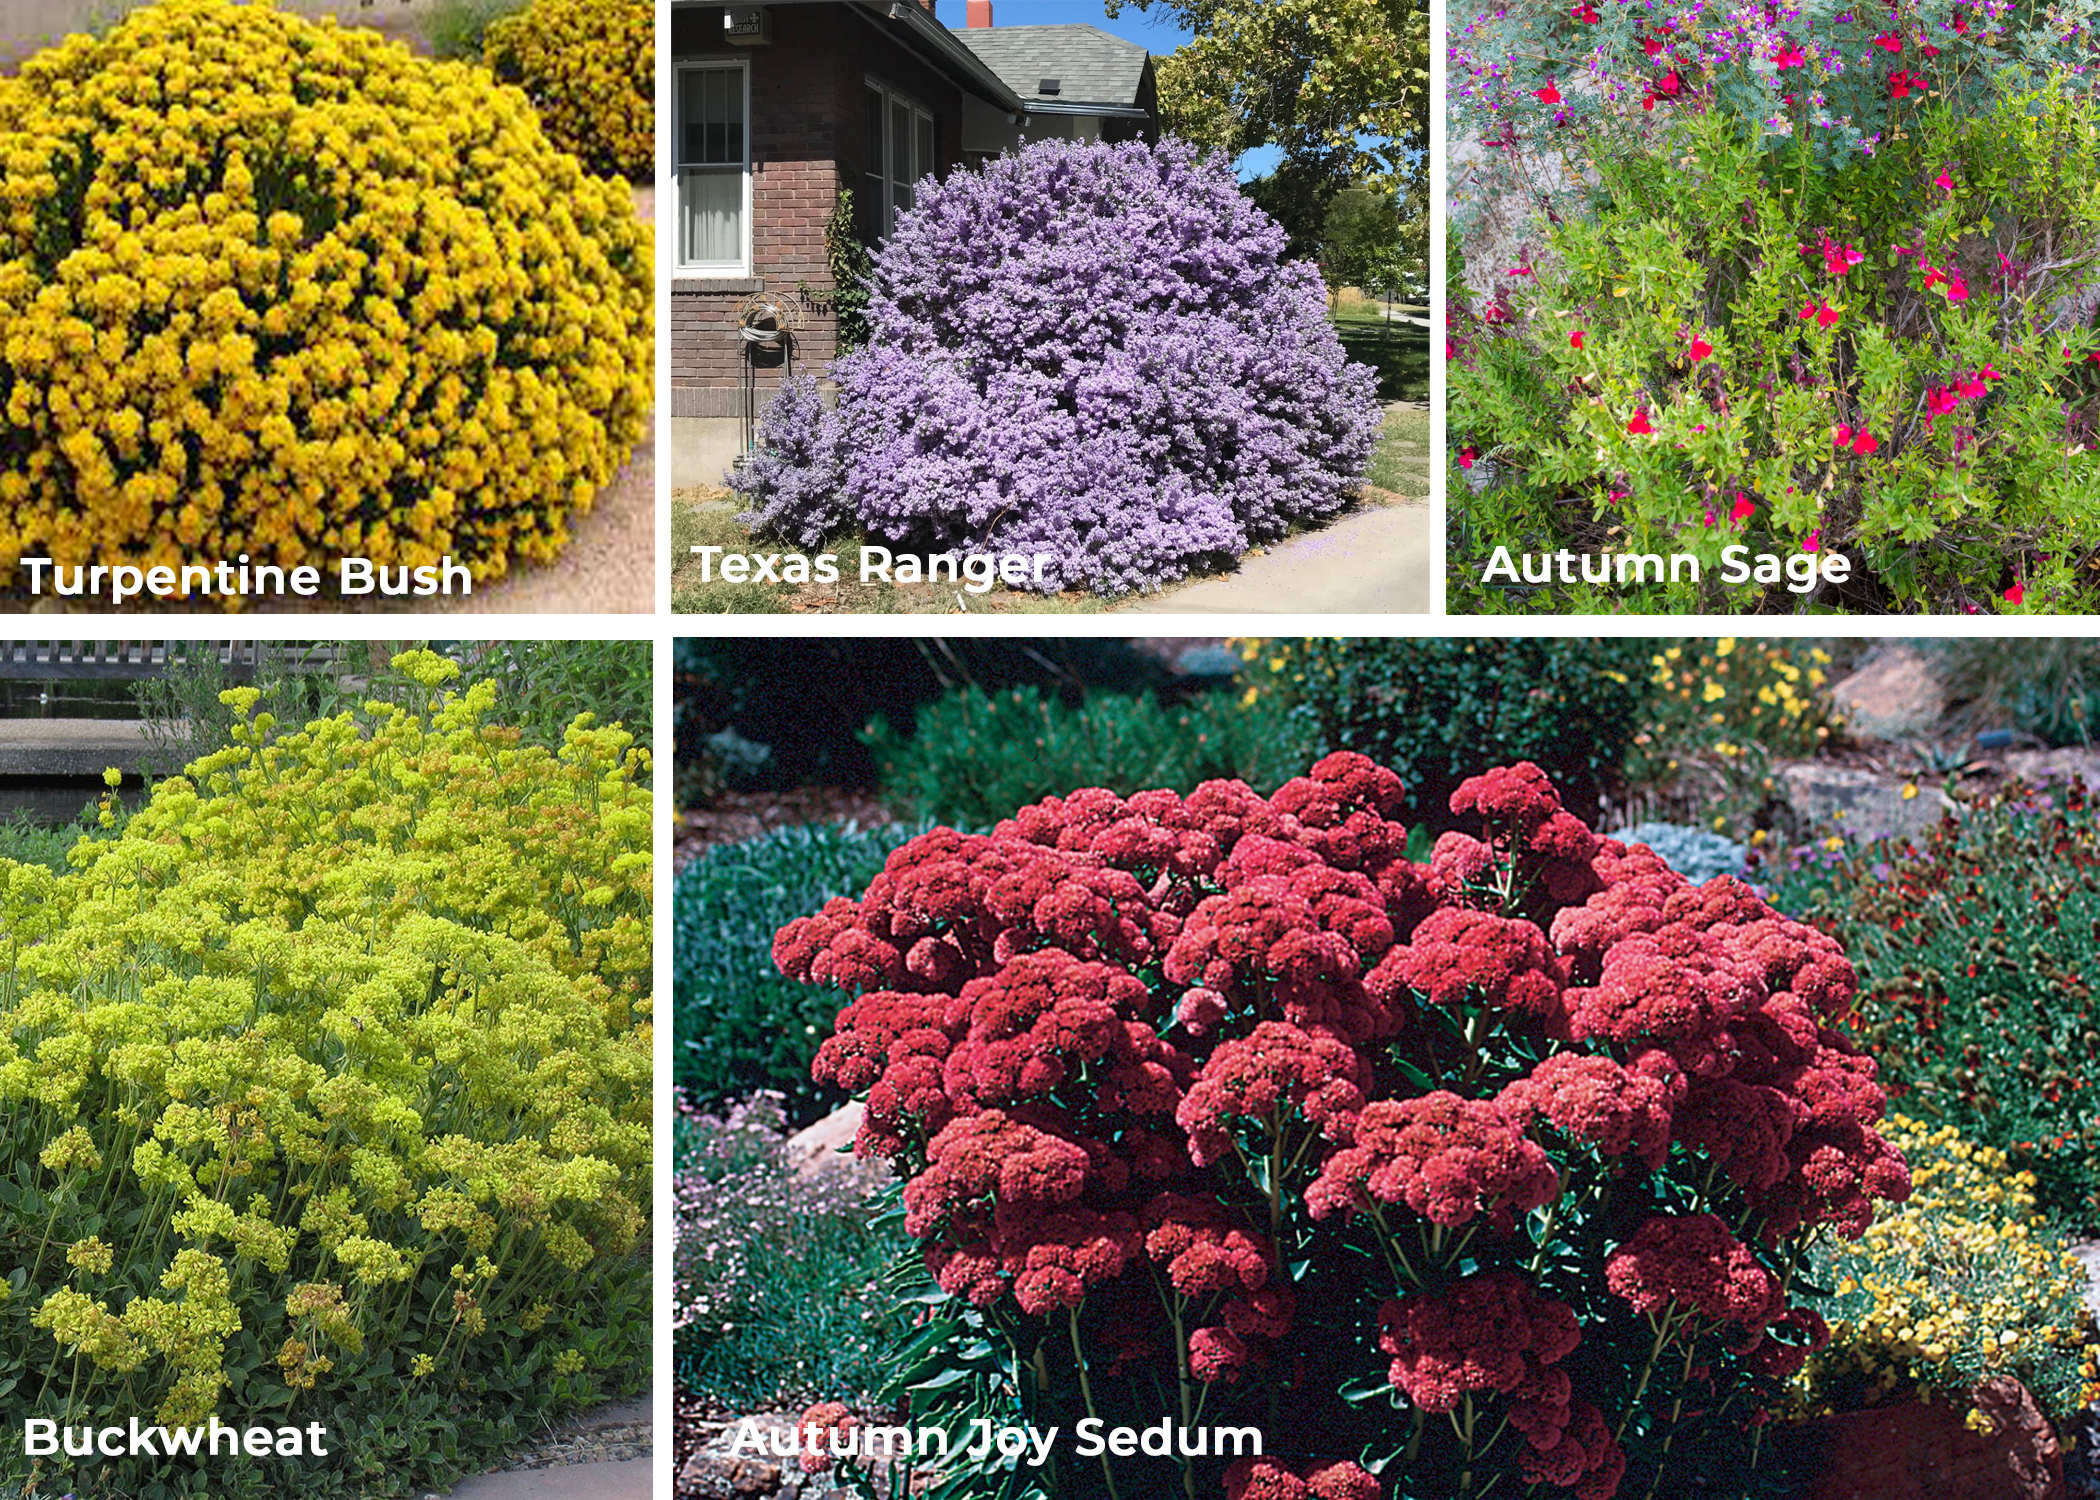
You don’t have to choose between blooms and red leaf color. Dwarf plumbago (Ceratostigma plumbaginoides) is a groundcover with bright blue summer and fall blossoms, spectacular red leaf color in late fall, interesting seedheads and excellent shade tolerance.
Many ornamental grasses have interesting seed heads in fall bringing soft colors and beautiful texture to autumn landscapes.
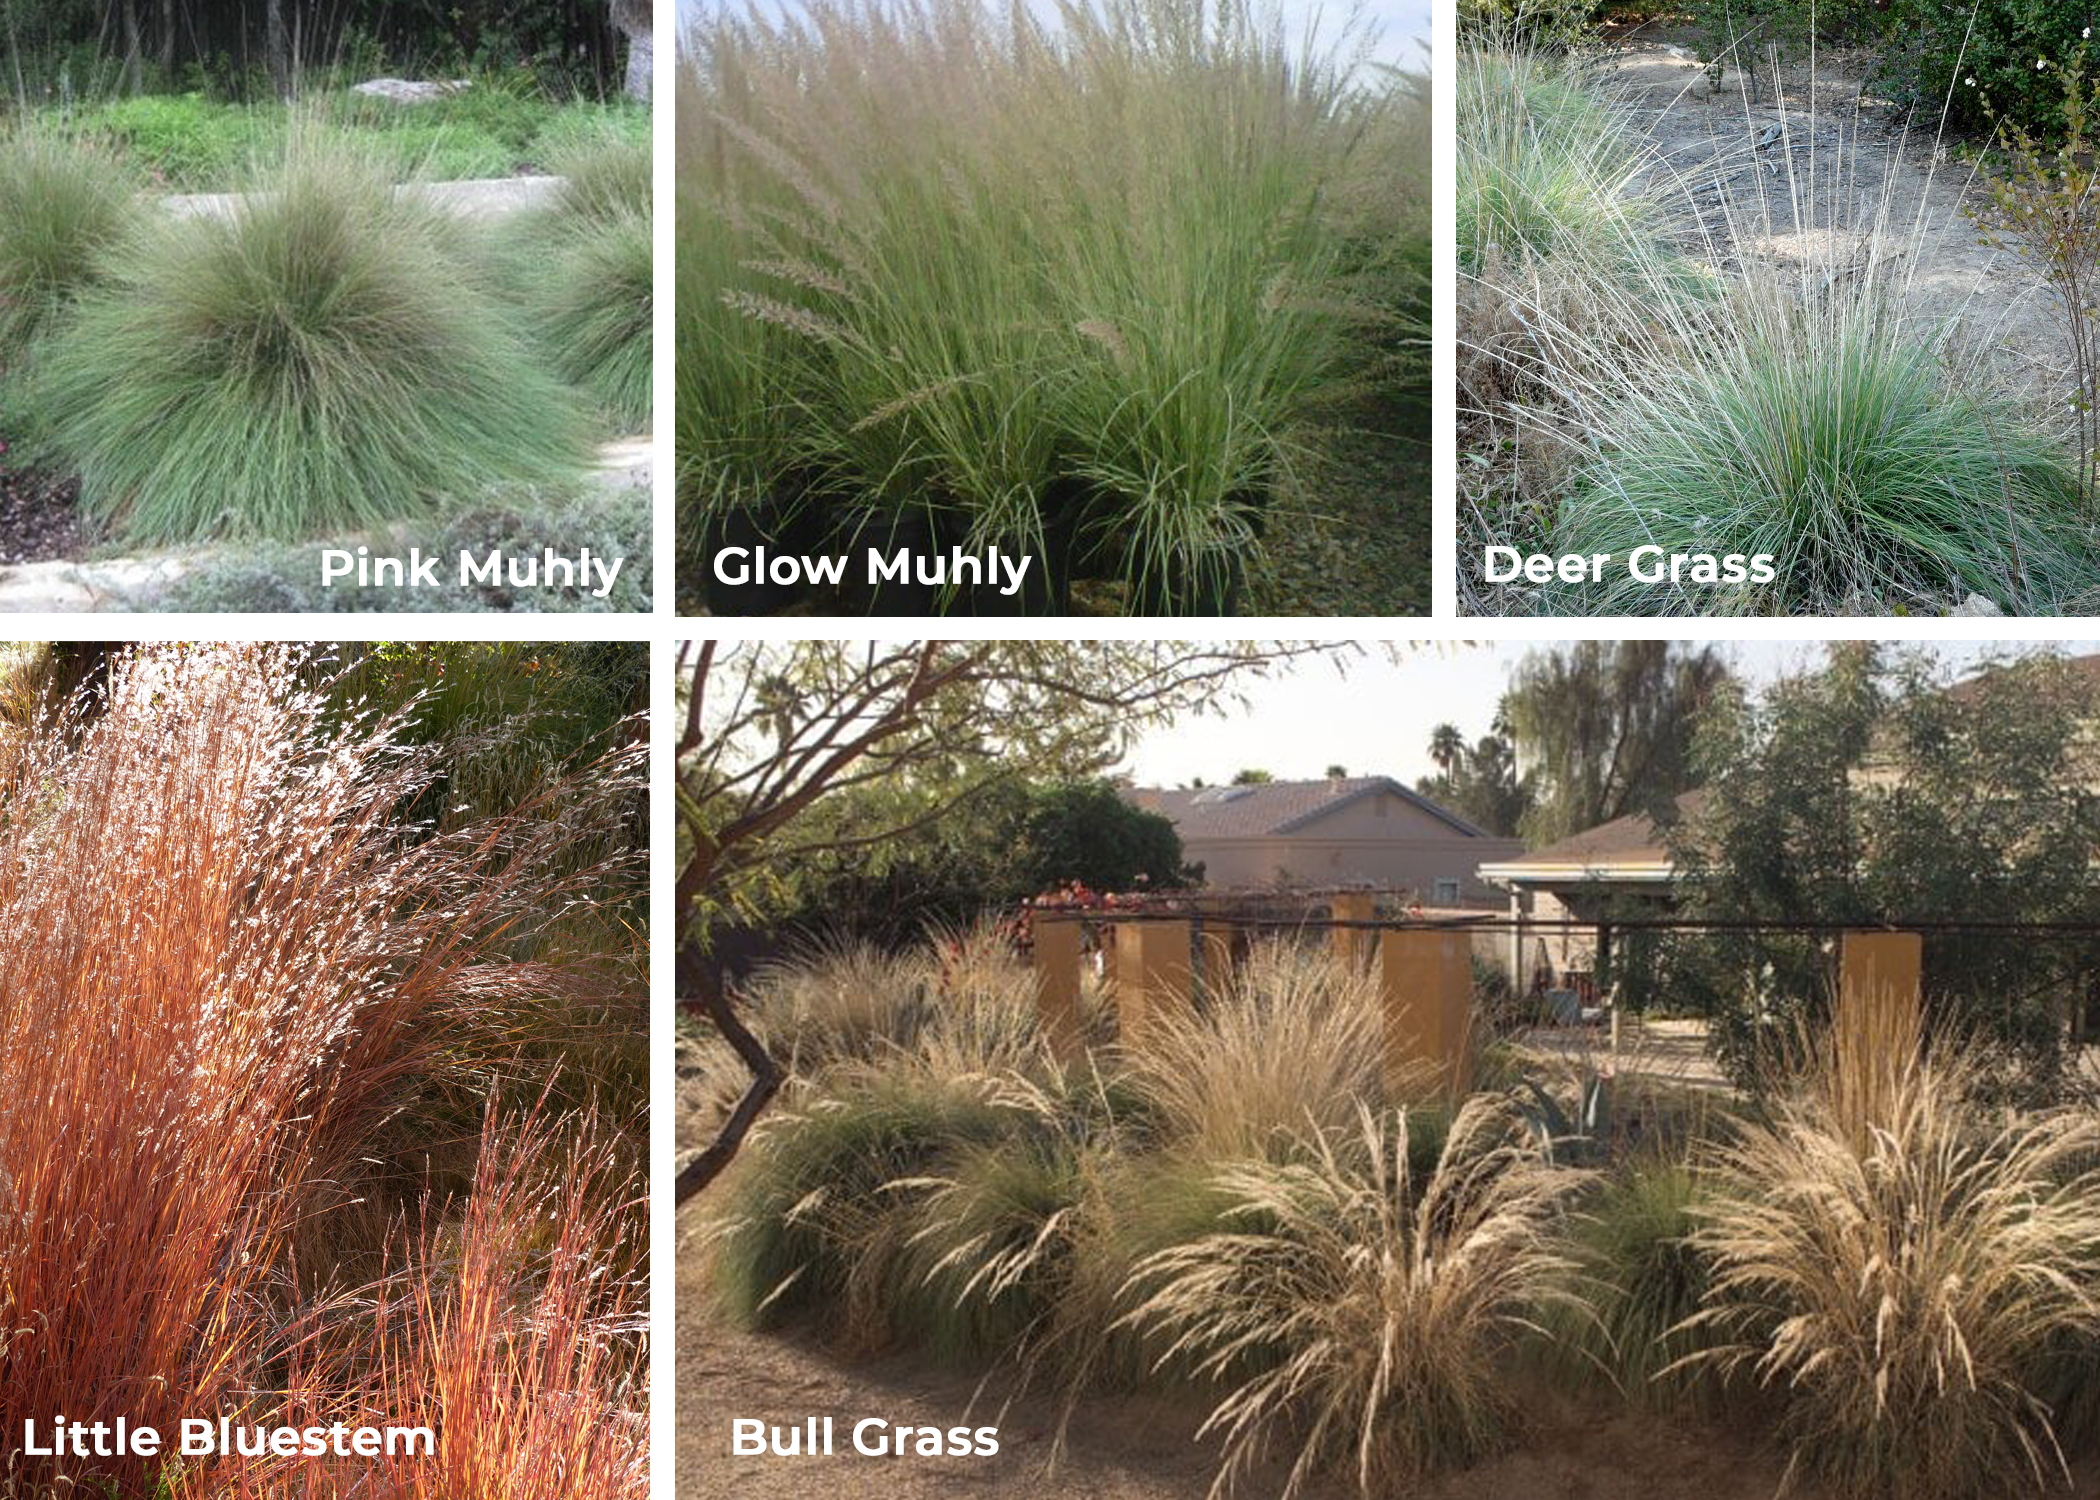
- The many species of muhly grasses (Muhlenbergia spp.) are especially easy to grow and have lovely seed heads. You really can’t go wrong with a muhly grass: They are tough and add amazing texture and contrast to any landscape.
- Pink muhly (M. capillaris) tolerates heat and drought and is covered in mounds of stunning delicate pink seed heads in fall.
- Autumn glow muhly (M. lindheimeri) is a larger grass with spikes of tan flowers in fall.
- Bull grass (M. emersleyi) and deer grass (M. rigens) are medium sized ornamental grasses with spikes of white or light tan flowers.
- The blades of little bluestem (Schizachyrium scoparium), a locally native grass, turn a beautiful copper color in fall.
If you’re looking for classic autumn leaf color, several deciduous trees and shrubs offer reliably impressive fall color.
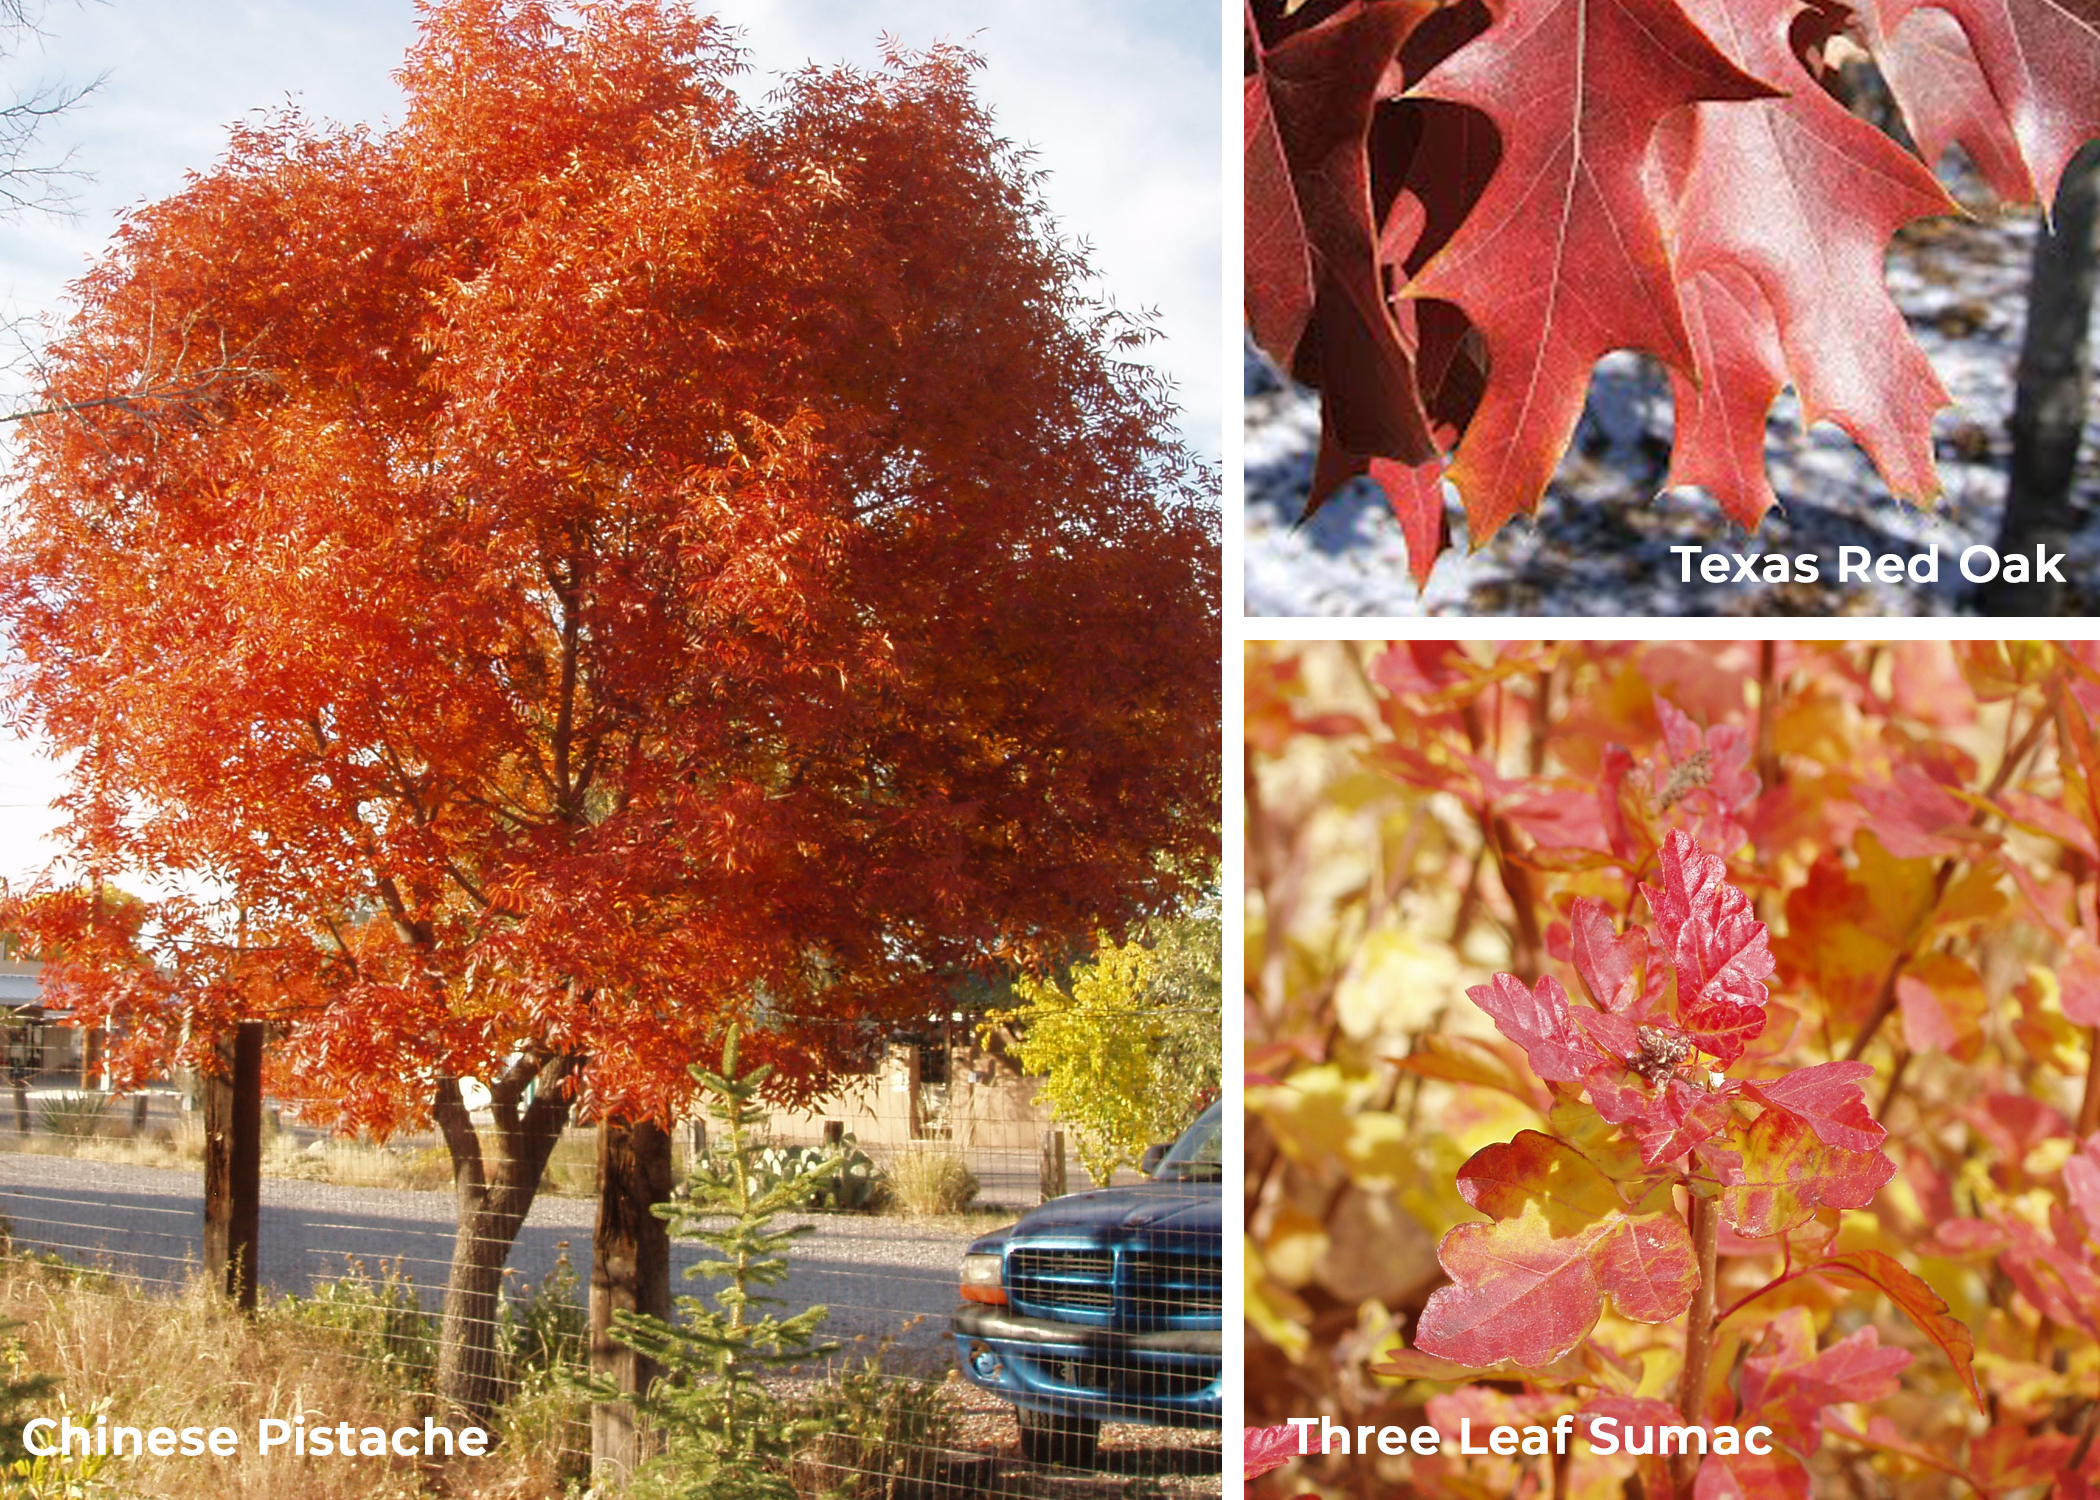
- Many oak trees do well in Albuquerque, including bur oak (Quercus macrocarpa), Texas red oak (Quercus buckleyi) and Chisos red oak (Quercus gravesii). Oak trees also provide excellent habitat for birds and butterflies; in fact, the caterpillars of many butterflies rely on oak trees.
- Red push pistache (Pistacia × ‘Red Push’) is a hybrid tree selected for its almost neon fall color. You can also plant standard Chinese pistache (Pistacia chinensis), which is a bit more cold hardy, though fall color can vary greatly from tree to tree. Visit a nursery in fall, when pistache leaves are turning color, to see the color of a particular tree before selecting one to bring home.
- Three leaf sumac (Rhus trilobata) is a medium to large sized shrub. It is locally native, grows in all soil types and does well in sun or shade. In fall, its leaves turn beautiful shades of yellow, orange and red. Autumn amber sumac is a groundcover cultivar of three leaf sumac and rarely grows taller than six inches and spreads up to ten feet. Gro low sumac (Rhus aromatica ‘Gro Low’) is a Midwestern sumac that grows up to 3 feet tall and spreads up to 6 feet wide. Like three leaf sumac, its leaves turn fiery shades in fall.
And don’t forget an evergreen backdrop for all this fall color. The warm oranges and reds of sumacs, buckwheat, oaks and little bluestem are especially striking when paired with the silvery blue gray plants that do so well in Albuquerque, such as agave, artemisia, chamisa and Rocky Mountain juniper.
Selecting a mix of colorful blossoms, autumn leaf color, soft textures and contrasting blues and grays for your garden this fall will make your landscape a highlight of the season.
Learn More Here:
Ornamental Grasses and How and When to Use Them
New and Underutilized Plants for 2026
Climate Ready Landscapes!
Author: Tess Houle, ASLA Landscape Architect with Pland Collaborative. Photos by Wes Brittenham, and Tess Houle Have a question about the article or anything else? [email protected]
by 505 Outside | Aug 31, 2026 | Home Page, Outdoor Living, Pollinators and Wildlife, Vines, Winter, Xeriscape
We recently spoke with Judith Phillips, a local garden writer and landscape designer, about why vines are so useful in Southwest landscapes and how homeowners can use them successfully.
Vines can feel intimidating because many grow quickly and can become large or unruly. But Phillips points out that they solve landscape challenges where other plant types may not work. Vines create fast shade, screen narrow spaces, add winter interest and provide food and habitat for pollinators.
Below are suggestions of vine species for each of these four landscape scenarios.
CREATE FAST SHADE
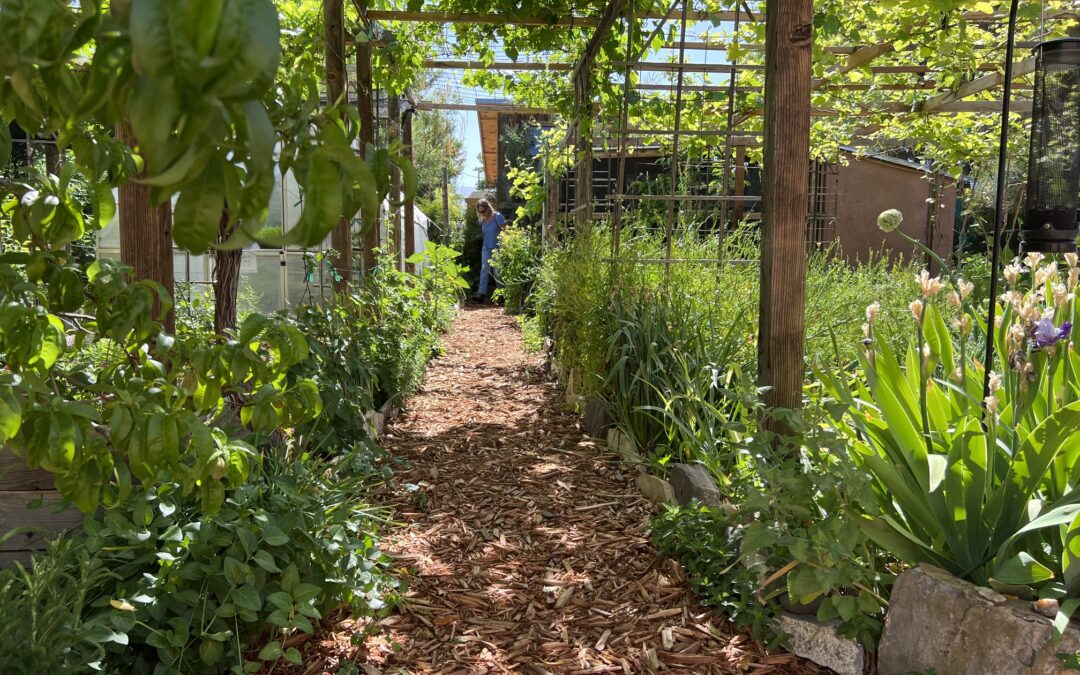
When you don’t have the time or space needed to grow shade trees, but you can’t live comfortably outdoors in the blistering sun, building an arbor and planting a vine to provide a cool leafy canopy may be the solution.
Phillips notes that vines can create shade faster than a tree. Once established, many vines, such as grapes, can have individual canes that grow as much as 10 feet a year, allowing them to quickly climb up and over a pergola or other structure. Because many vines are naturally riparian, an established large woody vine may use about as much water as a medium-sized tree. Their fast growth also means they require regular guidance and pruning, but the reward is a comfortable, inviting outdoor space.
Open lattice ramadas, arbors and pergolas all work well for vines. Wood is commonly used for structures because it is simple and easy to build with, but in Albuquerque’s climate, steel is often ideal because it is strong, long-lasting, low maintenance and resists UV damage.
Vines can be guided around structures, fences and trellises by gently weaving stems or attaching them with twist ties, string or twine through chain-link fencing or welded wire mesh, sometimes called “hog panel.” Remove ties once the vine has grown into place.
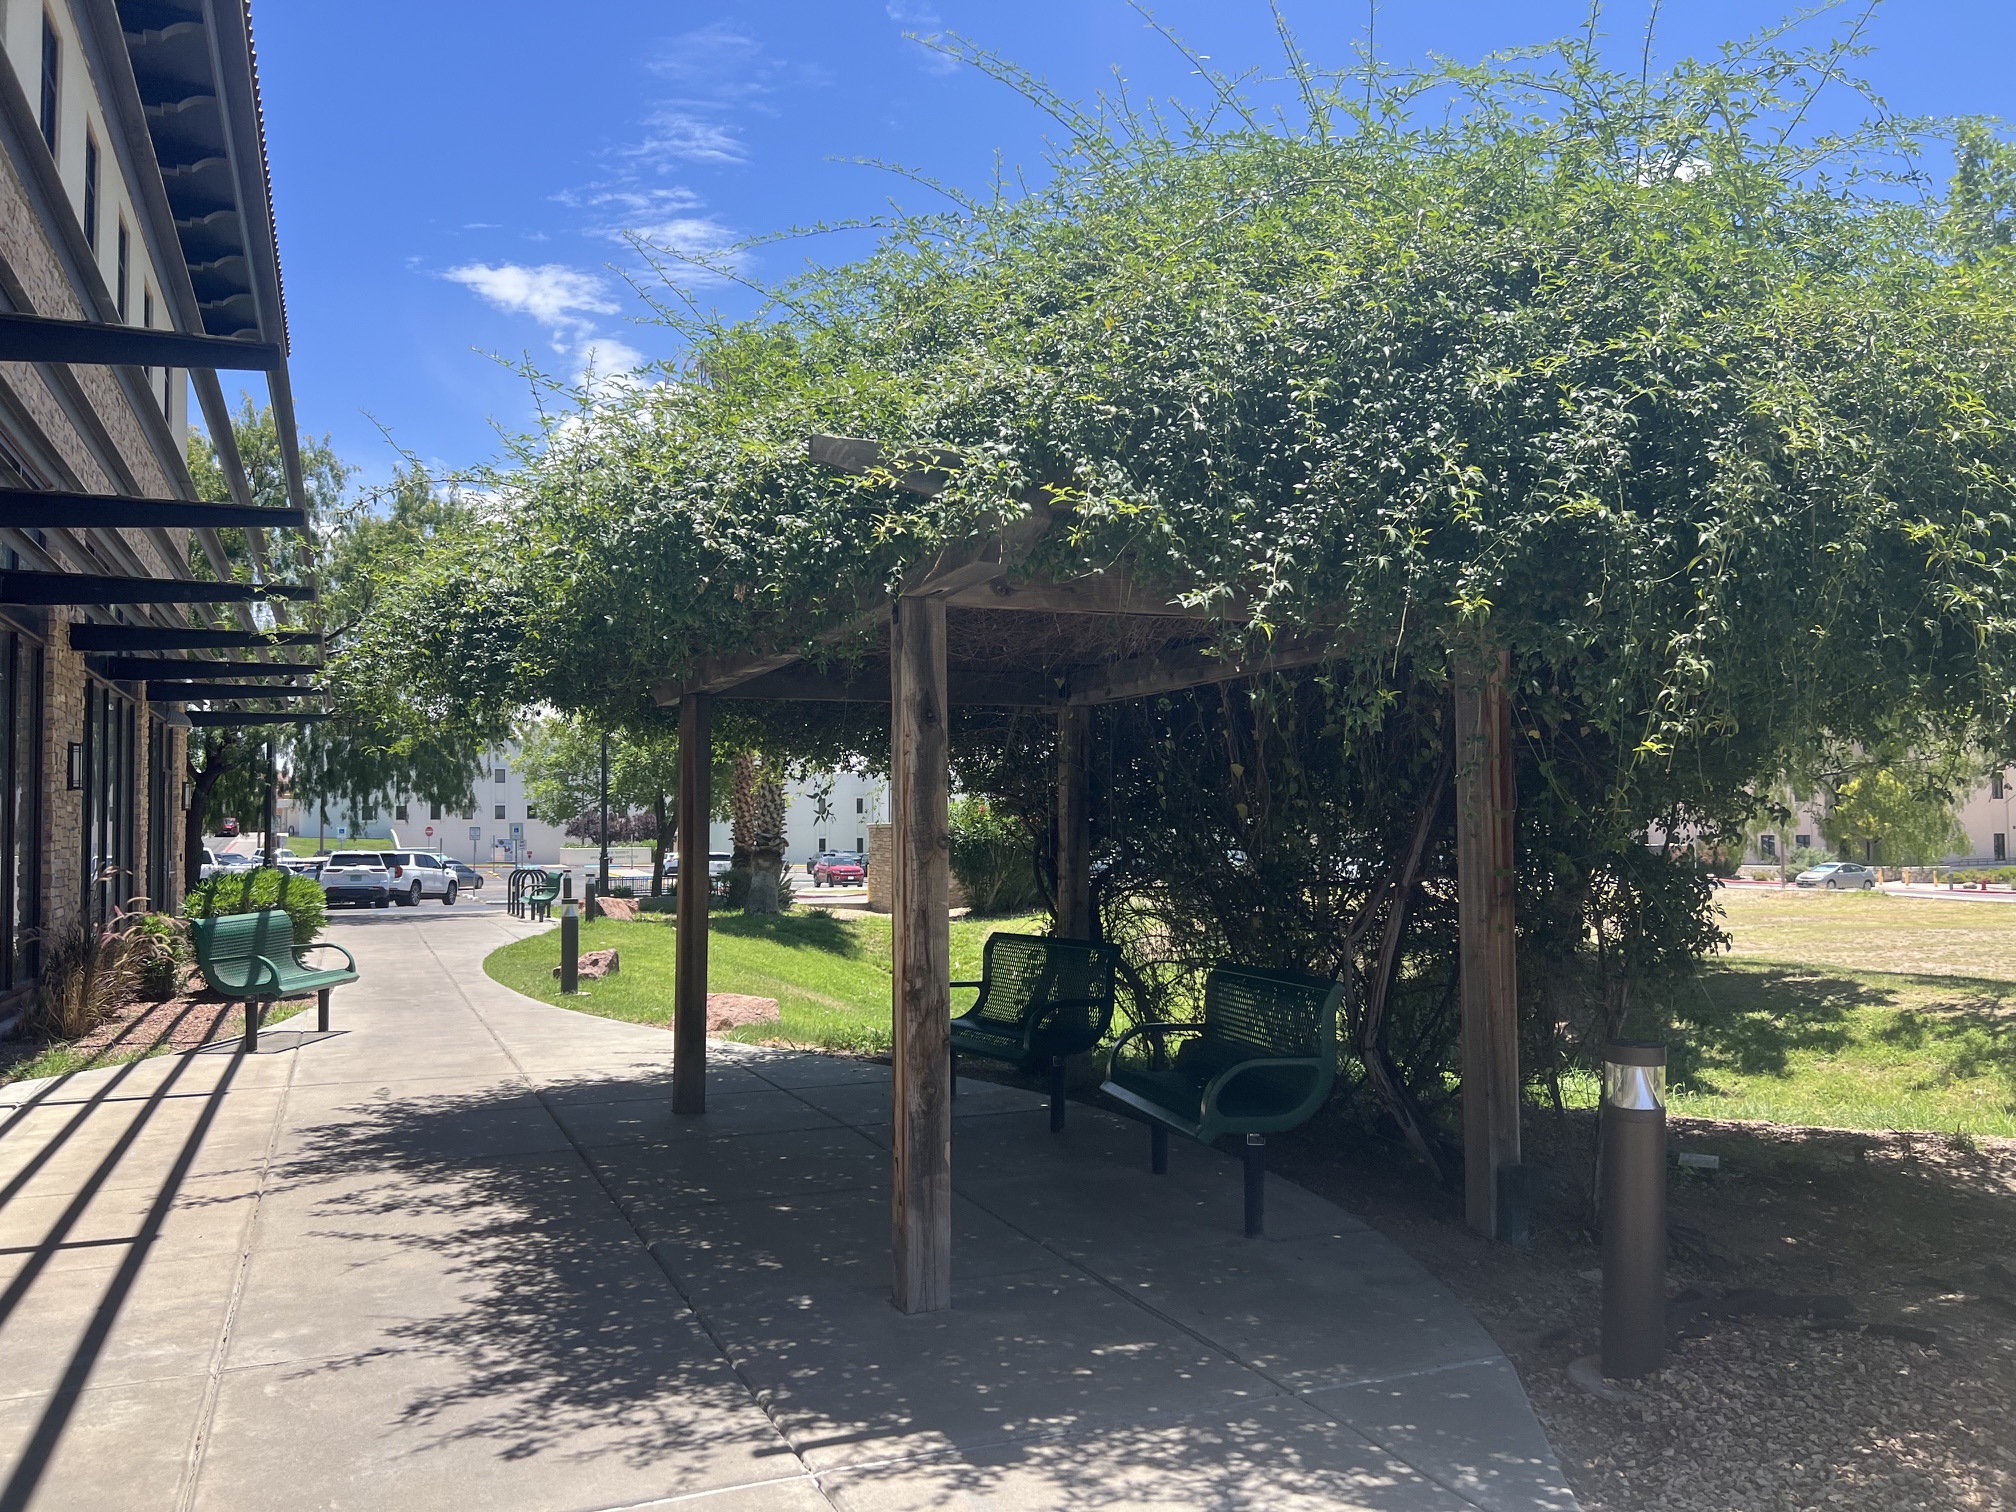
Lady Banks’ rose growing on pergola providing shade to seating area.
Some great species to create shade on an arbor are Lady Banks’ rose, wisteria and canyon grapevine.
Lady Banks’ rose (Rosa banksiae): Rarely do you find a plant that is fast growing, evergreen and long-lived. Lady Banks’ rose is all those things, and it produces a beautiful if brief show of flowers in spring. And it uses surprisingly little water and grows well in sun or shade. This plant becomes quite large and, unlike most roses, blooms on old wood. If it grows too large, guide it around the structure or prune away unwanted growth; it adapts well to heavy pruning. Lady Banks’ is thornless and has incredible show stopping spring blooms.
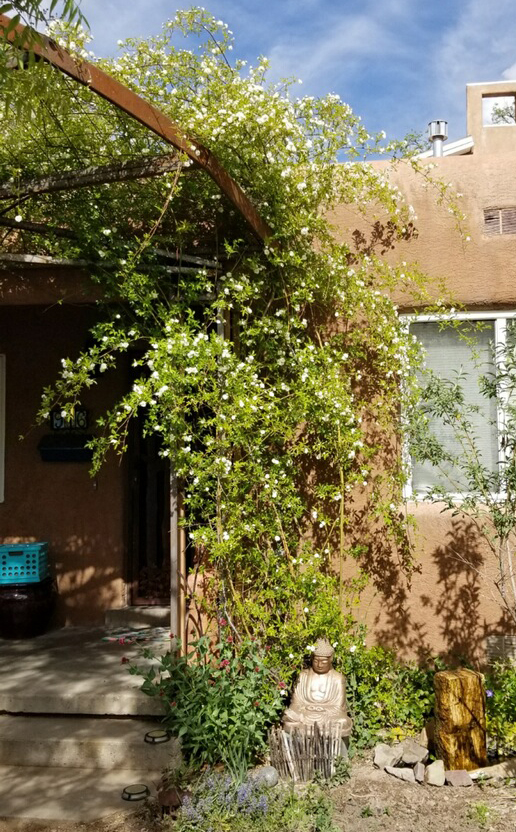
Lady Banks’ on metal trellis.
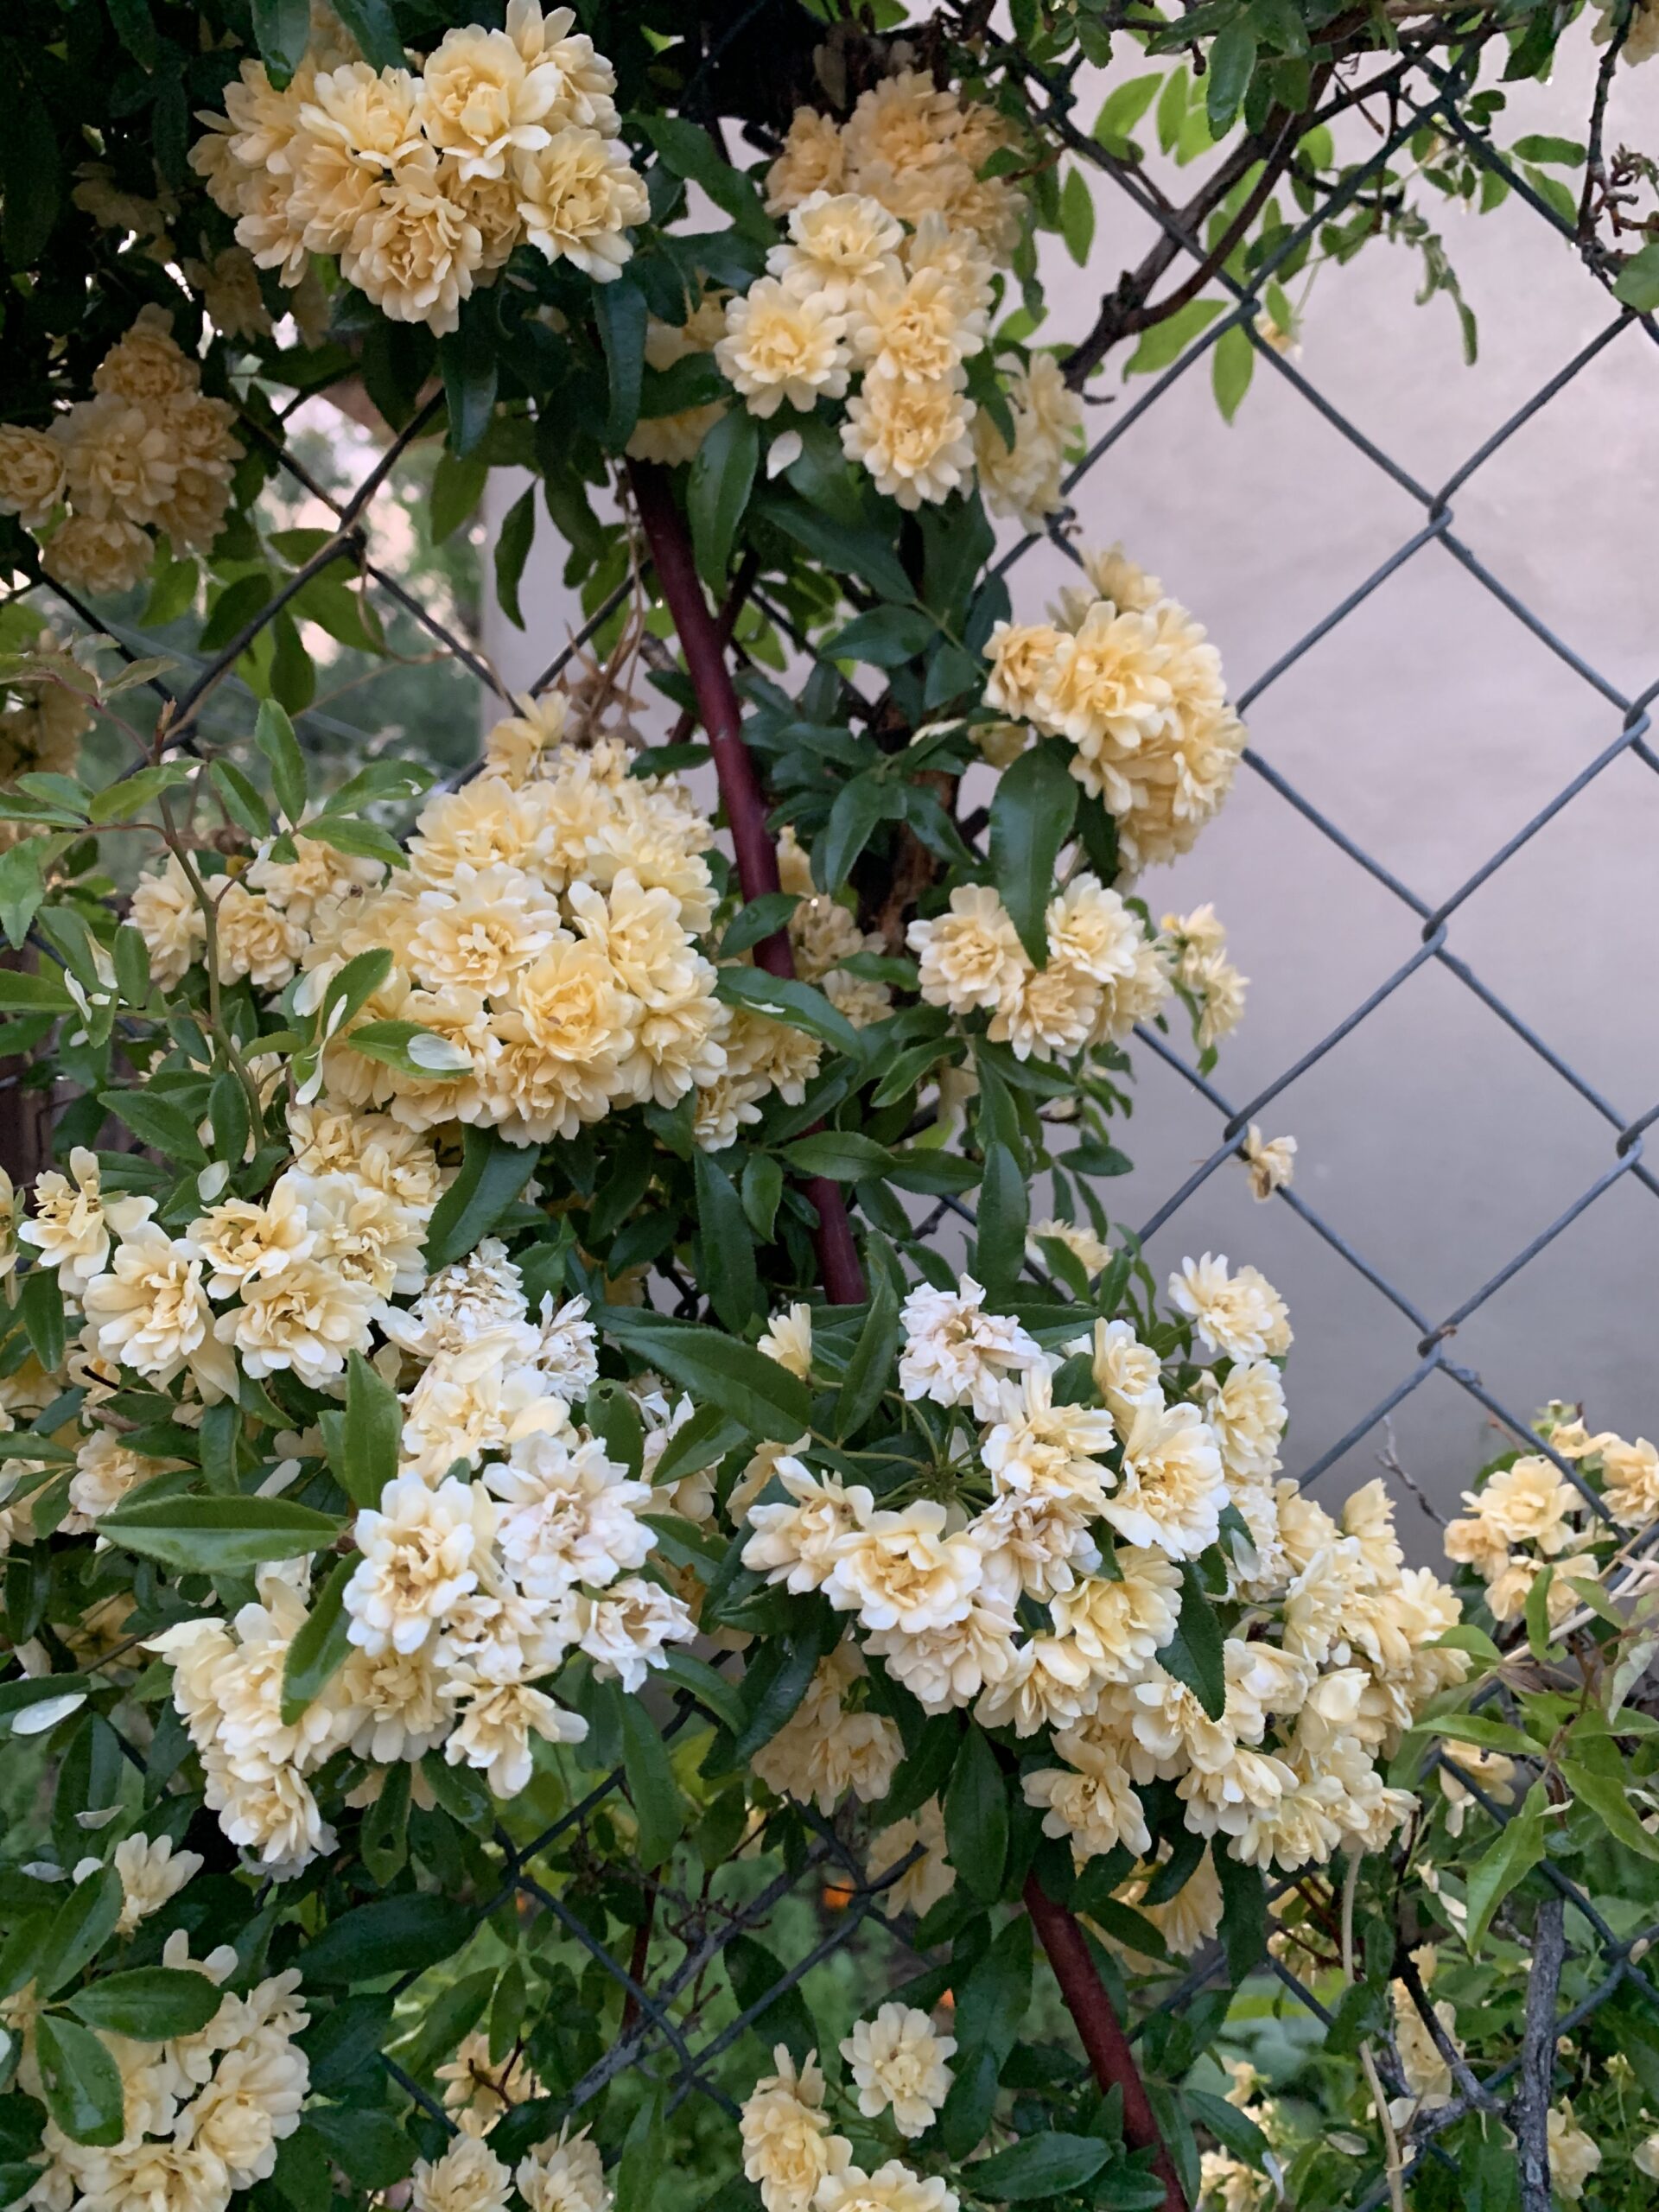
Lady Banks Rose blooming on chain link fence.
Wisteria (Wisteria sinensis): The pendulous, sweet-scented lavender flowers of this vine are some of the first to bloom in the spring. Bright green leaves follow shortly thereafter, filling the plant and creating lots of dappled shade below. Once the flowers fade, the leaves fill in to provide dense shade in the summer. Expect woody stems over time and train the vine strategically as it develops. Wisteria grows well in sun, shade and part shade.
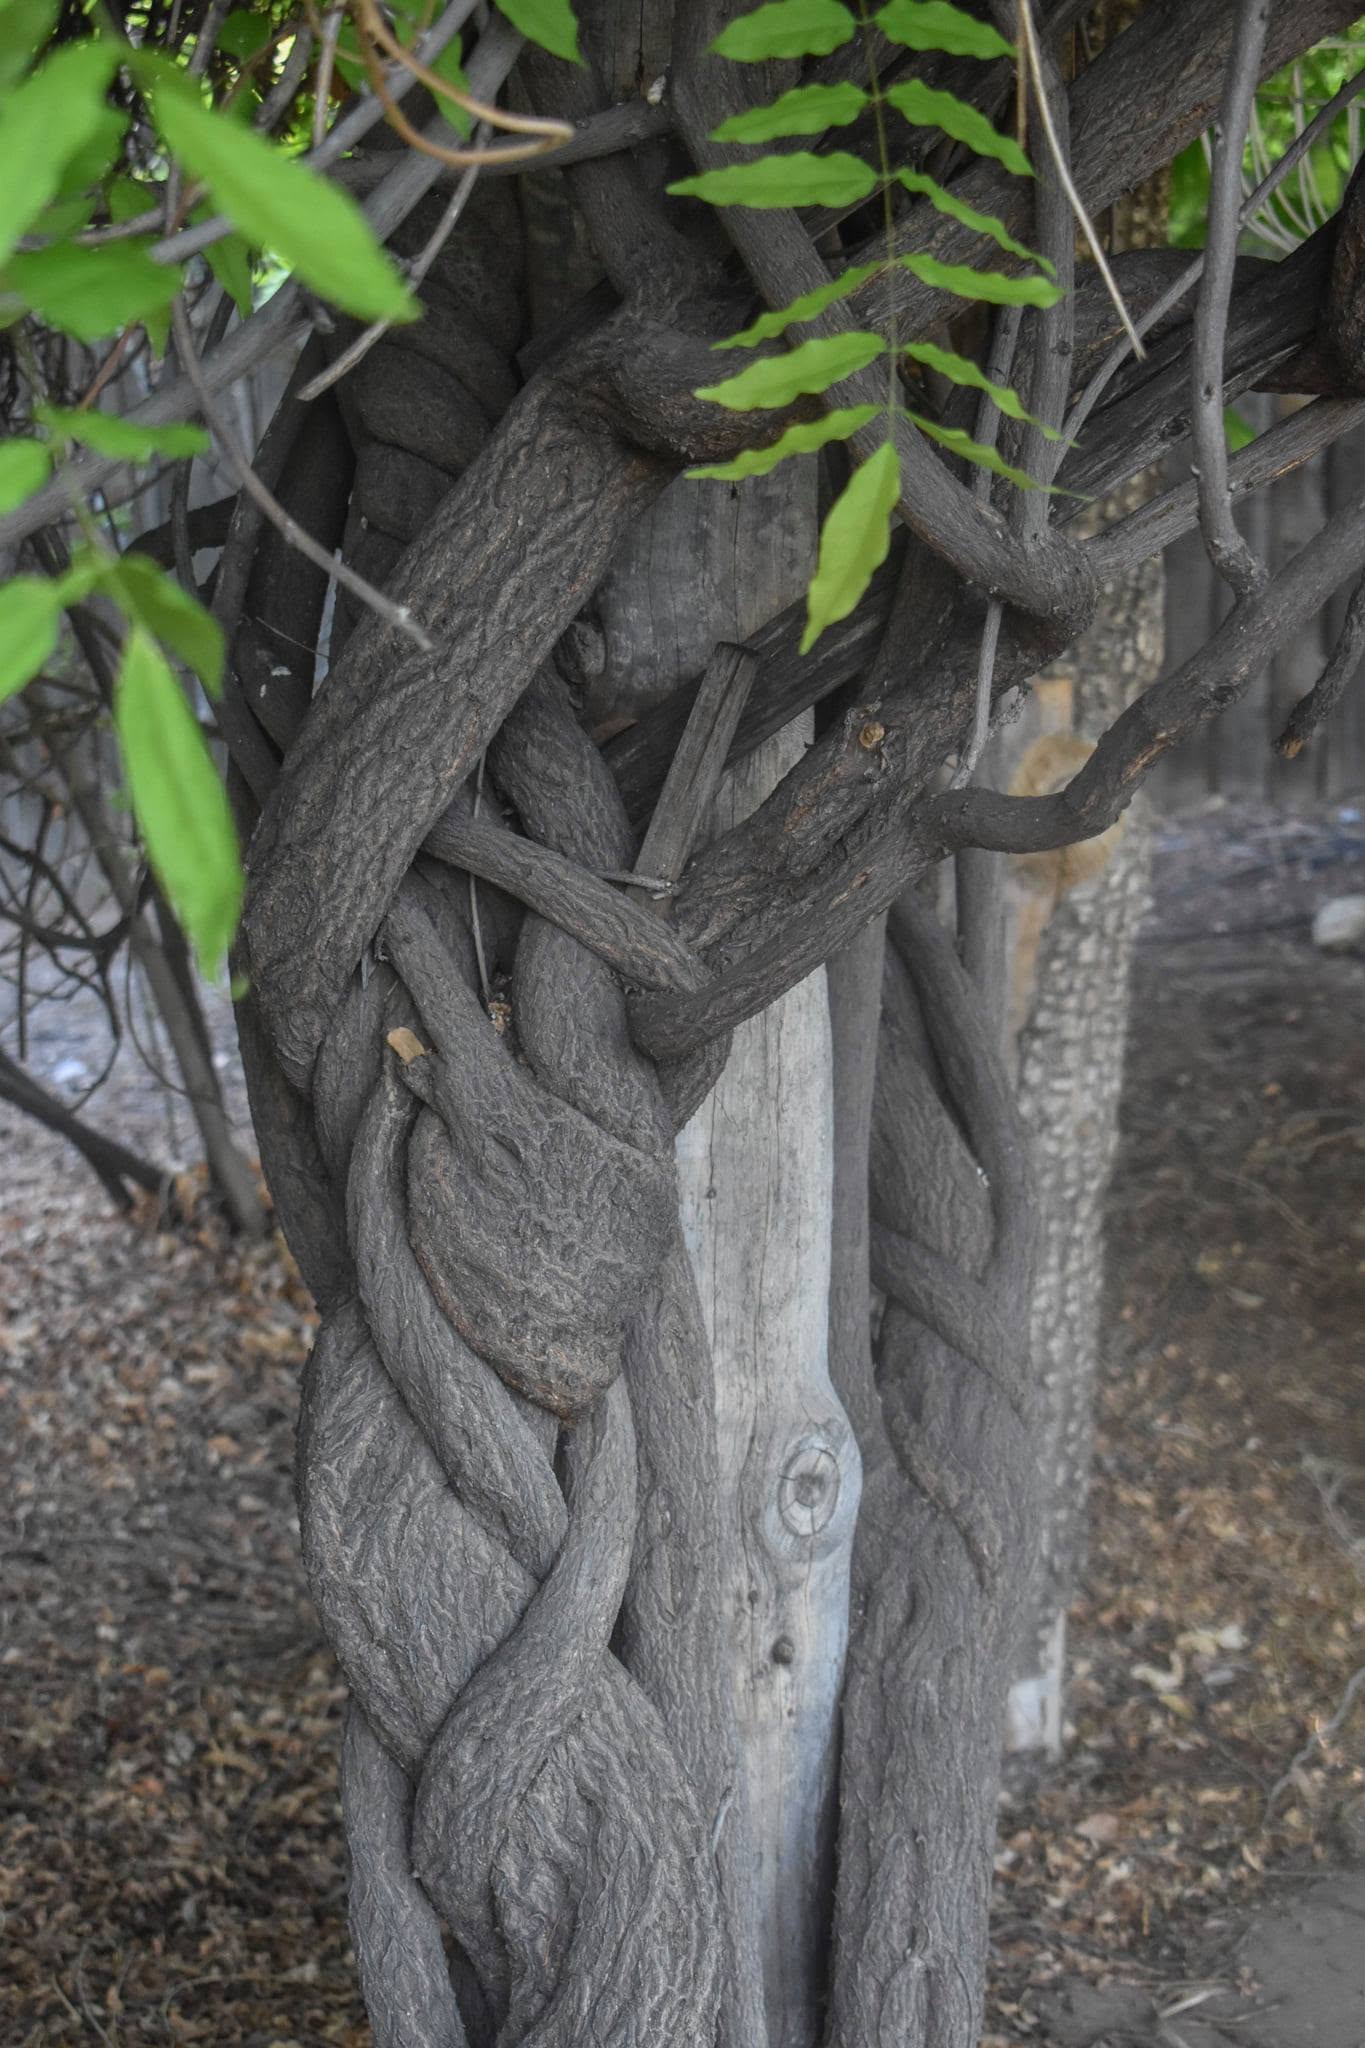
Close up of Wisteria Trunk by Hunter Ten Broeck
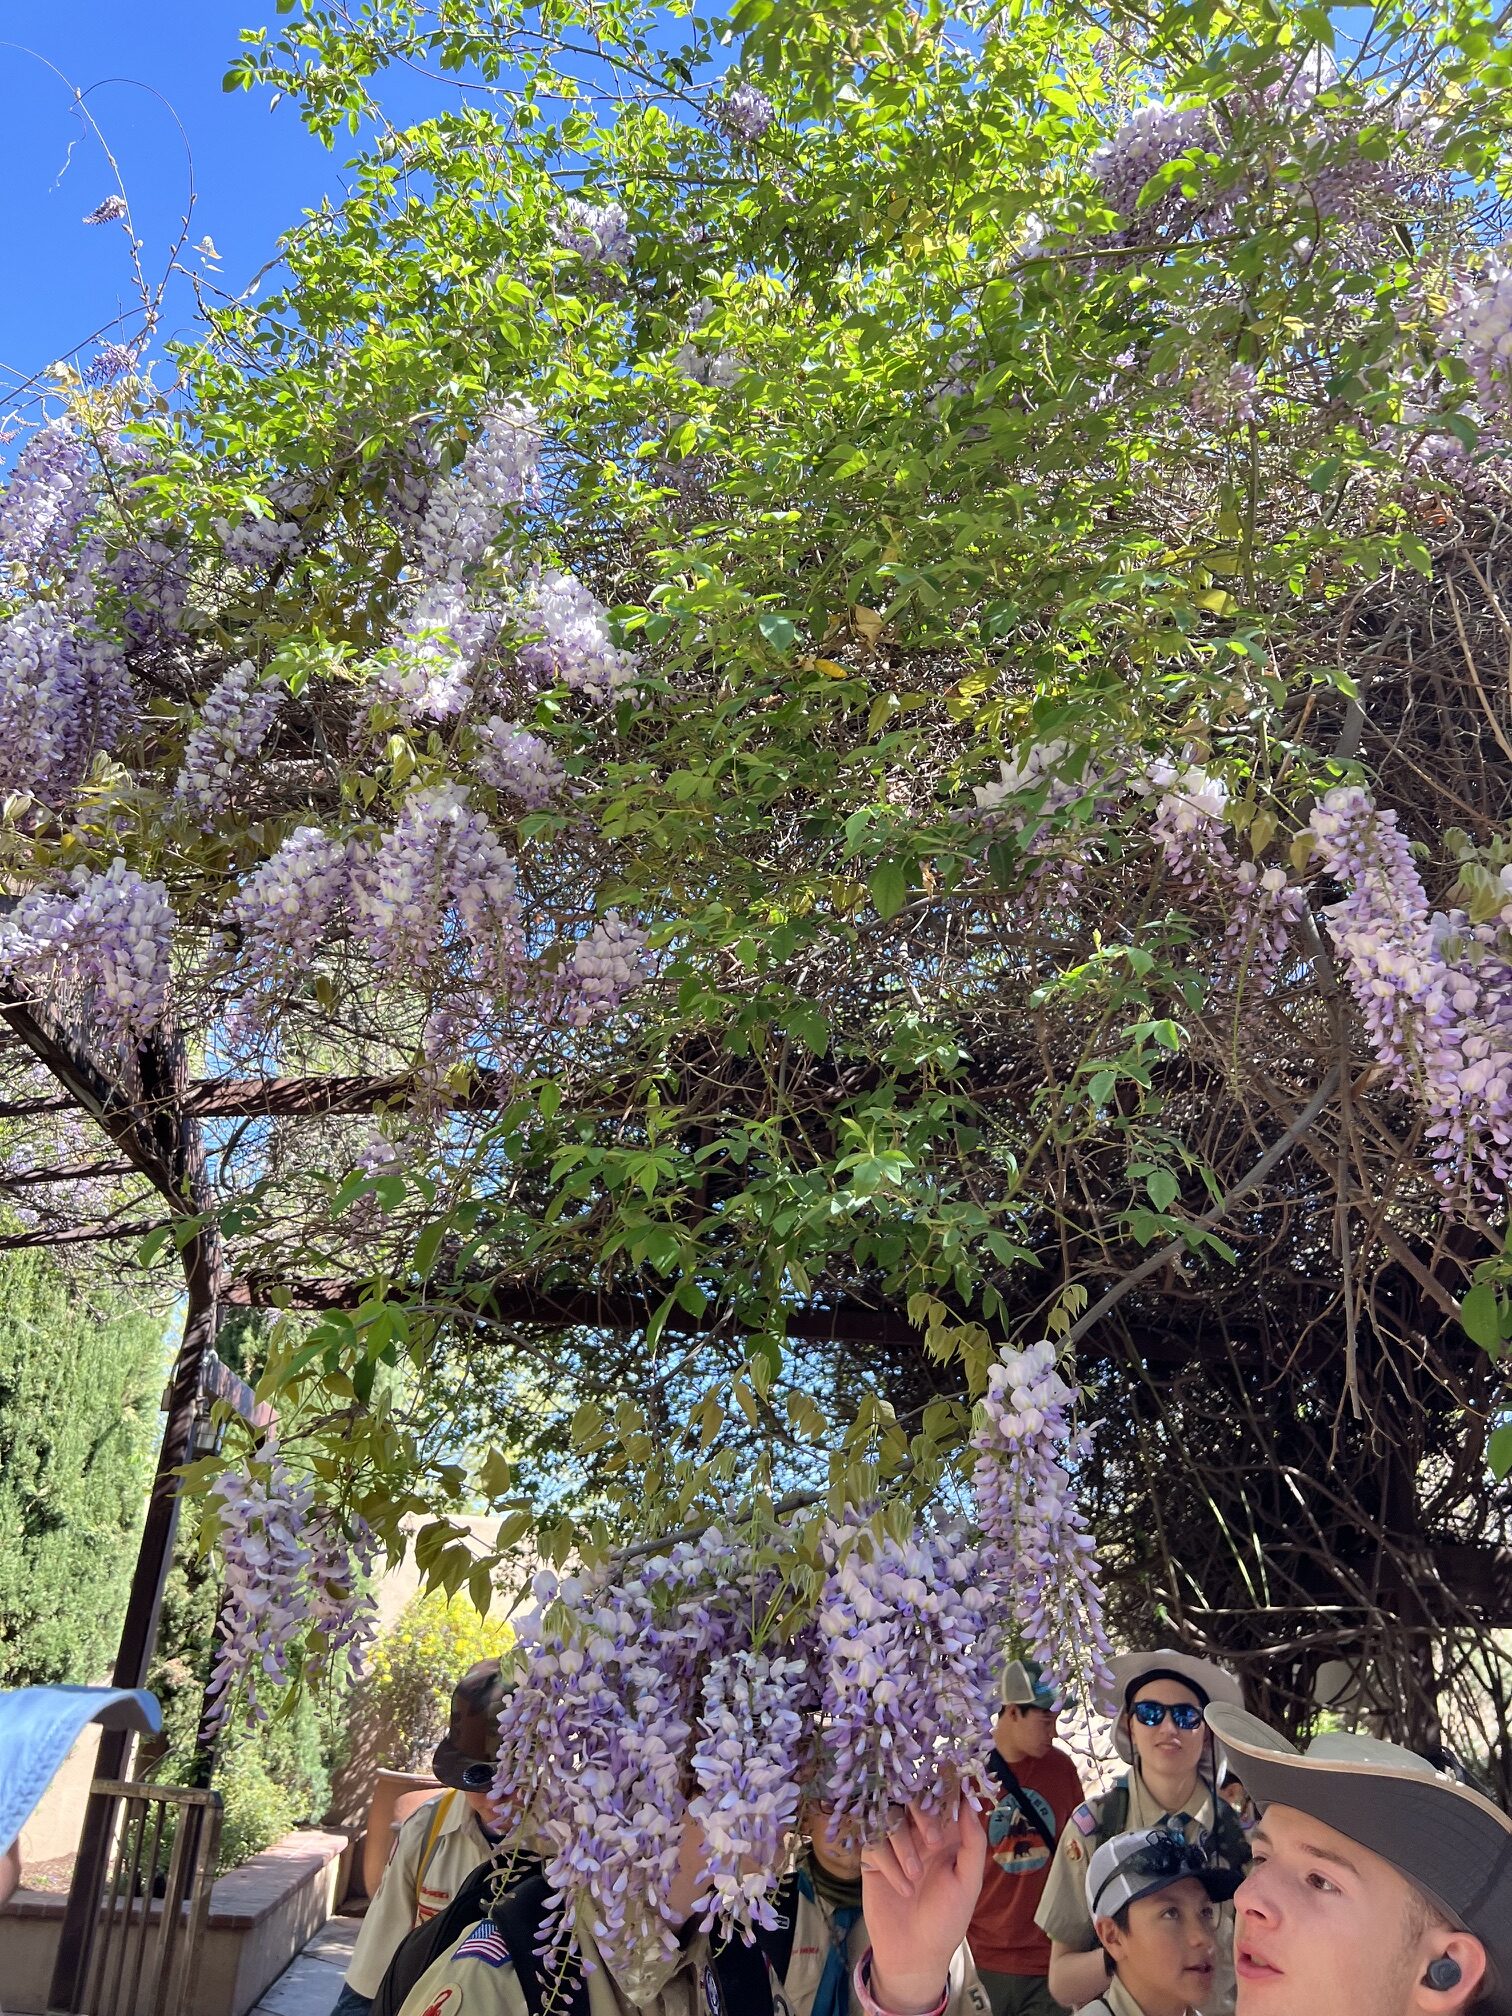
Wisteria blooms hanging from a pergola.
Grapes, multiple varieties: New Mexico is one of the oldest grape growing regions in North America, with plants brought to the state by Spanish colonialists and planting records dating back to 1652. Grapes prefer consistent moisture during their first year of establishment and grow best in full sun. The vines are fast growing and long-lived. Beautiful bright leaves create dense shade, and the fruit is delicious Grapes are deciduous so be prepared for a sculptural woody vista throughout the winter months. Late winter, before the last frost, is the best time to train and prune them. Some varieties to try are Himrod, an early ripening seedless white table grape; Red Flame, a seedless red table grape; Canadice, a cold hardy seedless red table grape known for disease resistance; and the unique Flambeau, a seedless pink table grape with strawberry sweetness. Another the Canyon grape, has beautiful fall color and grapes are loved by wildlife.
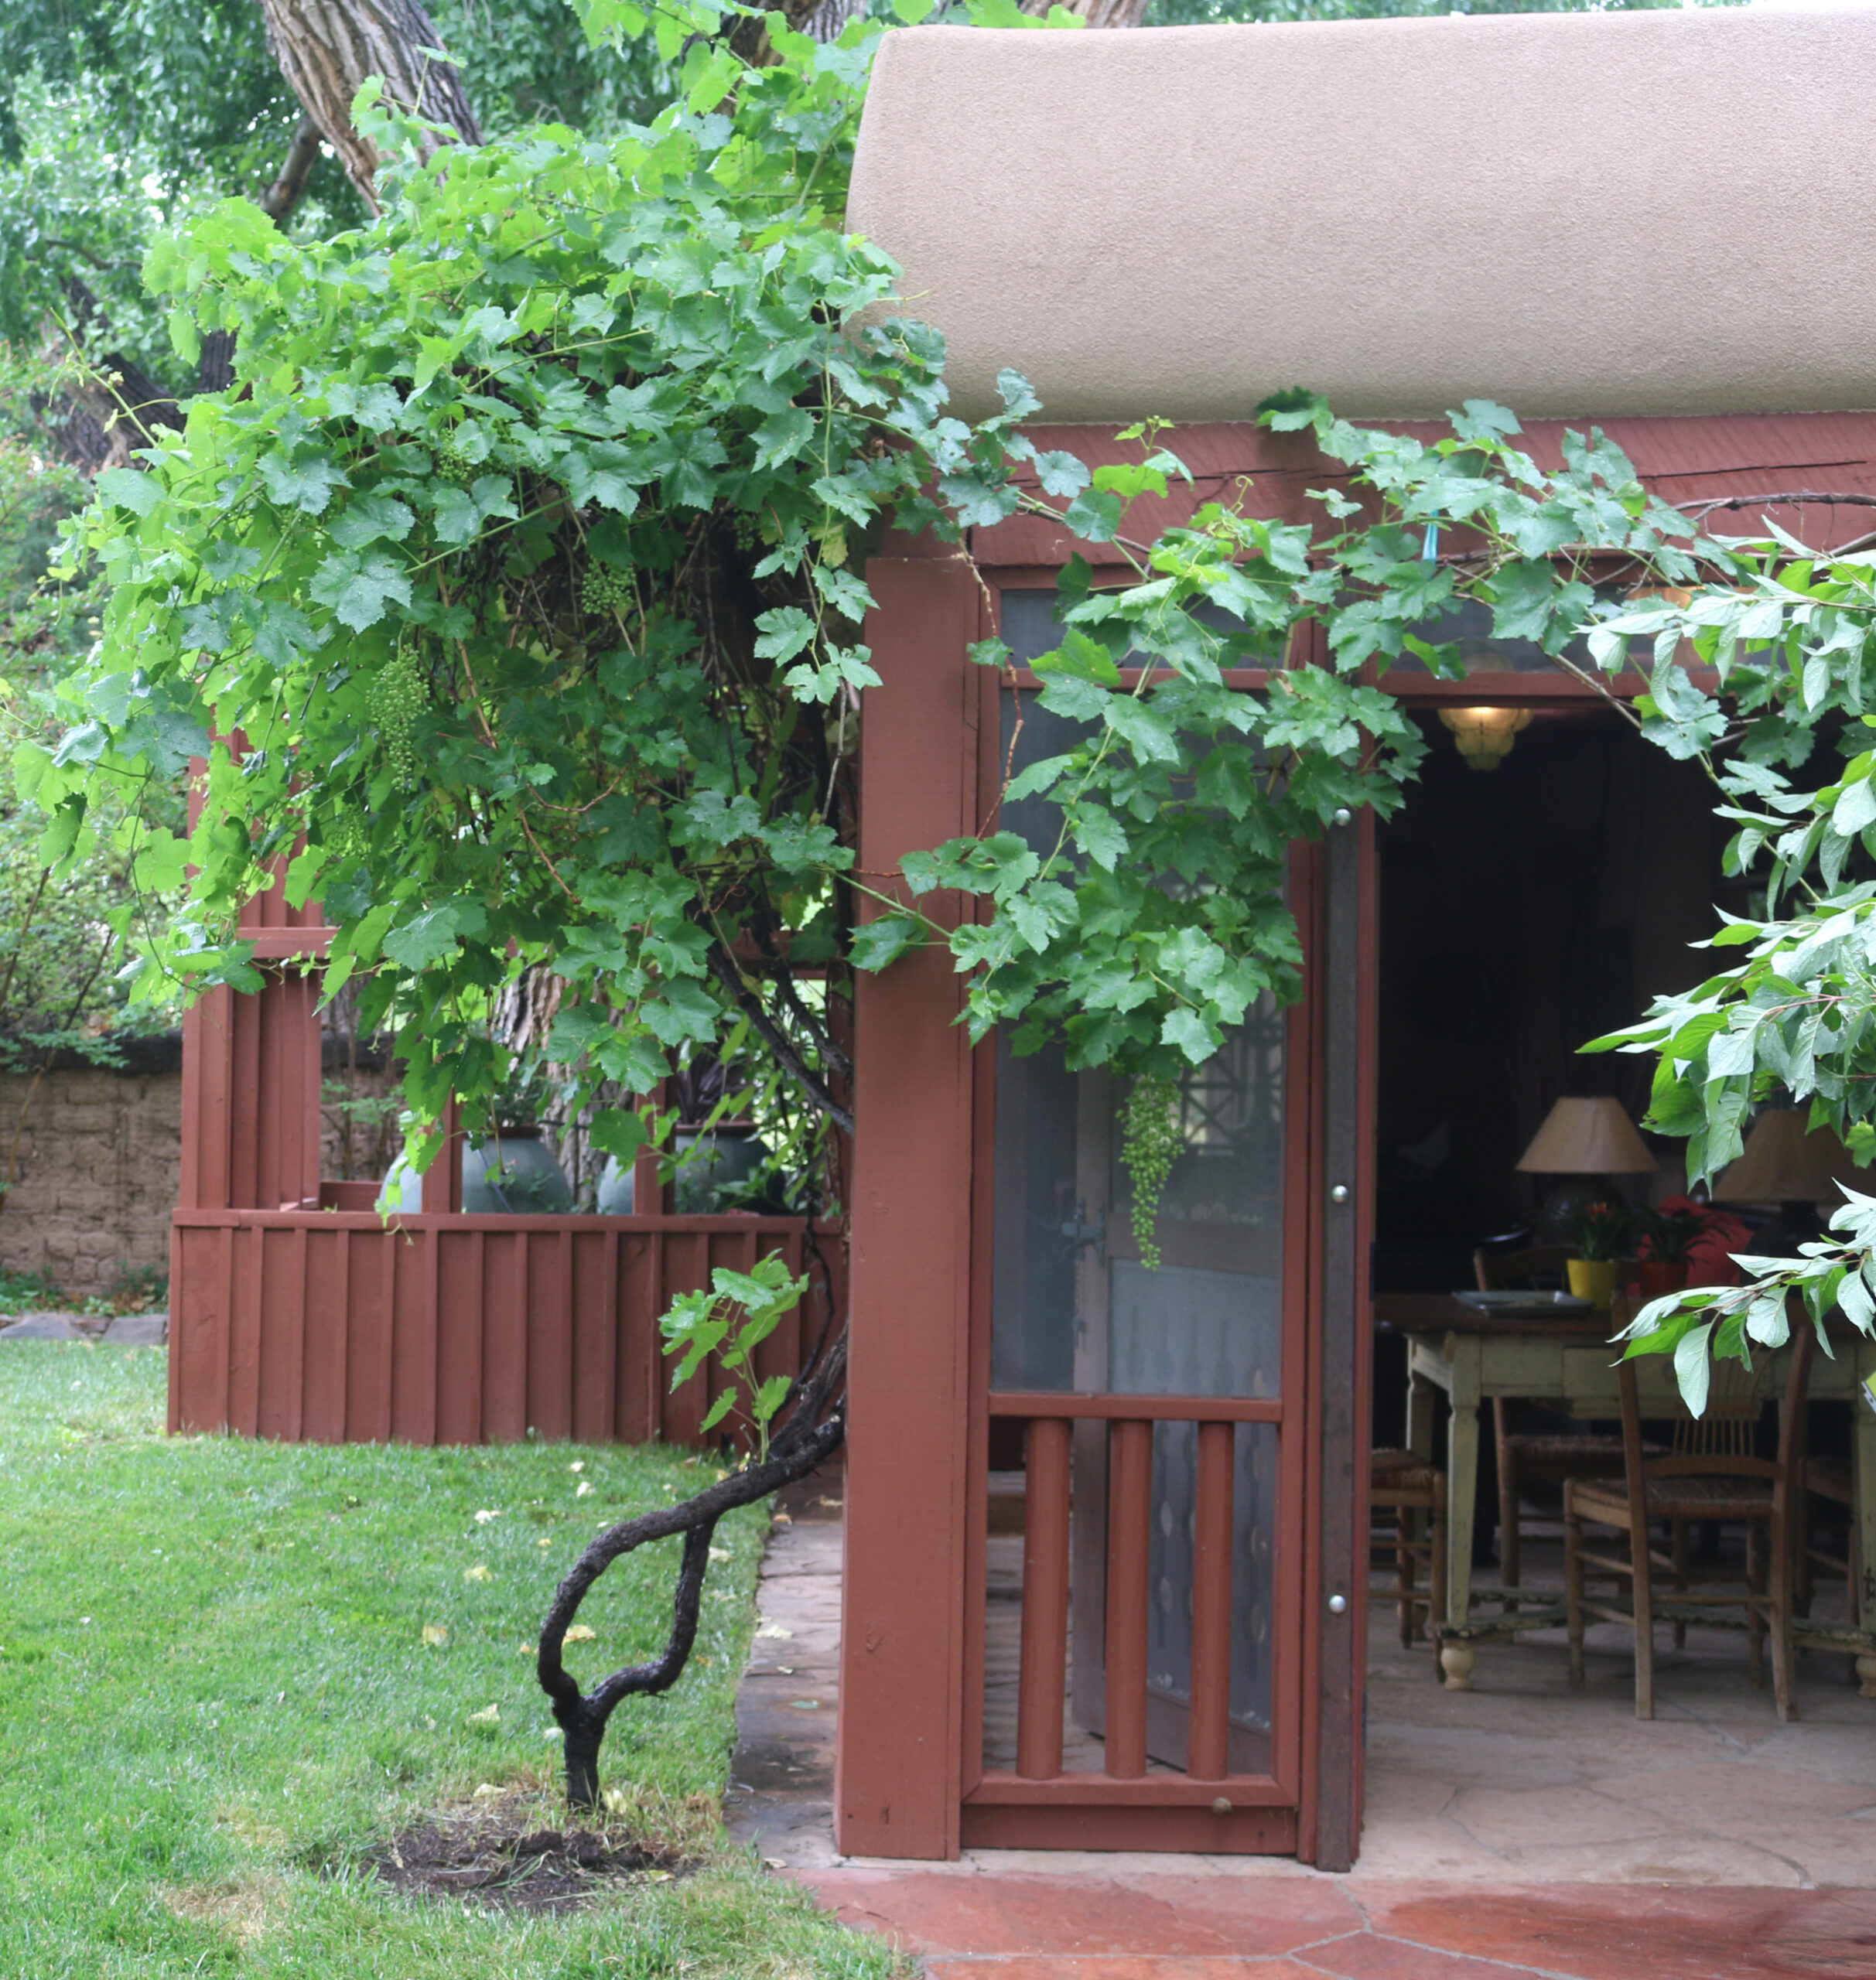
Grape vine growing on trellis at a home in the North Valley of Albuquerque.
SCREEN NARROW SPACES
Narrow spaces, such as side yards, can be difficult to plant because shrubs may become too wide before they provide enough height to provide screening. Vines trained on a trellis against a wall can fill vertical space without overwhelming the walkway and adjacent space.
Sun exposure in these narrow spaces affects which vines will do the best, explains Phillips. The west and south facing sides of the property receive the hottest afternoon sun, while the north facing side is typically cooler because of the shade, and the east facing side receives morning light.
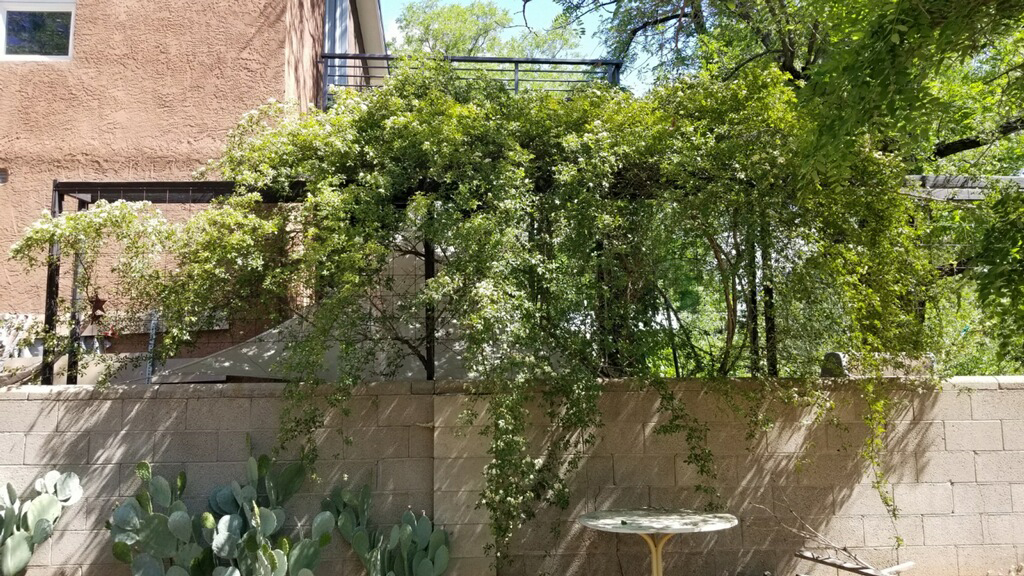
Lady Banks’ rose growing on metal trellis attached to block wall on side of the house.
For southern and western exposures, Phillips suggests using passionflower vine and silver lace vine.
Passionflower vine (Passiflora caerulea): Stunning dark blue and ivory flowers appear in the summer flocked with butterflies. This vine grows well in heat but will freeze to the ground in winter. It will regrow from root-sprouts in the spring and climb again using tendrils.
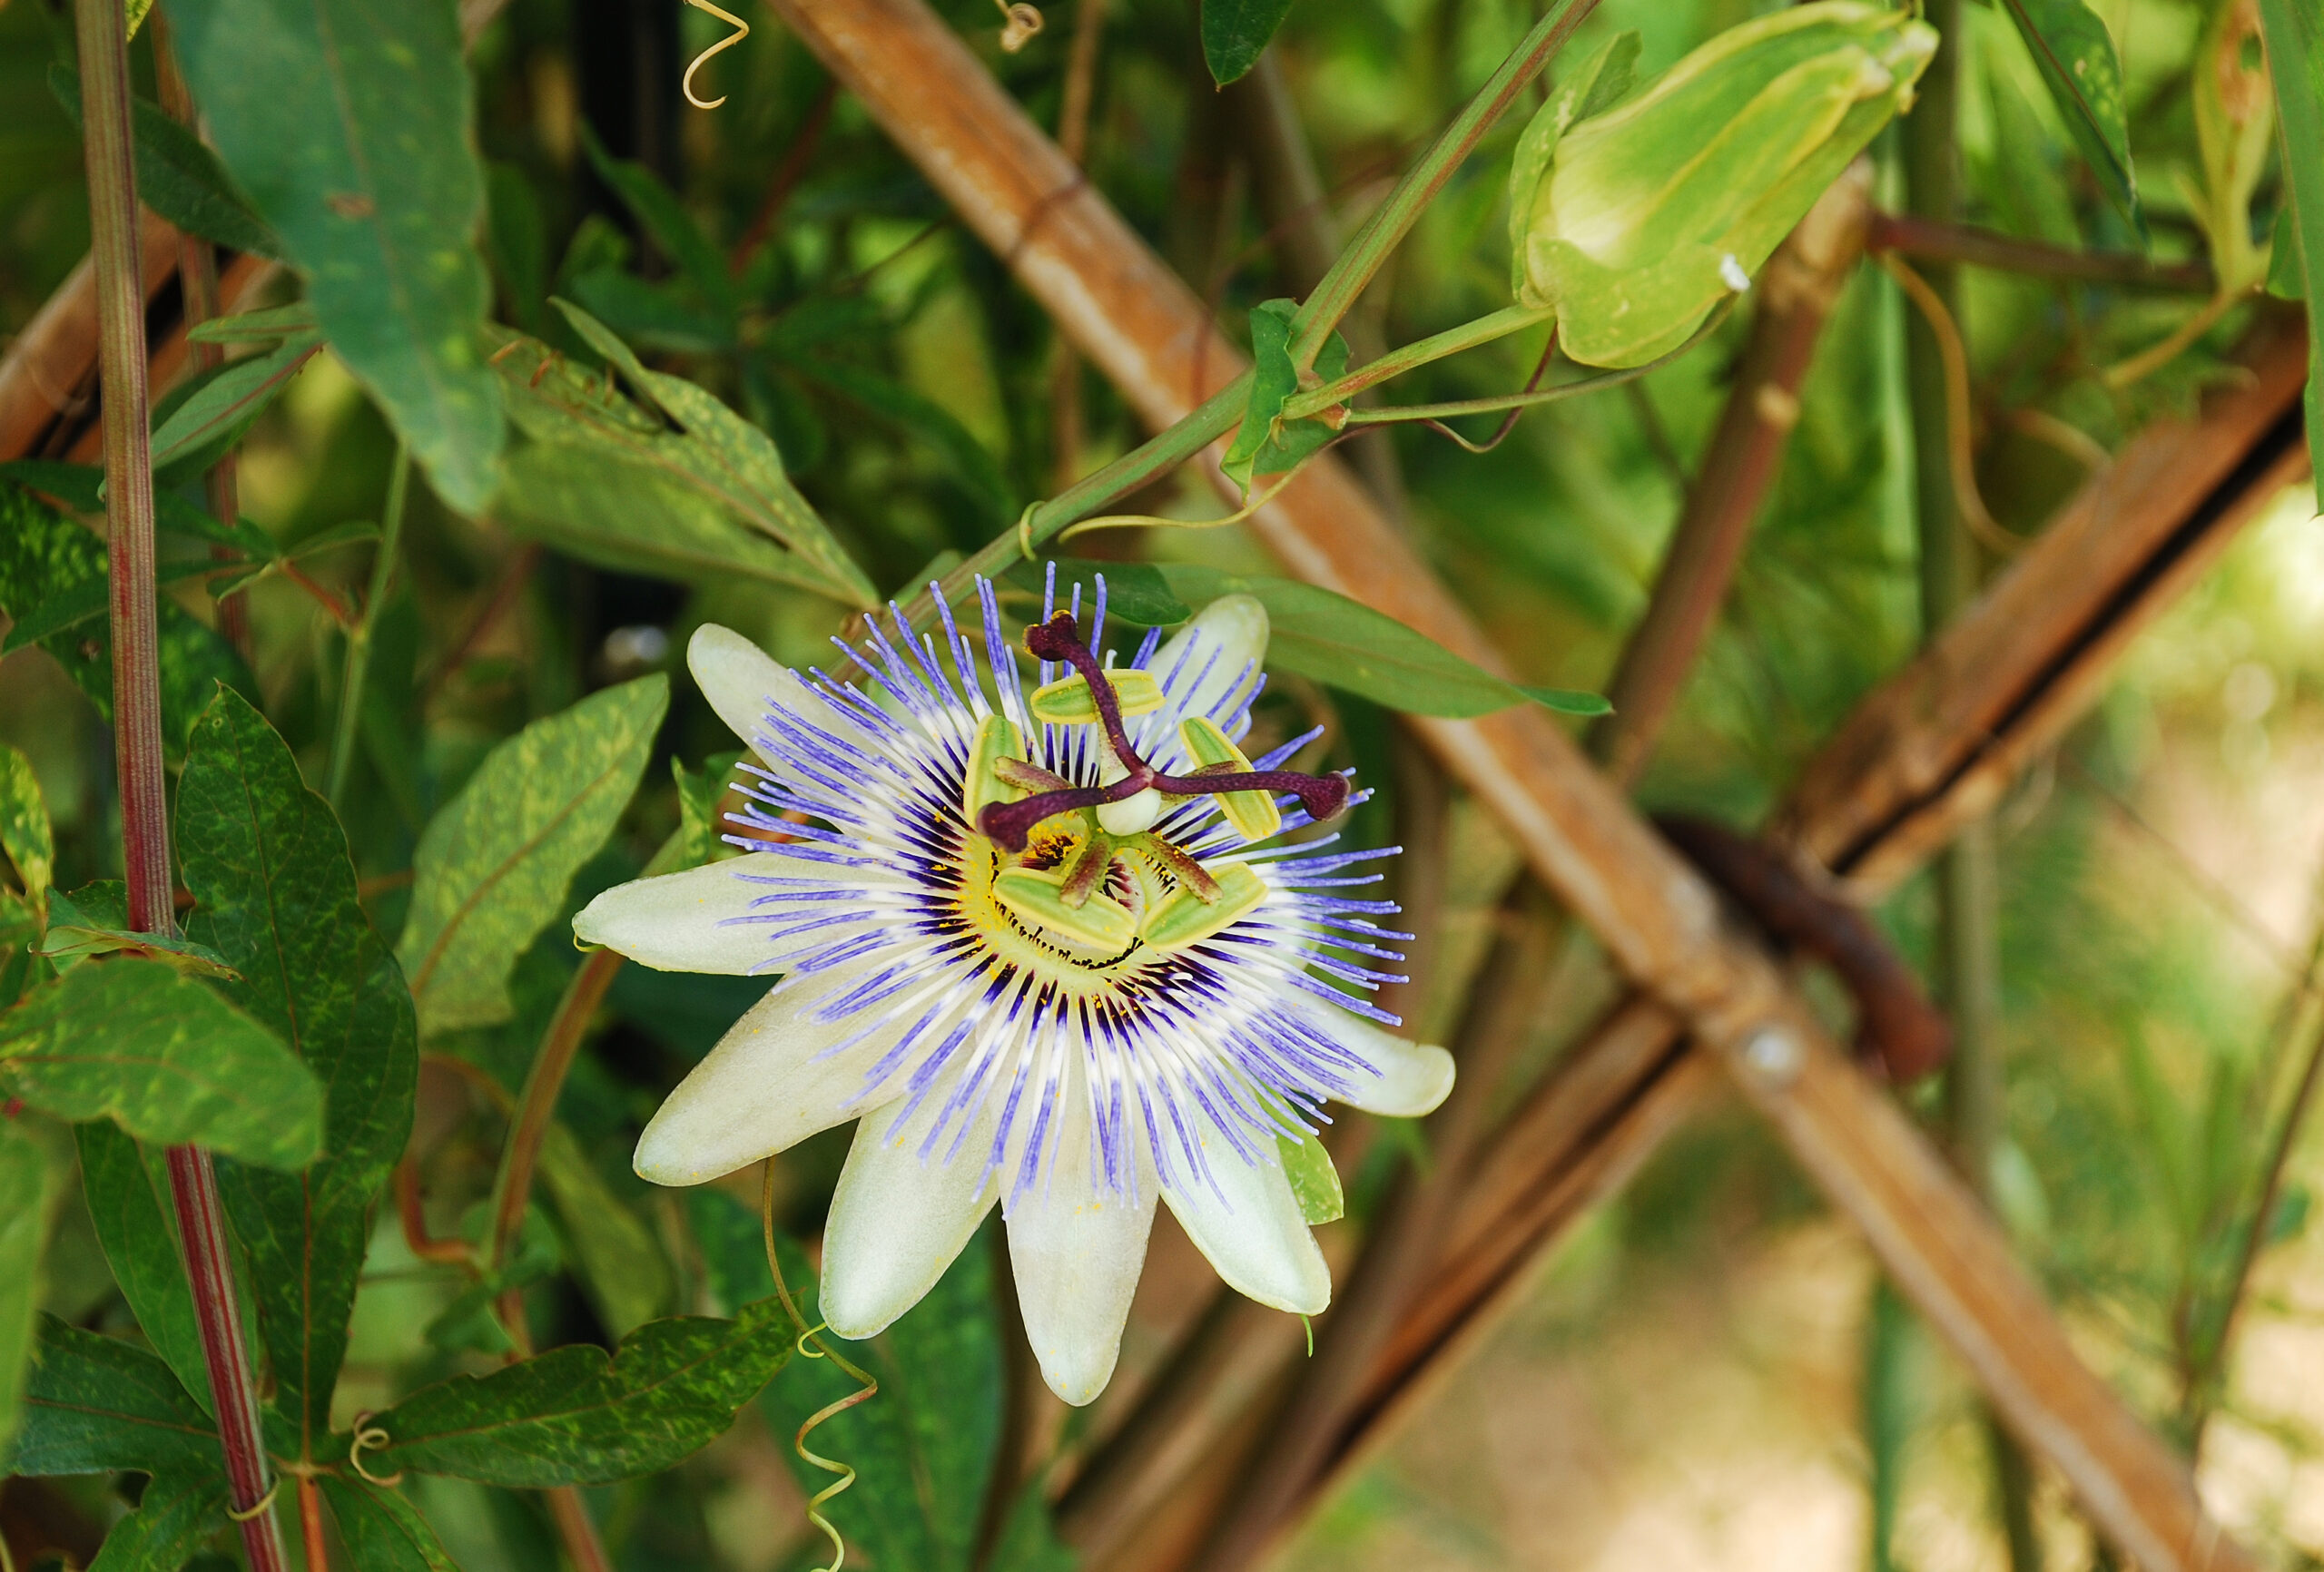
A single Bluecrown Passiflora flower, also known as Passilfora Caerulea, an evergreen tendril climbing vine.
Silver lace vine (Fallopia baldschuanica): This is one of the most xeric and heat tolerant of the vines as well as a good pollinator that can smell like lilacs when blooming. Because it can become a tangle of spaghetti-like twigs, Phillips recommends cutting it to the ground every few years so that it will return with great exuberance in the spring.
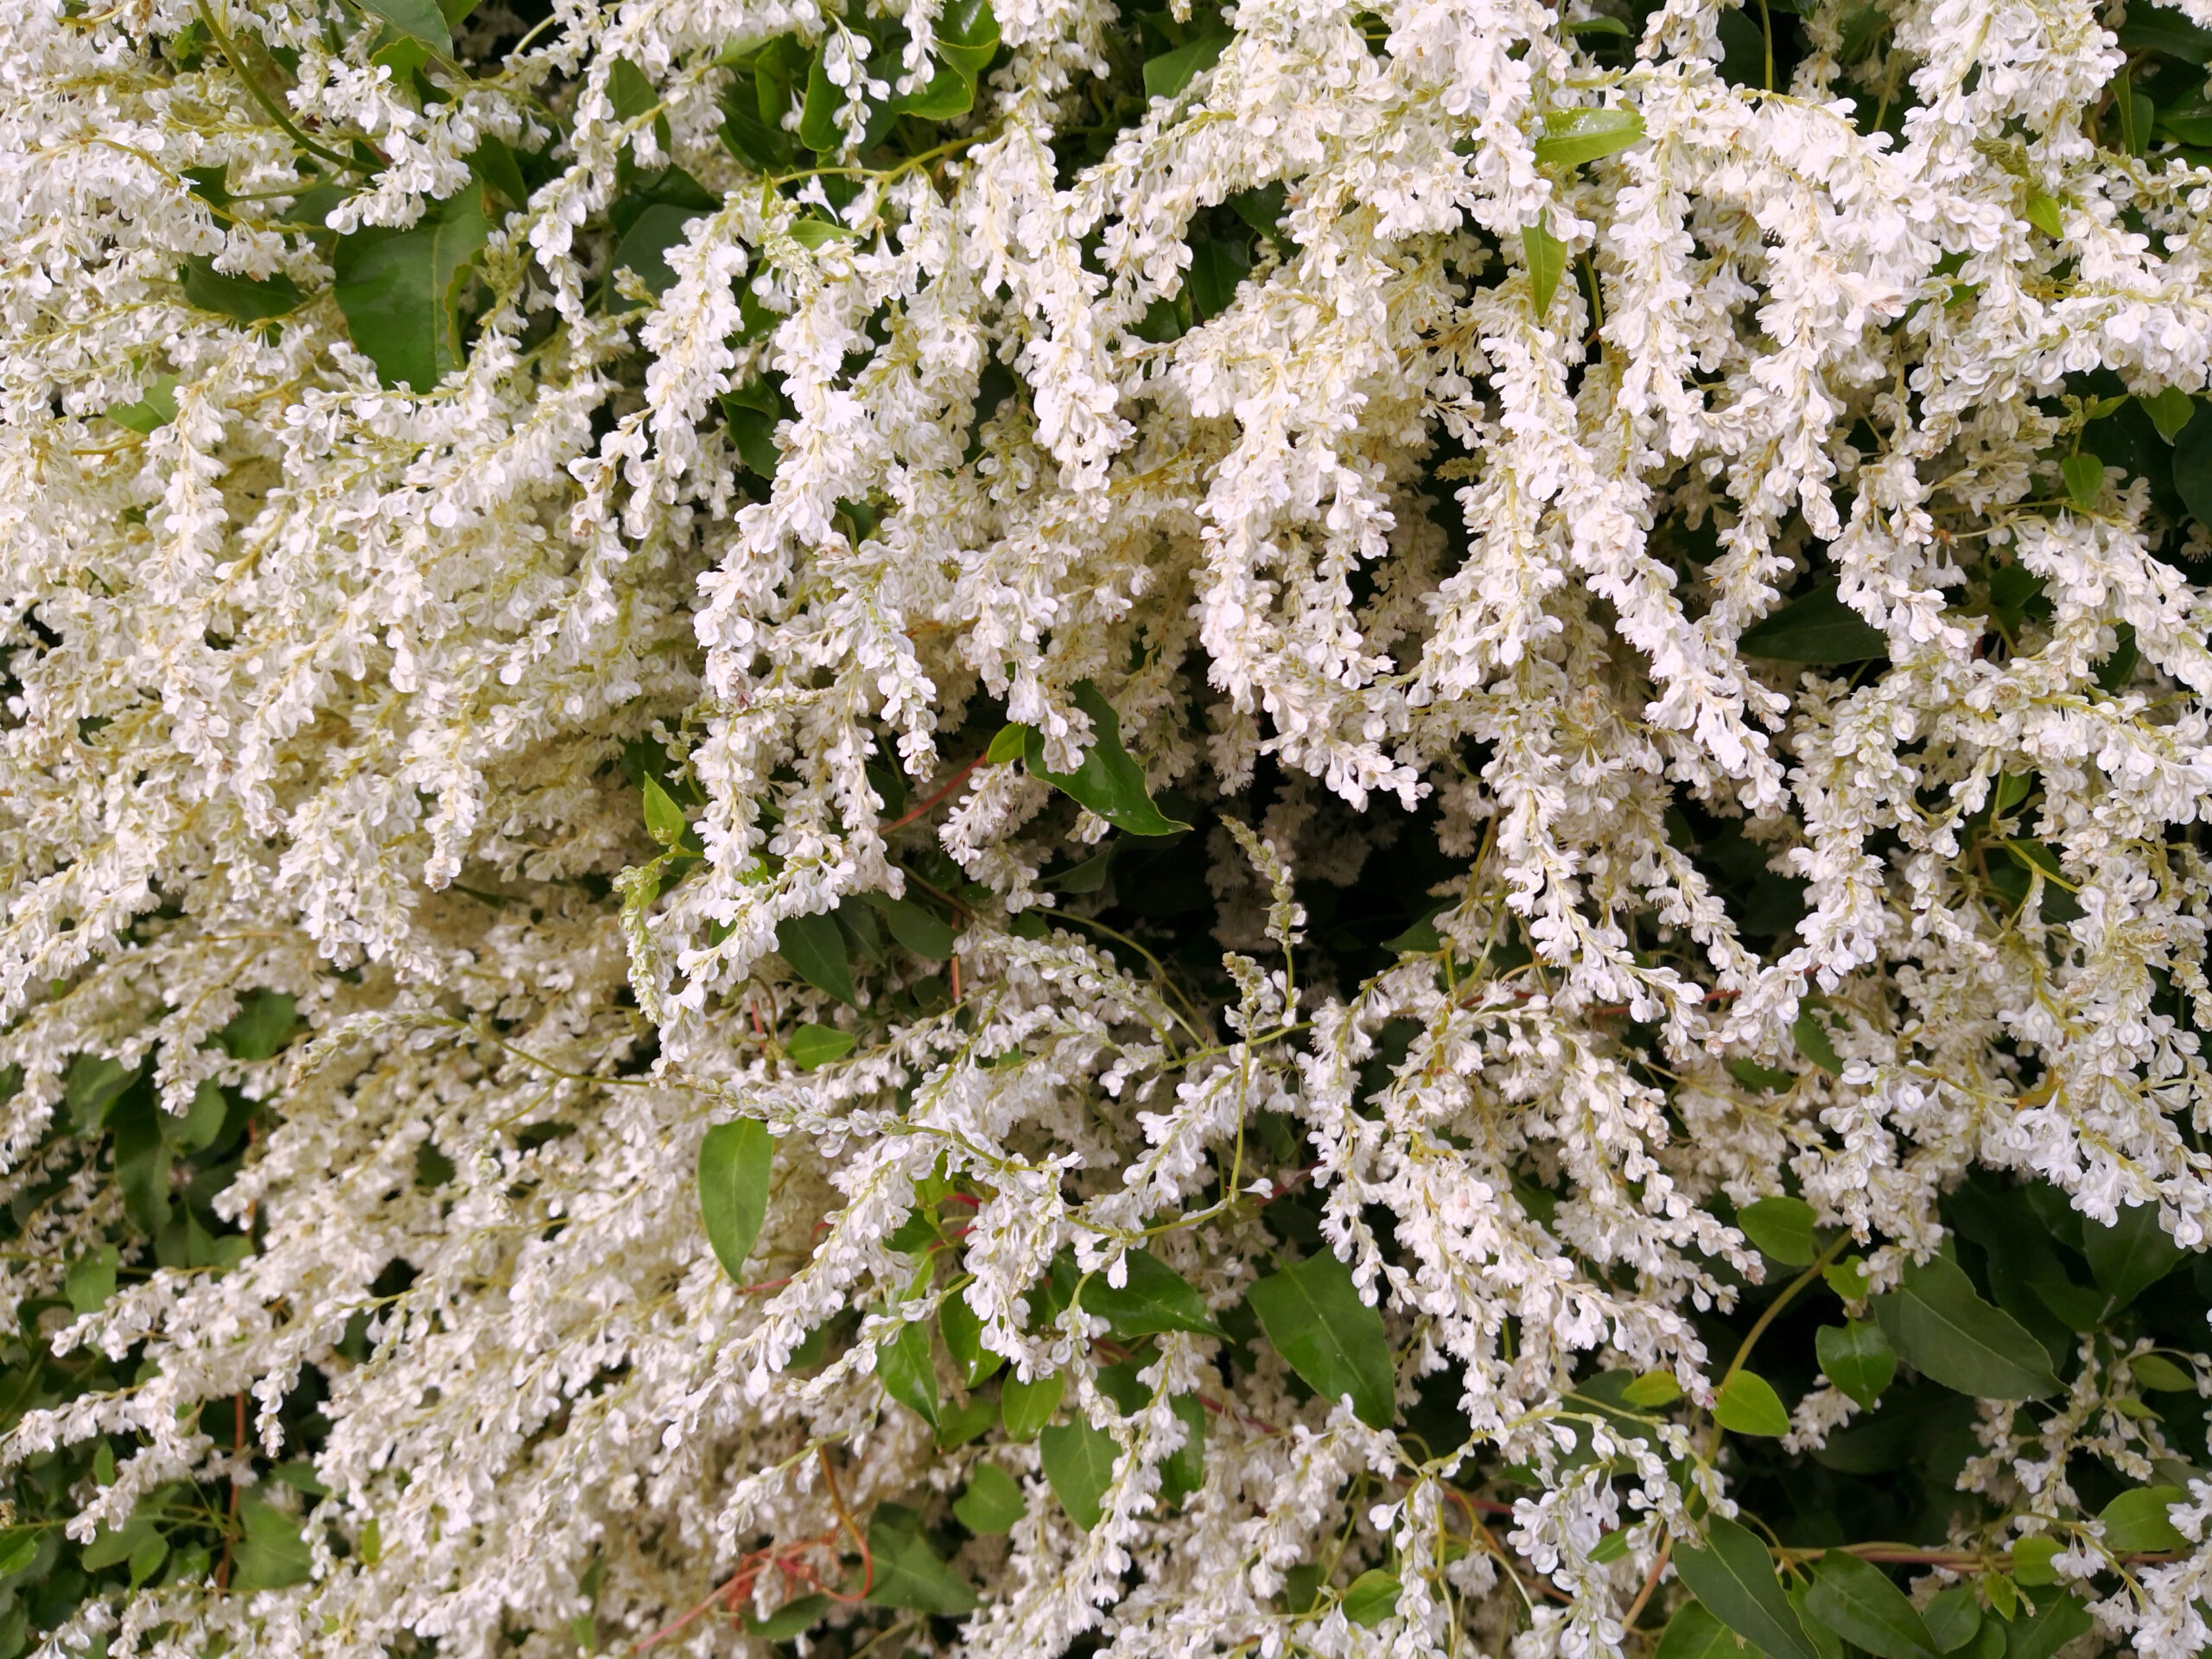
Silverlace vine in bloom.
For shadier locations, she recommends using Carolina jessamine and Algerian ivy.
Carolina Jessamine (Glesemium sempervirens): This vine performs best in shade. It is not particular about soil and produces beautiful yellow flowers in early spring while retaining winter color. Note that it is toxic to humans, pets and livestock if ingested, even in small amounts. Prune one fourth of the vine’s mass every three years to keep it from getting too woody and to encourage vigorous plant growth.
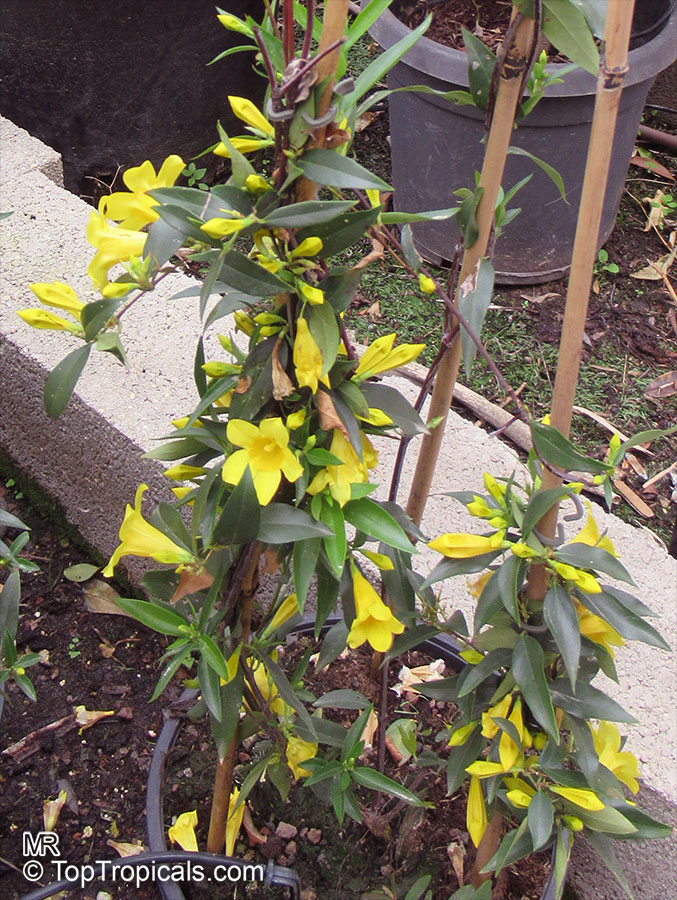
Carolina Jessamine
Carolina jessamine (from internet, not great)
Algerian ivy (Hedera canariensis): This ivy climbs walls with clasping roots and provides evergreen color. It does best on north or northeast facing walls. Its large, bright green leaves resemble English ivy. The needlepoint dwarf variety is a smaller option that also performs well.
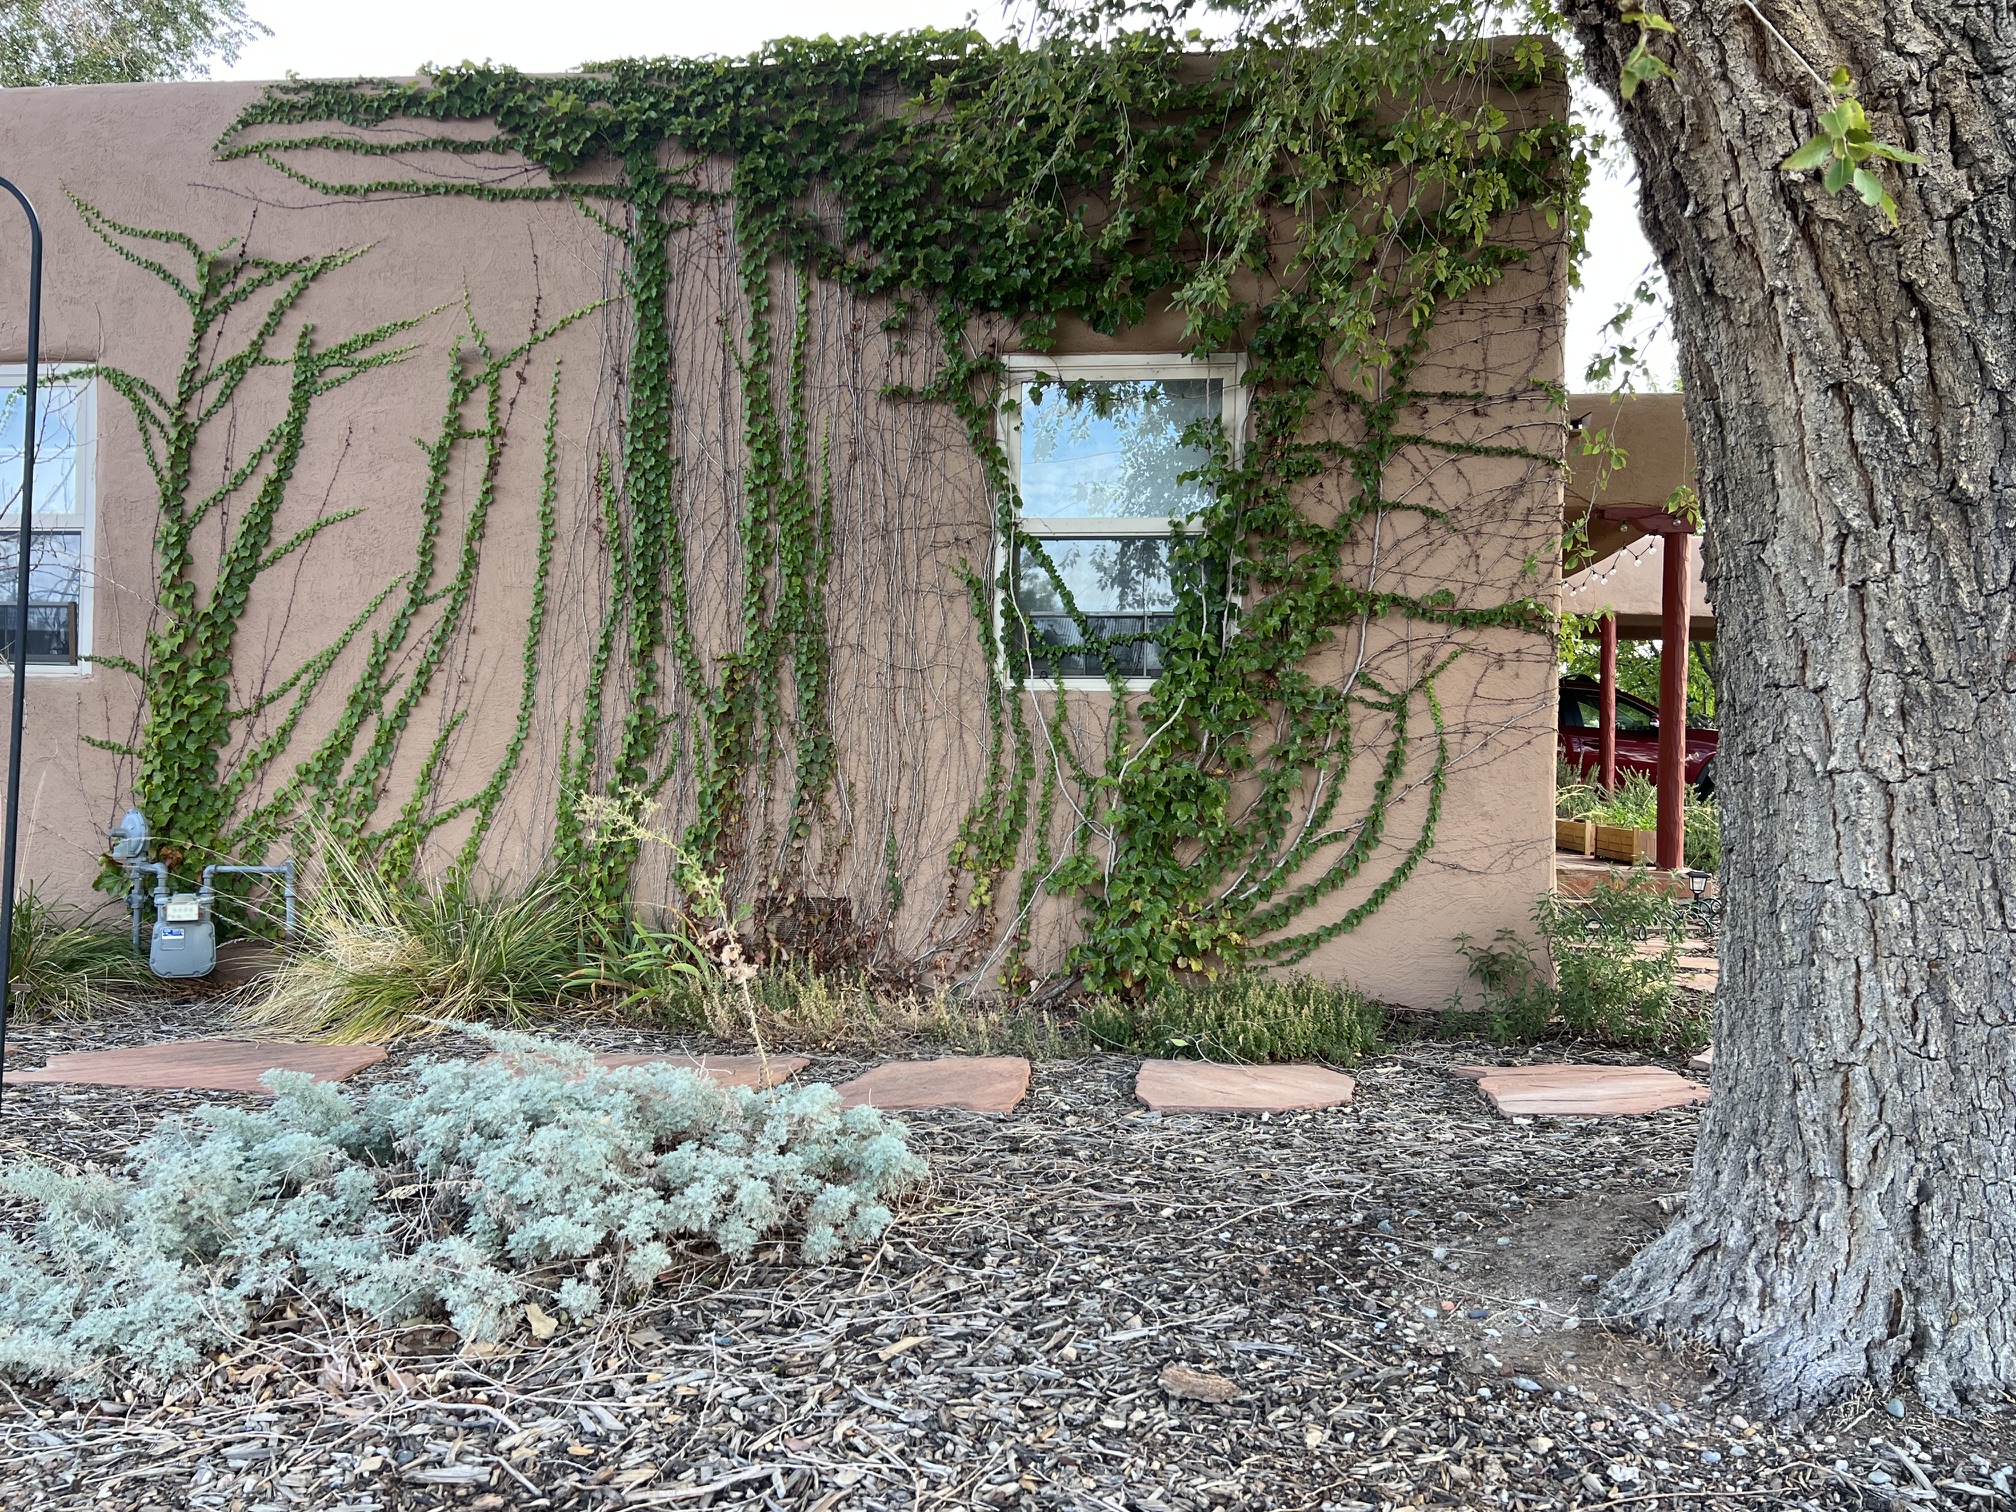
Ivy climbing up the side of a home.
ADD WINTER INTERST
Many vines fade or freeze back in winter, but some continue to add structure, color or texture. Phillips recommends Lady Banks’ rose and Algerian ivy for evergreen color along with wisteria for its sculptural woody branches.
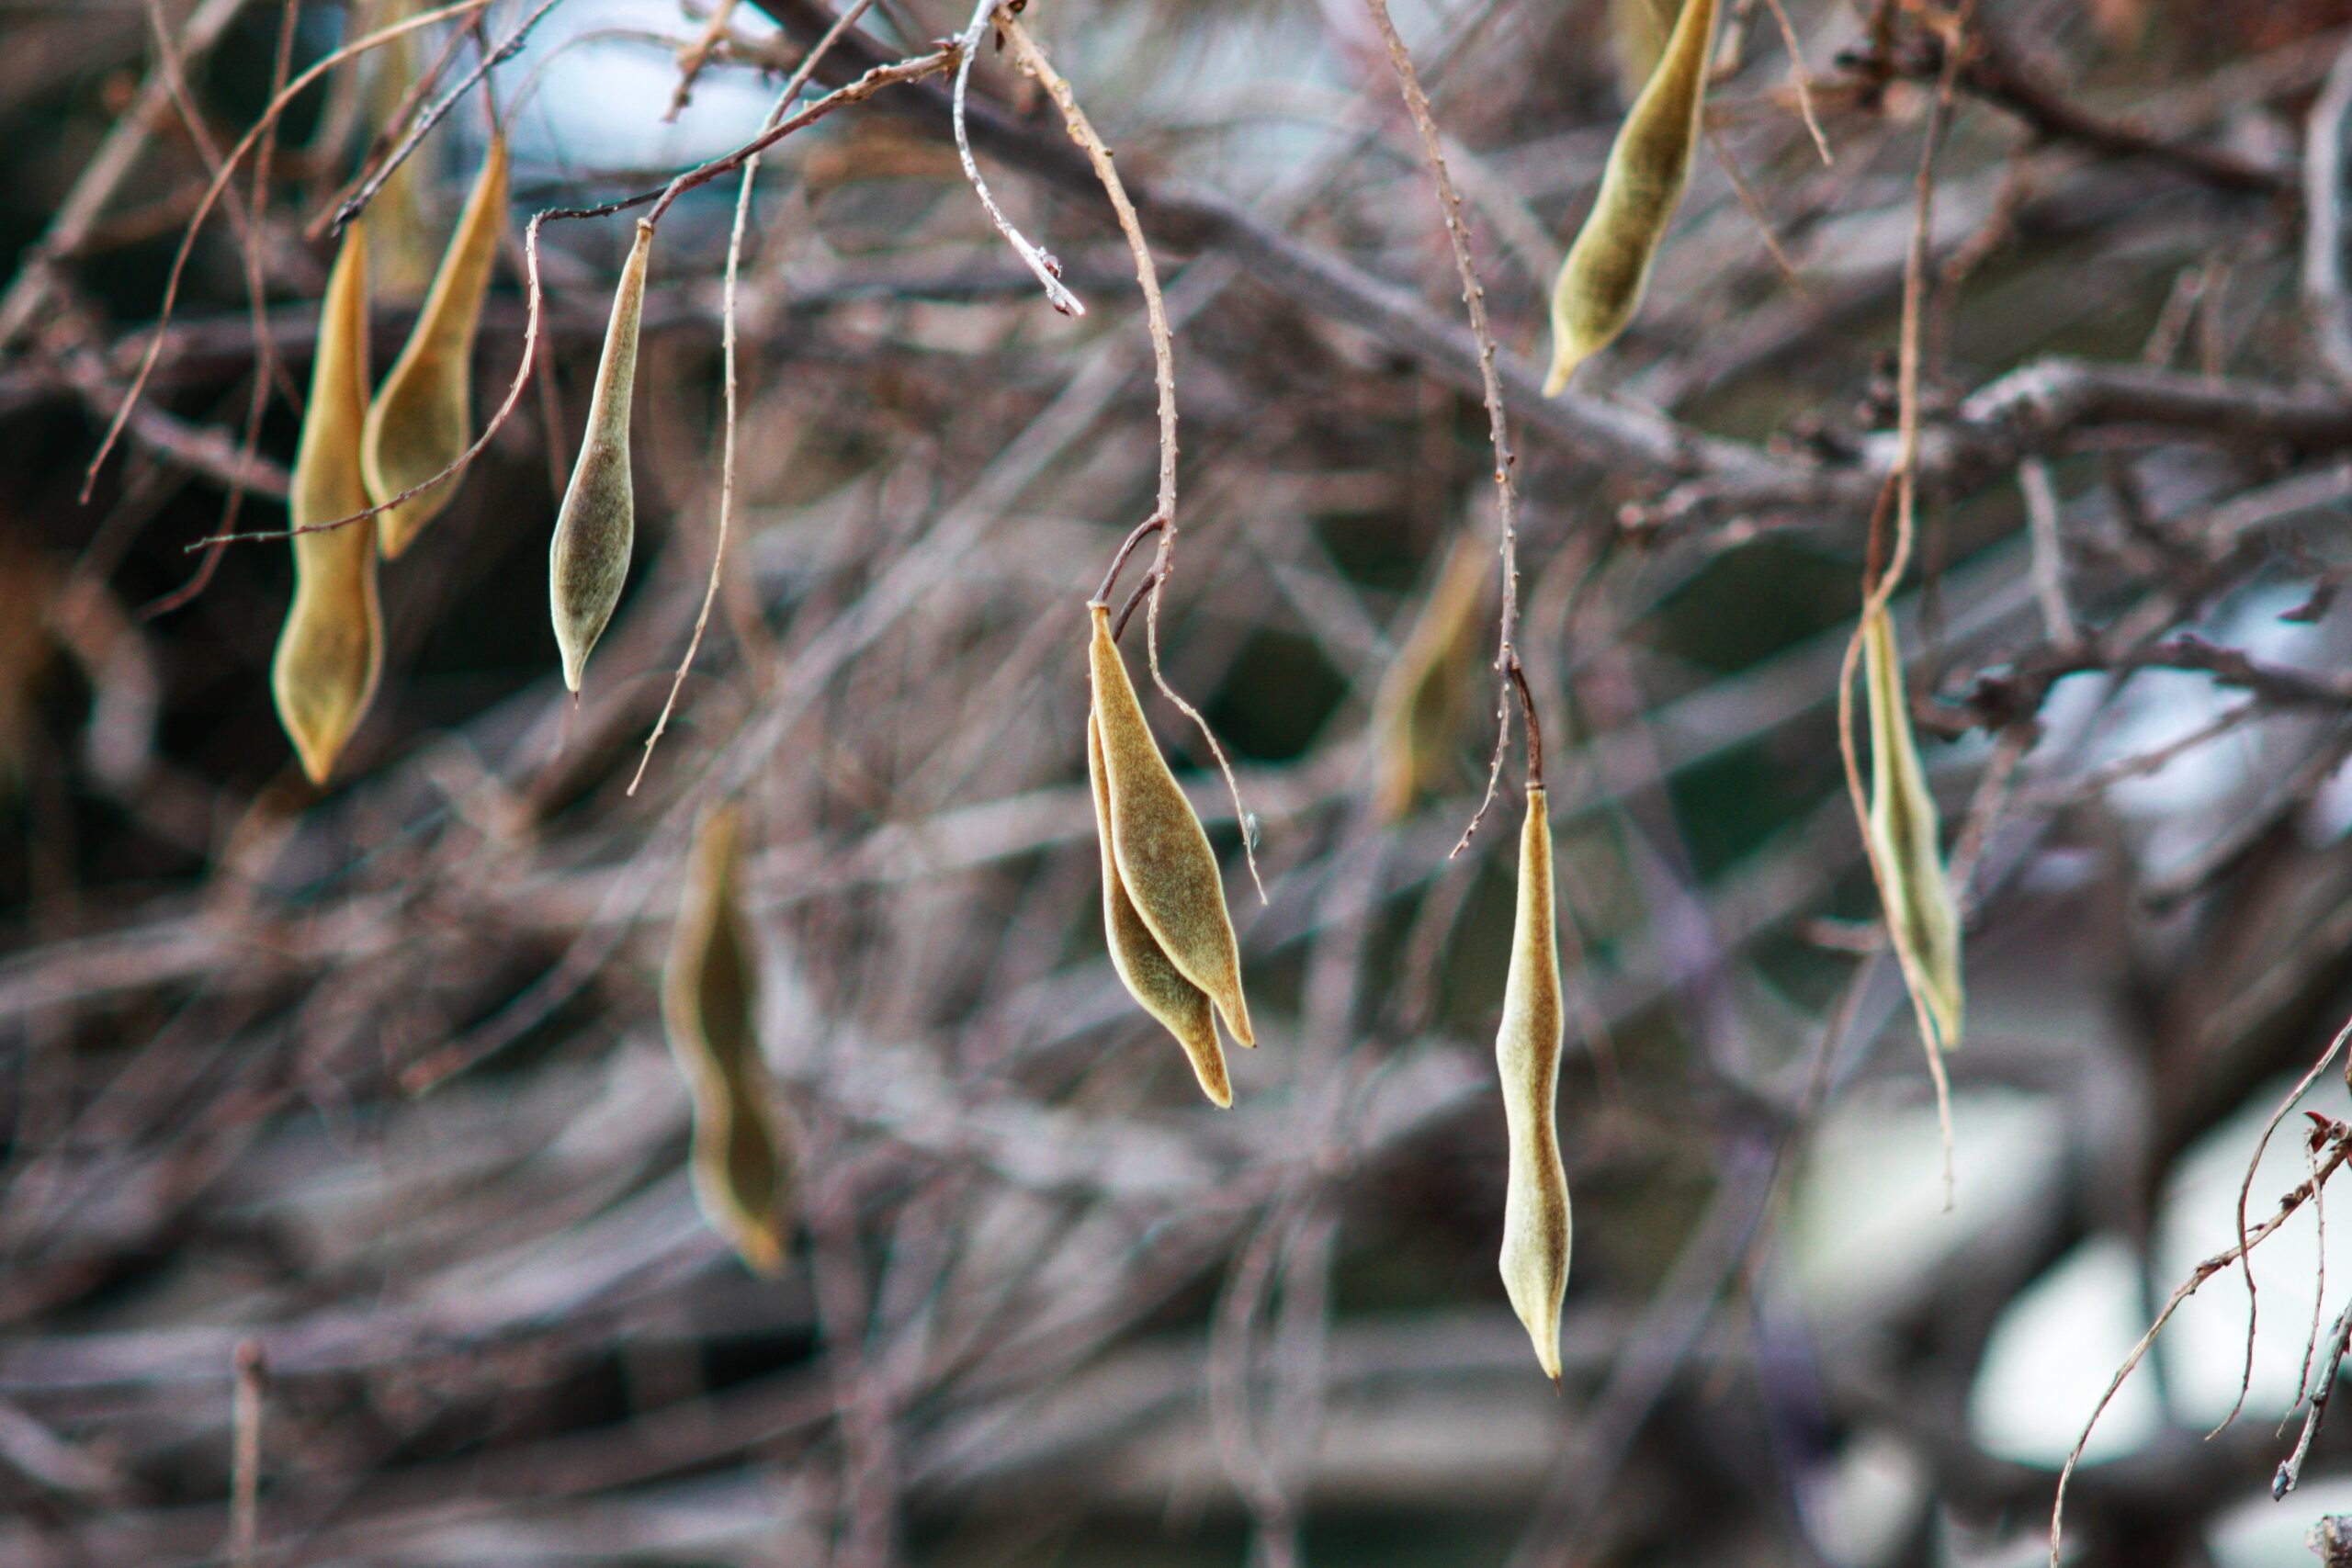
Wisteria seed pods in winter.
Star jasmine (Trachelospermum jasminoides): This vine has dark green foliage, fragrant spring flowers and smooth stems. When trained onto a trellis, it forms a dense cover. It grows well in partial shade, is a medium water user and is adapted to a wide range of soils. The sweet, pinwheel-shaped white flowers produce nectar for pollinators.
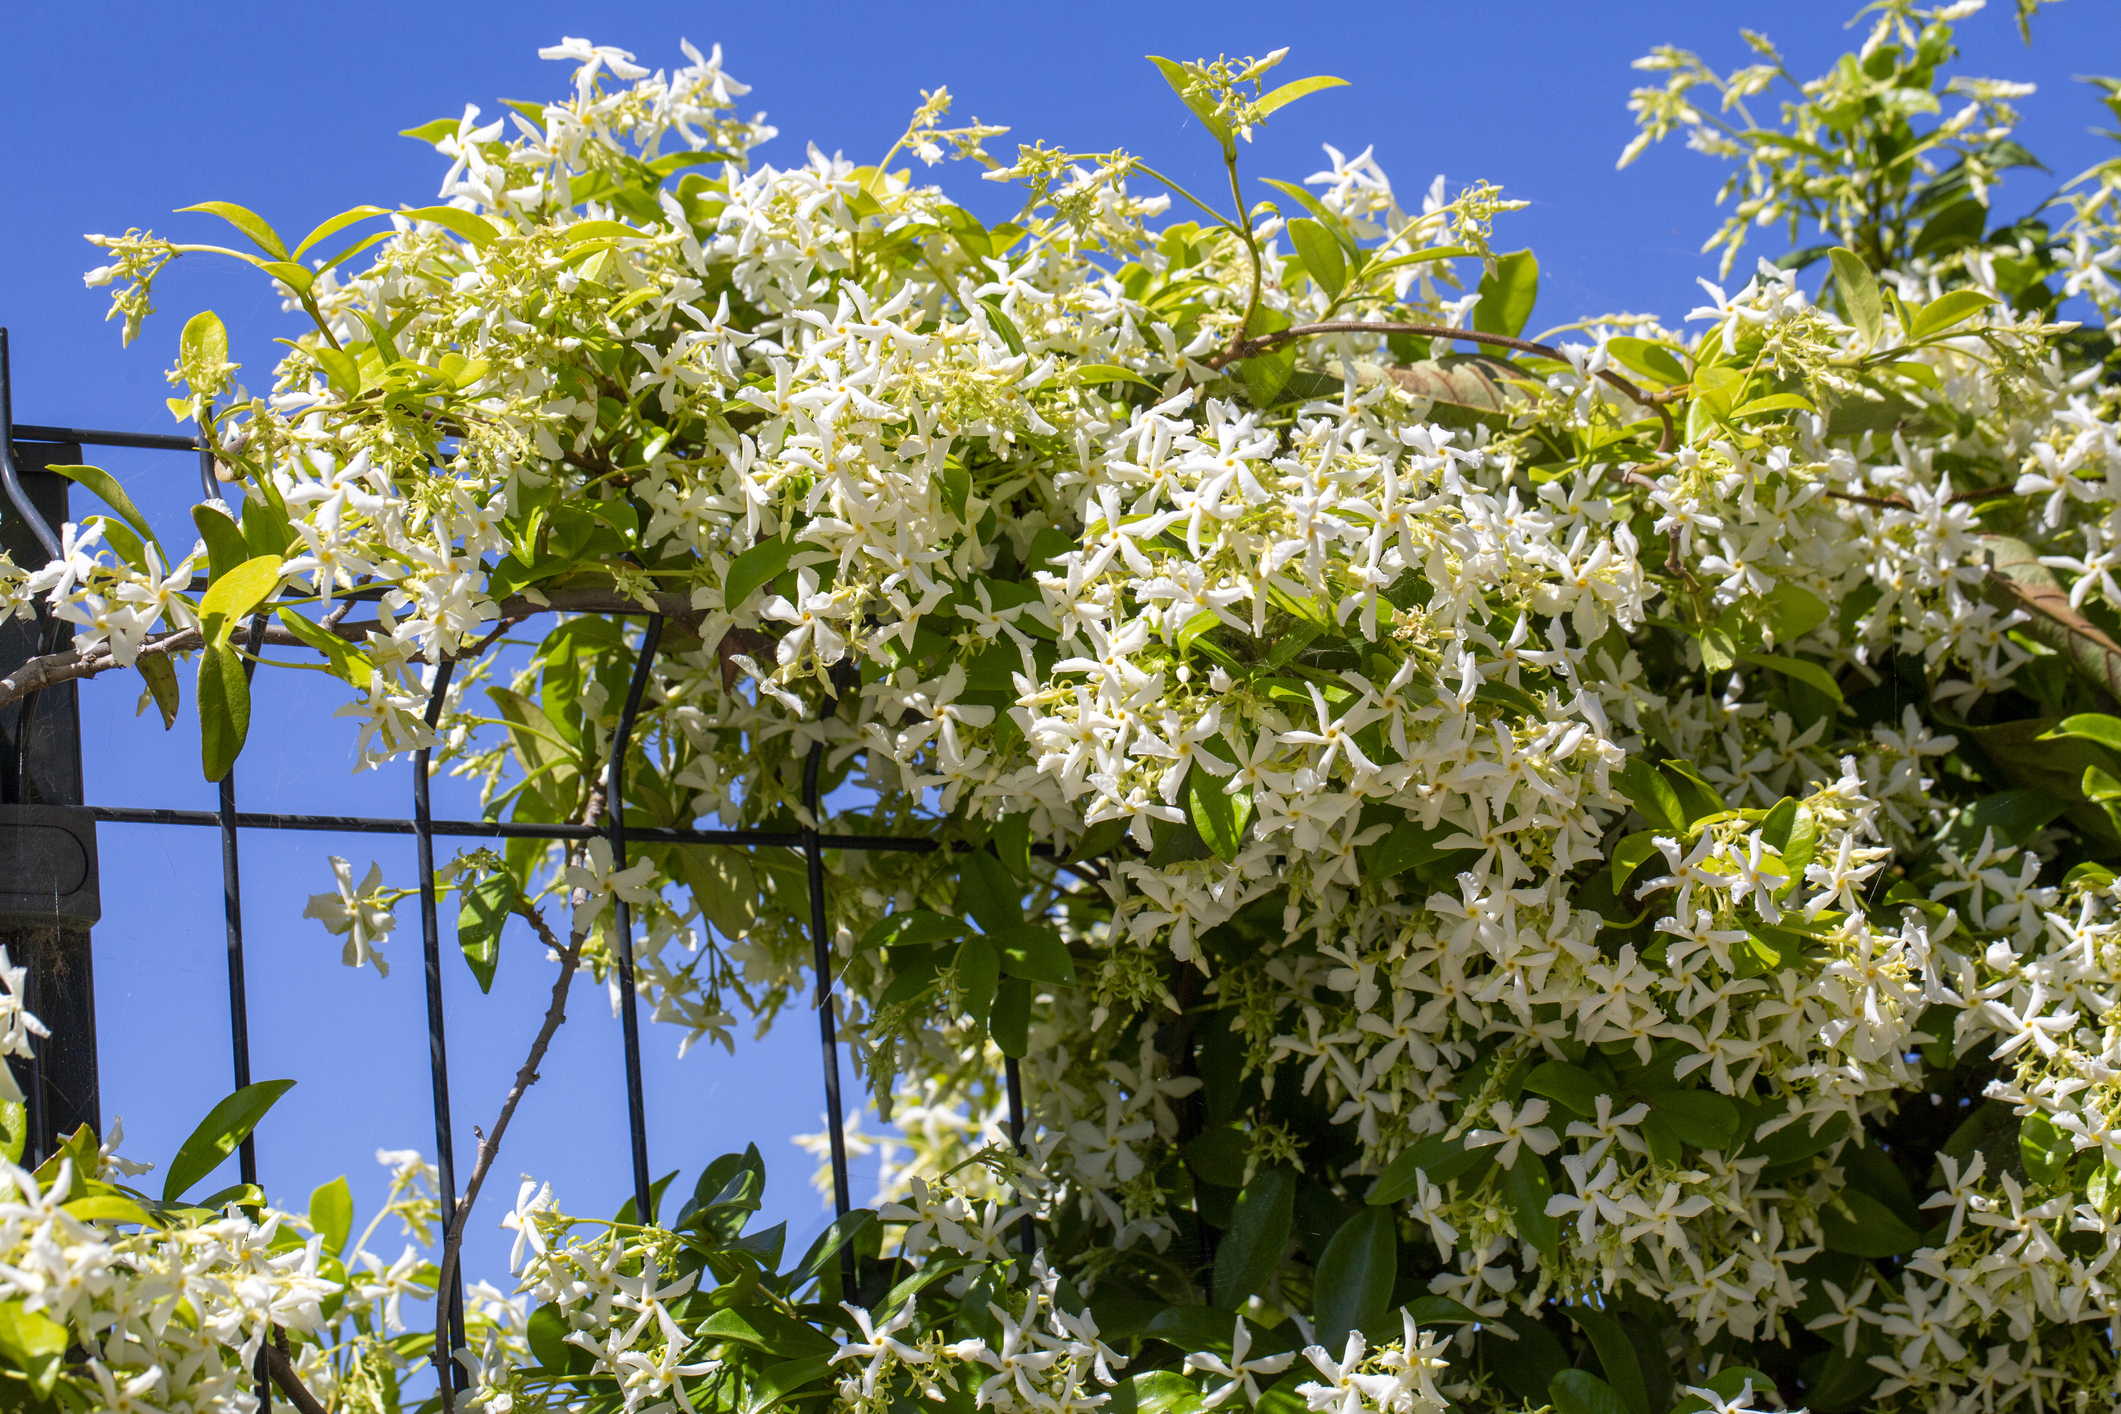
Star jasmine growing on a fence.
PROVIDE FOOD AND HABITAT FOR POLLINATORS
Several vines already mentioned — including wisteria, star jasmine, Carolina jessamine, silver lace vine and passionflower — support pollinators.
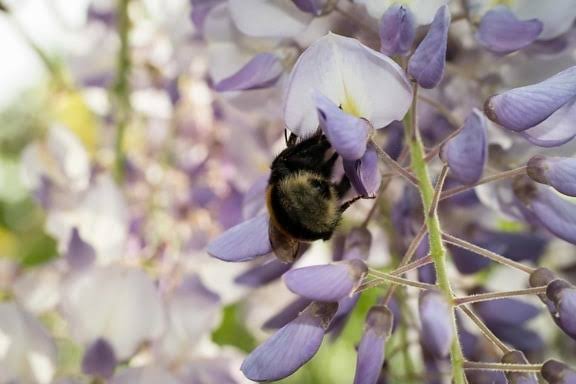
Wisteria blossom.
Climbing milkweed (Funastrum cynanchoides): This New Mexico native is one of Phillips new favorites. It dies back completely in winter but grows vigorously in spring, forming tangled curtains across fences, boulders and shrubs. It prefers heavier soils such as clay rather than
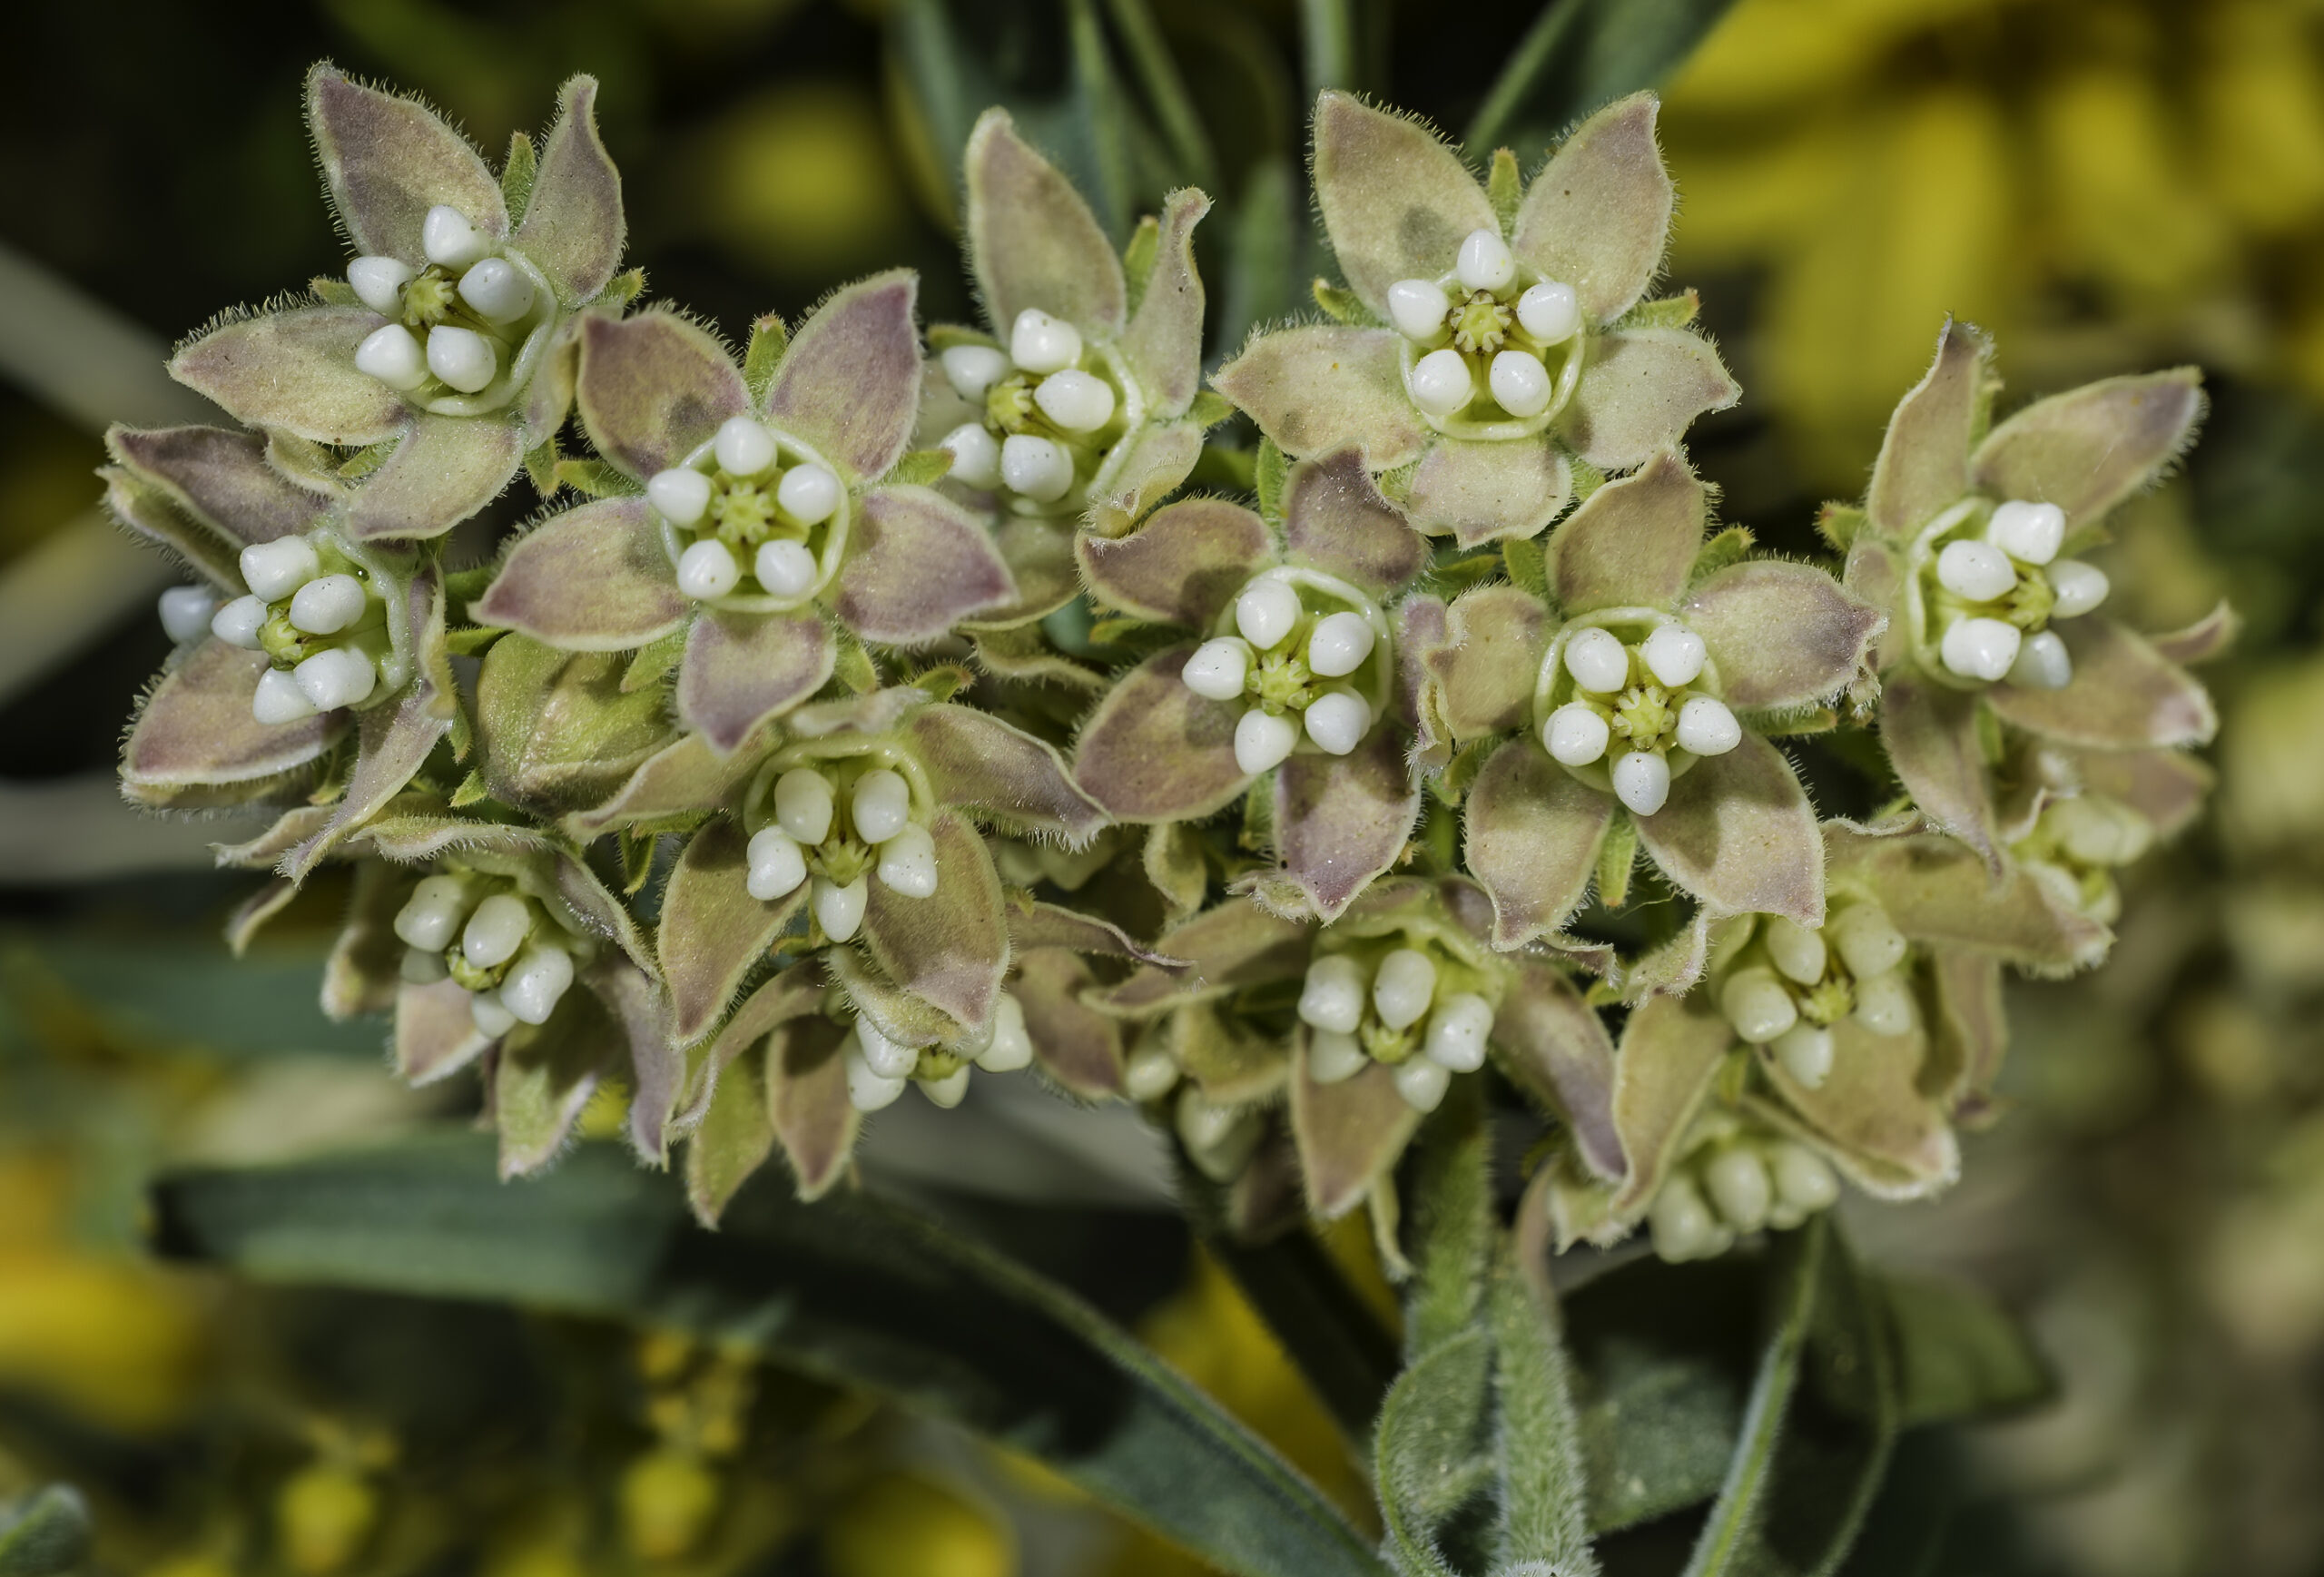
Climbing Milkweed, Funastrum cynanchoides var. hartwegii
Silkvine (Periploca graeca): This deciduous vine can grow three feet or more in a year and sports glossy dark green leaves and dark maroon spring flowers. It’s fast growing and loves to climb up ramadas, wire fencing and trellises. On a pergola, it provides dense shade in the summer then loses its leaves in winter, letting the sun penetrate through the sculptural coiled stems. It tolerates both clay and sandy soil. Brought here by the earliest colonizers from the Valencia region of Spain, it’s found along the historic stagecoach routes of the Camino de Real.
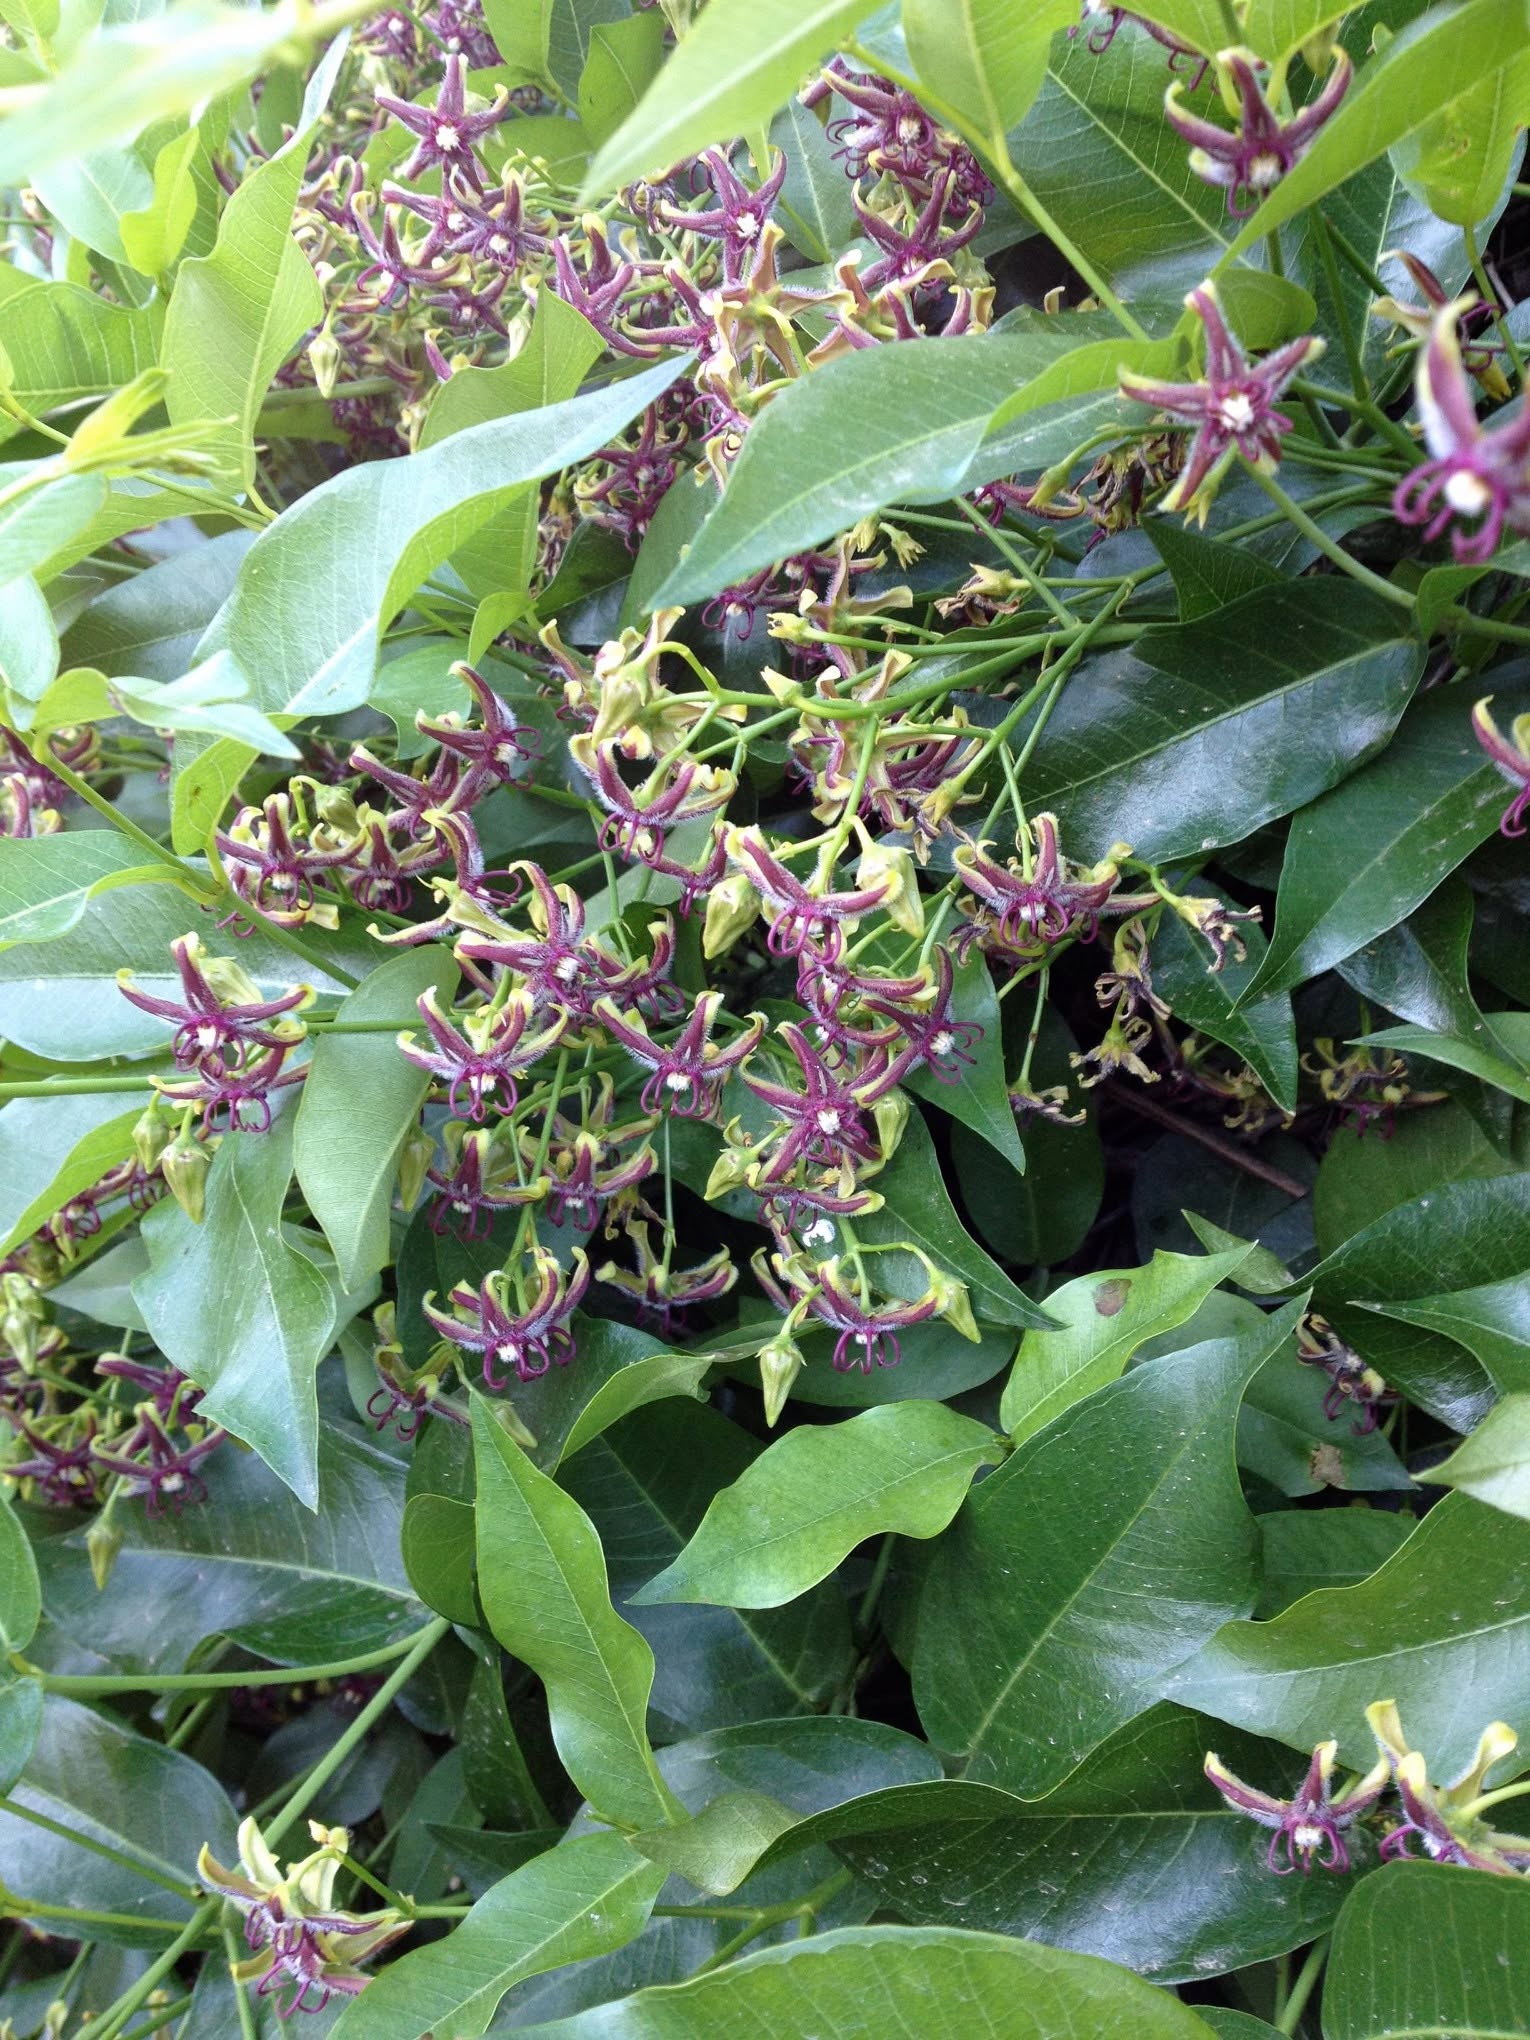
Silkvine flower by Hunter Ten Broeck
Western virgin’s bower (Clematis ligusticifolia): Also known as old man’s beard, this vine is fast growing where water is available and does well on north and east sides. Native to New Mexico, it can be found climbing over small trees and shrubs in the Jemez Mountains. Butterflies adore the fragrant white blooms, and attractive seed heads — one of the best parts of this plant — provide winter interest.
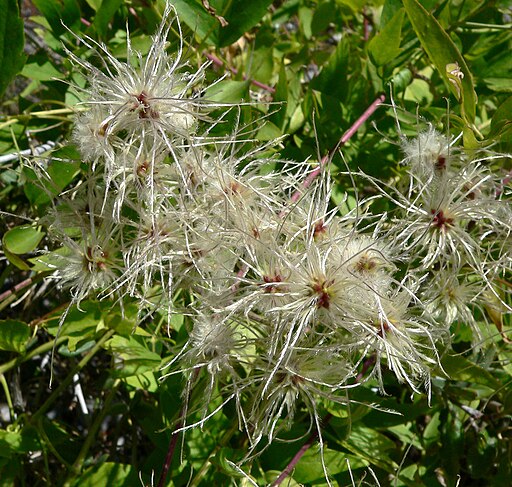
Clematis flower by Hunter Ten Broeck
Locally familiar trumpet vine and honeysuckle are not included here because Phillips is using them less often in home landscapes. Orange trumpet vine can root aggressively and become difficult to manage. Instead, Phillips has been using crossvine, a related species that she finds easier to live with and more evergreen, making it more attractive through winter. Honeysuckle (Lonicera sempervirens), including the Major Wheeler variety, can be temperamental, especially when it experiences leaf loss during late, hot summer months. Even so, both trumpet vine and honeysuckle are established local favorites and can still find homes in the right locations.
Whether used for shade, screening, winter structure or pollinator support, vines can bring beauty and function to places where other plants may struggle. With the right species, sturdy support, thoughtful placement and regular training, they can become some of the most versatile and rewarding plants in a Southwestern garden.
Learn More Here:
Vines for New Mexico
How to Build a Trellis
Creating Living Shade with Vines
Interview with Judith Phillips, owner of Design Oasis and a landscape designer and garden writer with 30 years of experience designing arid-adapted and native gardens in the high desert. Have a question about the article or anything else? [email protected]

by 505 Outside | Aug 31, 2026 | Home Page, Vines
Type: Deciduous
Exposure: Full Sun
Water Use: Low
Mature Size: Climbing 40′ x 30′
Silver lace vine is a fast growing, drought-tolerant, sun loving vine that can (once established), quickly climb and cover a fence, trellis or arbor. It is a deciduous plant that can benefit from being cut back in late winter or early spring before new growth begins to shape, control or otherwise contain the vigorous growth this plant can produce.
Be careful planting near trees, as it can quickly climb to the top of a 40-foot tree if not monitored. The name of the plant comes from the profusion of tiny white flowers that give the effect of lace draped over every surface it covers.
The leaves are small, heart shaped and grey-green. The flowers can be fragrant and appear from late spring to fall. This plant flowers on new growth so pruning can sometimes spur additional blooming.
Cold hardy in USDA zones 4-8, this non-native was introduced to U.S. gardens from western China in the 1800s. It has become widely planted due to its ability to grow in many soil types, a vigorous growth habit, drought tolerance and an abundance of flowers.
Long popular in the xeric landscape, silver lace vine does not need the heavy support structures required by other popular vines like wisteria or trumpet vine. The muted colors make it suitable for a more subdued, modern palette, and the color suggests coolness in the heat of the summer desert.
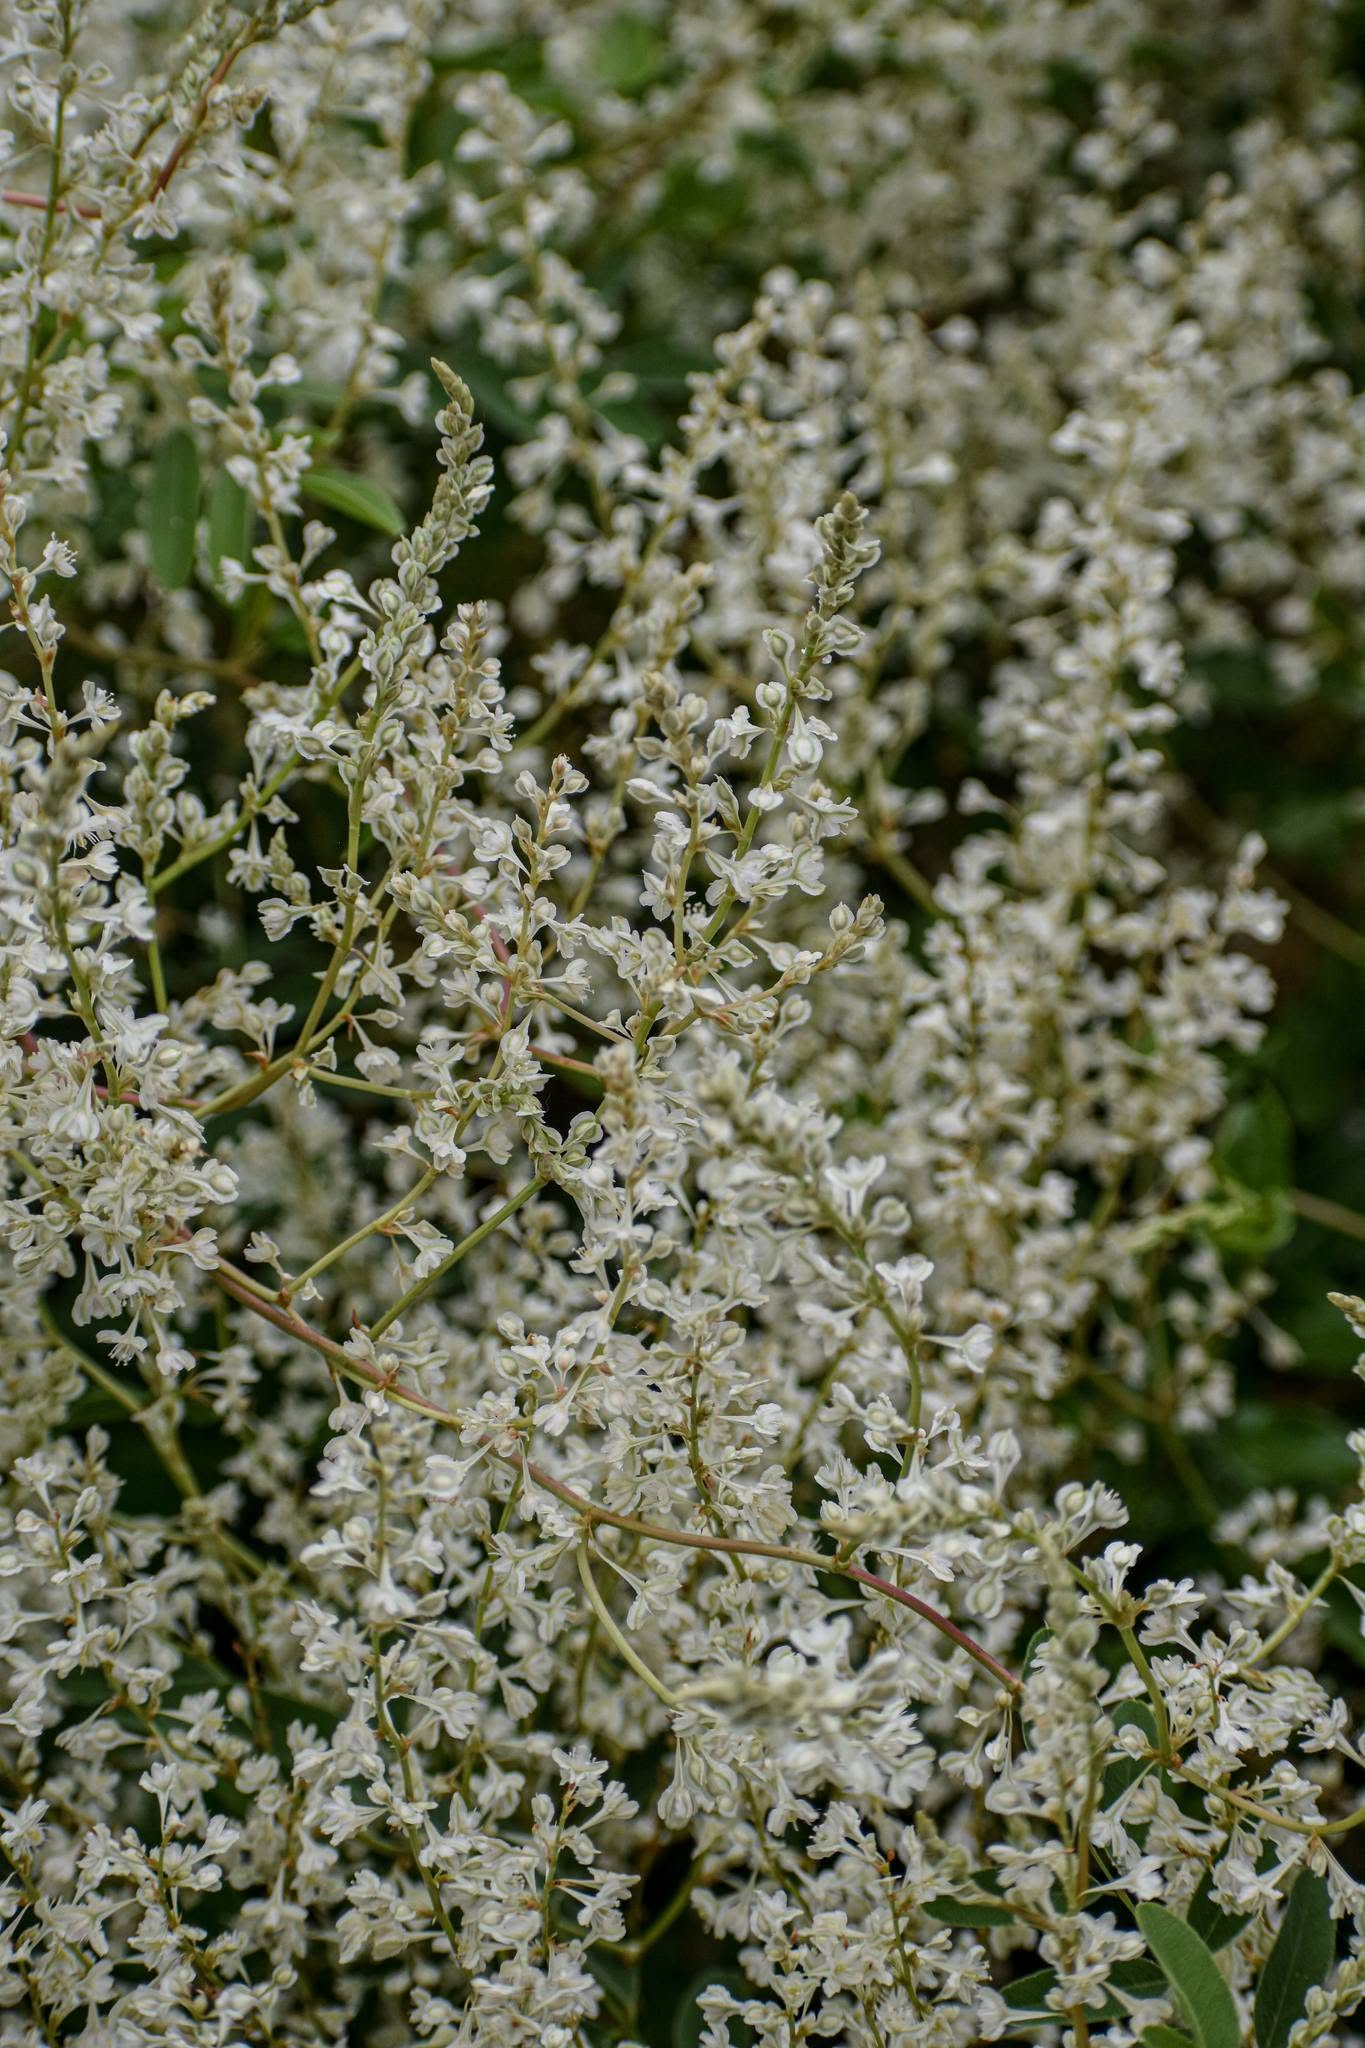
Close up of Silverlace vine by Hunter Ten Broeck
Author: Wes Brittenham, artist, gardener and writer.
