4 Common Myths about Organic Mulch

4 Common Myths about Organic Mulch

Experienced gardeners in New Mexico know that the key to
success is in the soil. Soils in our climate are highly erosive and without
care will blow away with spring winds or wash out during summer monsoons.
Covering bare soil with mulch is an essential gardening practice with benefits like
reducing moisture loss through evaporation, suppressing weeds, and giving
landscapes a finished appearance. When you use organic mulches (as opposed to a
gravel type mulch), there are even more benefits. Like keeping the soil cool, improving
soil structure, and feeding the soil microbiology that supports plant health.

Despite the benefits, organic mulches continue to be passed
over for gravel in our area. This is due in part to our tendency to mimic the
practices we see around us. But those are not always best practices! This is
also a consequence of several myths that we’d like to dispel.

Before digging into these myths, let’s take a moment to
define the term “organic mulch.” A mulch is a layer of material placed on top
of the soil. An organic mulch is
one that is derived from living matter. The term “organic” in this context has
no relationship to the standards followed to generate the material. Examples of
locally available organic mulches are wood mulch, bark mulch, pecan shell
mulch, and straw. Because organic mulches were once alive, they contain
essential nutrients, minerals, and energy that nourish the soil ecosystem as
they decompose. An important consideration when using organic mulches is to
skip the landscape fabric, which prevents the rich organic matter created by
decomposition from working its way back into the soil.

Myth #1: Organic
mulches rob your soil of nitrogen

This is a common misconception that is easily dispelled.
Organics decompose via microorganisms that use nitrogen as they undergo
explosive reproduction in response to a new food source. This is why we say
that nitrogen gets “tied up” in the soil when unaged composts are integrated.
But therein lies the key. Mulches are not integrated into the soil - they lie
on top of it! By definition, decomposition only occurs on the surface area of
the material being decomposed. Therefore, plant roots do not compete for
nutrients with the microorganisms that are slowly breaking down the organic
mulch to feed the soil below.

Myth #2: You’re going
to attract all kinds of insects and vermin

The cool, moist environment created by organic mulches is
ideal for promoting plant health. Gravel mulches increase the reflective heat
in a landscape and compact the soil, contributing to plant stress. Heat also creates
higher water demand. The cool, moist layer that is so good for plant health
also provides a hospitable environment for insects. But mulch itself is not a
beacon for the insects in the neighborhood to colonize your yard. It simply
provides a more favorable habitat for
what is already there. But this environment also benefits insects and
vertebrates that predate on the undesirable ones. This creates a healthier
ecosystem that supports your plantings. If you have concerns about termites,
rest assured that a mulch layer does not provide the necessary habitat for a
termite colony. A one-foot bare space between organic mulches and your house
will discourage insects from finding their way into your home.

Myth #3: It will all
wash or blow away

If you use the wrong kind of organic mulch in the wrong
place it can migrate. But with a little understanding of different mulch types, this can be avoided. Most wood mulches
available on the market are chipped flat and consistent in shape in size. These
are great in areas that will receive some foot traffic as they compact down to
a firm surface. However, in areas of higher wind exposure or periodic
inundation with water, use a mulch that is more irregularly shaped and sized as
the pieces will hold together better. Mulches made from recycled yard waste and
tree trimmings typically fit this description. Mulches made from bark tend to
be lighter and can have a tendency to migrate more readily. Above all, pay
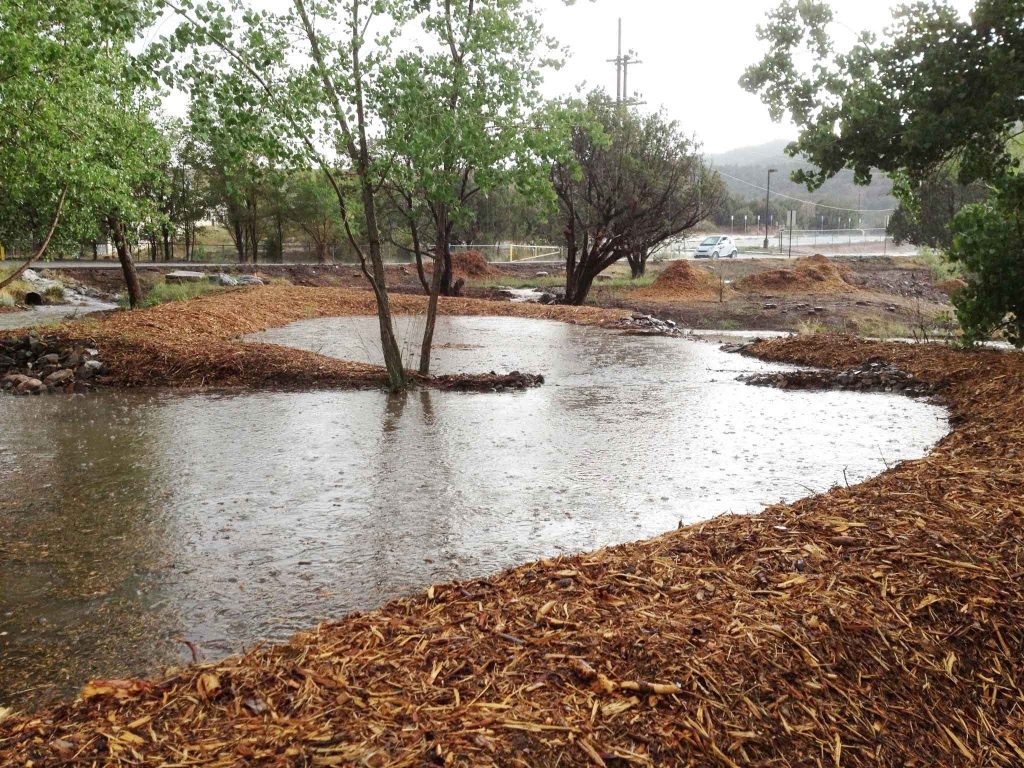
attention to grades when using organic mulch. Design landscapes so that the finished
grade of mulched areas is below hard surfaces like sidewalks and patios. If you
use organic mulch on a slope make a small berm on top of the slope and dig in
contour swales to prevent the mulch from washing down.

Myth #4: Organic
mulches are more difficult to maintain

Anyone who has wheelbarrowed out a graveled landscape,
sifted it to remove dirt and weeds, and shoveled it back in can tell you that
gravel is not inherently easier to maintain. Gravel landscapes with filter
fabric are designed to be maintained with a regime of consistent weed
management and treatment. If spraying chemicals in your landscape is not your thing, then invest in the right
tools to make weed
management simple
. A 3-4” layer of organic mulch is effective in preventing
sunlight from reaching annual weed seeds, thereby preventing weed germination.

The beauty of organic mulches is that they can visually
accommodate a little bit of leaf litter, reducing the need for constant raking
and blowing. A thin top coat of mulch added every other year will keep your
landscape looking fresh and replace the material that has broken down to
sustain the soil. Organic mulches are light weight, too, making them easy to
wheelbarrow and rake around.

Organic mulches are available in bags from most local garden centers, and are available in bulk from several retailers in the Albuquerque area. When you buy from local bulk retailers, you are supporting the recycling of local organic materials that may otherwise end up wasting away in a landfill and contributing to greenhouse gas emissions. Buying bulk also means less plastic! Organic mulches are a renewable resource that will improve your landscape health and help you conserve water.

Photo Courtesy of Jim Brooks with Soilutions.

Author: Paulina Aguilera-Eaton, Water Conservation Specialist with Albuquerque Bernalillo Water Utility Authority.

Spring Irrigation Startup

Spring Irrigation Startup

When do I start my irrigation system back up?

Turn on your irrigation system after the last chance of freezing temperatures has passed (typically late March in the greater Albuquerque area, but possibly as late as mid-April). This will prevent damage to your irrigation system.

1. Turn on your irrigation system. Then observe and listen.

If you turned off the main valve for your irrigation system over the winter to prevent freezing, turn it back on slowly, only part way. Then wait a few minutes until the system is fully pressurized. If it is not leaking, turn it fully on.

Caution: turning it too fast can create a water-hammer which could break pipes.

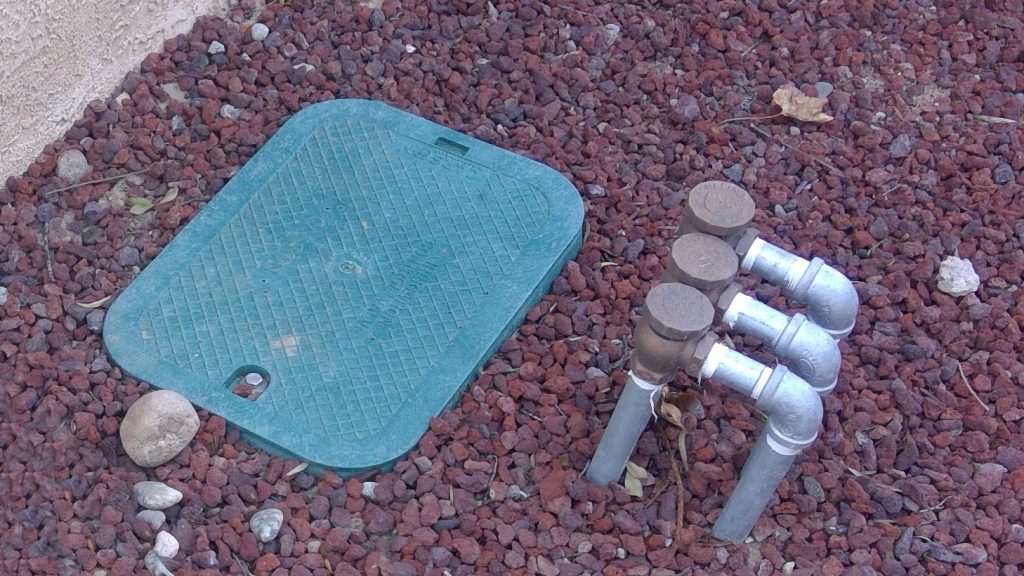
Irrigation valve box with backflow preventers.
  • Check the backflow preventer for leaks by inspecting it and checking for wetness.
  • Open the valve box (it usually has a green cover) and make sure there is no water in the box itself. Look for leaks in the valves, connections, filters and pressure reducers.
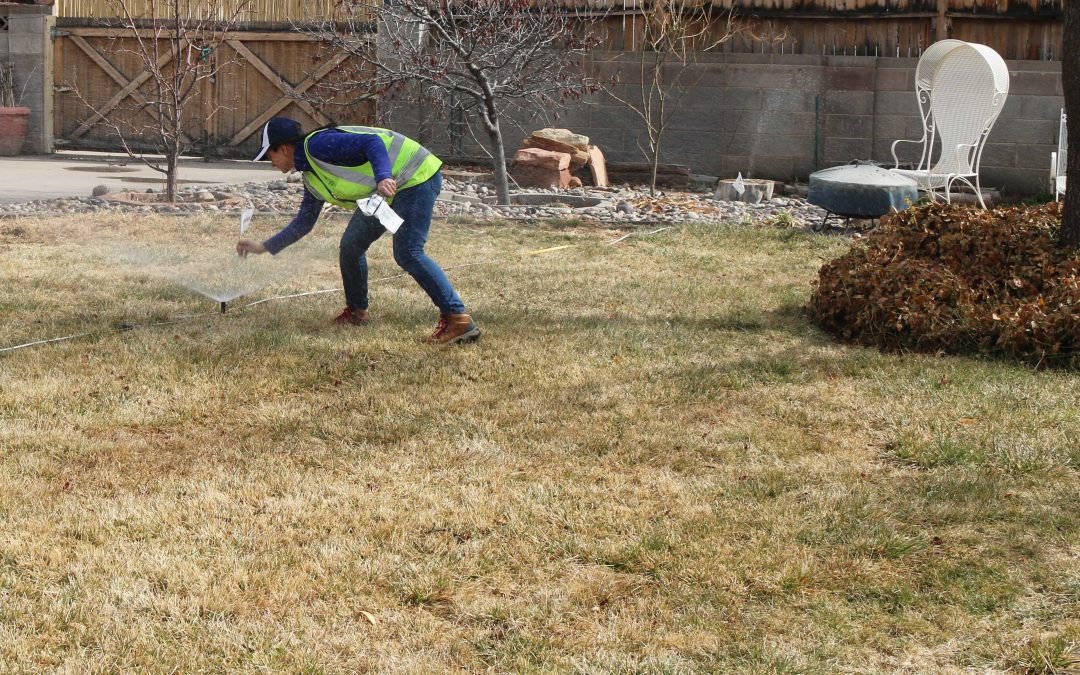
  • Run each zone for several minutes (long enough to see every part of it up close). Walk along each irrigation system pipe and inspect all sprinkler, bubbler and/or drip zones.

  • For sprinklers:
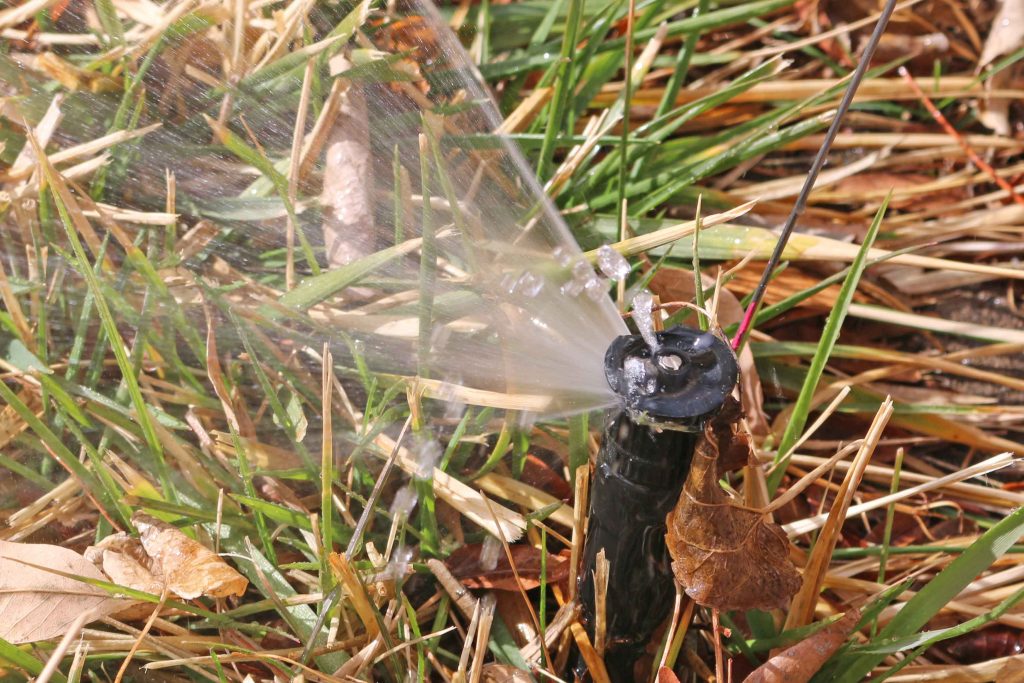
    • Look for signs of a leak, such as at the risers to the heads, the heads themselves, the emitter lines, or the pipes.
    • Look for heads not spraying correctly, such as spraying in the wrong direction, spraying too low, or other signs of breakage or misalignment. It is very common for them to go out of alignment when the system was turned off for the winter.
Spray head with minor leak
  • For drip and bubbler systems:
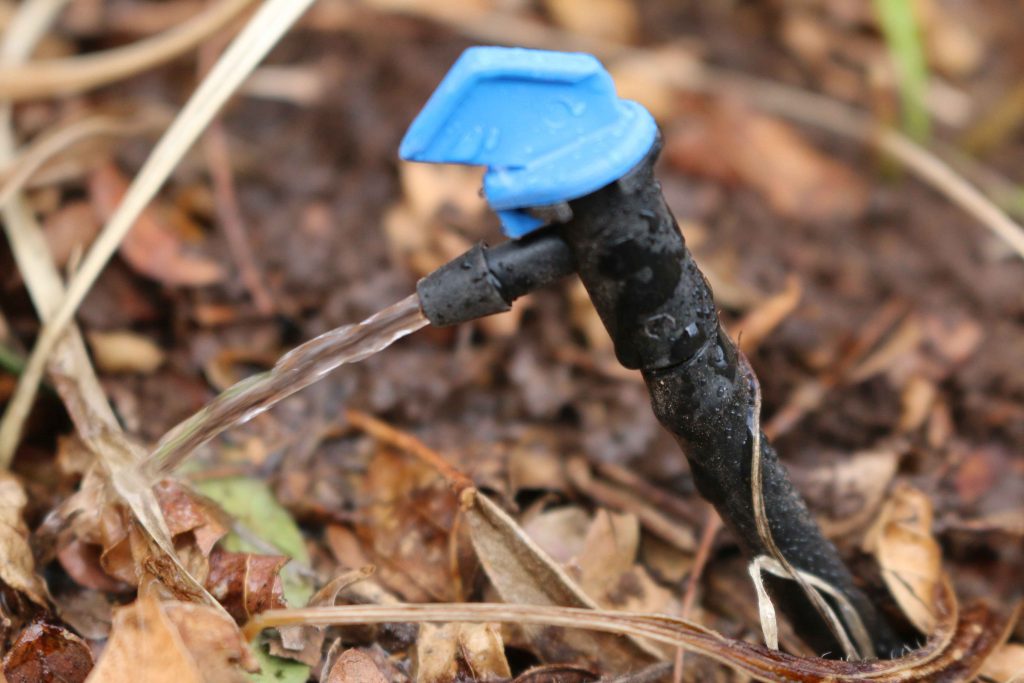
    • Look for missing emitters and/or bubblers. Emitters or bubblers may be hard to see due to plant coverage so listen carefully. Hearing a whooshing sound means an emitter or emitter line has blown off.
Drip emitter

2. Re-check the valve boxes again for water leaks now that the system has been on for testing.

3. Perform any necessary repairs and re-check for leaks after repairs are complete.

4. Set the timer.

Typical Irrigation Timer

The key to irrigation is to supply enough water to replace evaporative losses from the ground root areas and from the leaves or stems. Too much or too little water can harm your plants. It is important that you set the timer correctly.

  • Follow the water recommendations guide to help you set your timer. Mixed zones like lawns and desert friendly landscapes are hard to water together. They usually need different run times. Large trees do not do as well being watered as if they were a lawn. Lawns have shallow roots (1” to 6” is typical) so usually need less water per application than trees with their deep roots (up to 24”). They require longer, deeper watering. Sign up for a FREE Efficient Irrigation Consultation at 505-289-3003 for help with your timer settings.
    • Do not confuse start times with zone numbers. Remember that every start time (4 am, 11 am, 5 pm….) on a program (A, B, C…) will run all your zones in series for the program you are running.
    • Attach a written copy of your schedule showing programs, zone number and corresponding location to the inside of your controller box.
    • Sprinkler heads or emitters vary greatly as to how much water comes out per minute. A slow watering head may need 2 to 4 times the watering time of traditional faster water delivery heads. For example, emitters can be as low as ½ gallon per hour but could be as high as 14 gallons per hour. The same watering time will not work for all zones or all emitter types.
    • Bubblers typically deliver 1 or 2 gallons per minute, compared to emitters that can be 1 or 2 gallons per hour. Many people over water when using bubblers for small plants. If you see pooling, run-off or recognize the flow is too fast, then replace the bubbler with a smaller one.
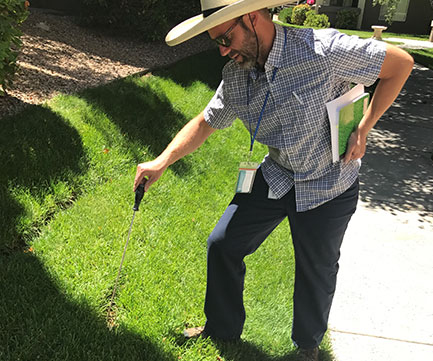
    • After watering, test to see if you provided enough, too little, or about right amount of water to the plants. Use a soil probe or a long screwdriver to test soil moisture. Push the screwdriver into the soil about an hour after you’ve watered your plants. It will go easily into moist soil. Mark and measure how far it went into the ground. That will tell you how deep you have watered that plant. Every yard is different, but once you figure out how long it takes your watering system to water to certain depths, you’ll be set.
    • If your controller is getting old, you would be wise to install an up to date one. There are lots of options. Some are “smart” controllers and can do many irrigation tasks well and can be operated from your phone or home computer, allowing you anywhere, anytime control. Check out the Irrigation Efficiency Rebates here to help you with the cost.

5. Observe your irrigation system the first month of the season.

We suggest the run times for the first few weeks should be during times of day where you can observe the operation of the system. When you are sure everything is running well, then you can have the system run at times you would not normally be observing. However, we suggest manually running the system zones for a few minutes every two months just to stay on top of any problems that may occur.

Many homeowners want to put a lot of water on at the beginning of the year to make sure the dry roots from the winter get thoroughly soaked. This makes some sense for the first watering of the year. Once the roots are soaked, you can go to shorter run times and number of runs per week to adequately irrigate your plants.

If you are uncertain about the any of the start-up tips, or need help, contact us for FREE Irrigation Efficiency Consultations at 505-289-3003. Or consider hiring a landscape contractor to help you get your system up and running correctly.

Author: Richard Chapman of Smart Use in Albuquerque, NM.

Simple Steps to Get Started Designing Your Yard

Simple Steps to Get Started Designing Your Yard

A lot goes into designing a landscape, hence there’s an entire profession called landscape architecture devoted to designing outdoor spaces. We won’t be able to make you a landscape architect today, but we’re sharing six steps to get you started on a great landscape design.

  1. Brainstorm what you want in your yard.

Think of this as a “brain dump,” which simply means you’ll transfer to paper all the things you are considering, imagining, and dreaming of for your yard. First, find a window that looks out onto a part of your yard. Set up a chair there, grab a pen, clear your mind and set a timer for five minutes. Now write down anything and everything that comes into your head that involves your yard. Ready, set, go.

  1. Make a plan.

As the old saying goes, “All good things start with a plan.” It’s true! Think about how you approach your job; more than likely you have a general strategy about the steps you are going to take to perform the tasks on your to-do list. It’s the same with your yard:  Developing a plan will save you time and money, and is more likely to result in a successful end product.

What is a plan? When it comes to landscapes, a plan is a scaled drawing showing your yard from a top-down perspective. To make sure the dimensions are accurate, it’s helpful to start with a “map” of your existing yard.  You can use either a scaled aerial photograph or a surveyor’s plat drawing of the lot on which your house sits, or both.

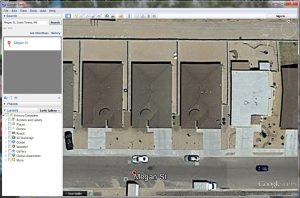
Scaled aerial photograph. Numerous websites provide free aerial photography.  Google Earth Pro, which can be downloaded for free, allows you to measure distances and save snapshots of satellite photography with a scale bar included.  Though this next step will be a challenge, the aerial photograph can then be opened in a program like Microsoft Paint where you can change the size of the photo and get it to a standard scale (like 1”=10’).  Resizing the aerial photograph to a larger-than-normal page size, like 11”x17”, may make it possible to fit your entire property onto one sheet at the desired scale.  Don’t forget that you can print large pages at a commercial print shop.

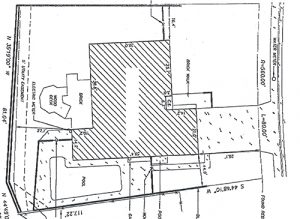
Surveyor’s plat drawing.What is a plat? It’s a map, drawn to scale, showing the divisions of a piece of land. This should be included in the huge pack of documents you received when you bought your home. It should show overall property boundaries, and basic dimensions of the home. It sometimes includes existing features such as driveways, and exterior structures like sheds. If it does not show these, you can use a tape measure to measure the structures and hardscape areas such as patios, driveways or sidewalks then note them in pencil on the survey plat.

Once you’ve got your aerial photograph or surveyor’s plat, you may want to buy a book of tracing paper, which is see-through and will enable your next steps.

  1. Take stock of what’s in your yard now

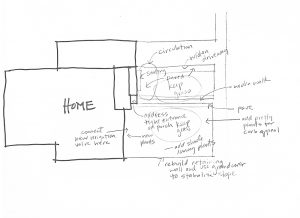
You’ve written down what you want to have in your yard, and you’ve got a photo or drawing showing the actual size of your landscape. Now you are ready to take stock of what’s already in your yard.  Put a piece of tracing paper on top of your aerial photograph or plat plan, and head outside. You’ll want to populate your tracing paper with information on existing conditions like plant locations and names, patio positions, roof downspouts, and drainage patterns. Be sure to locate any special site features, identify problems such as erosion, excess runoff, ugliness and decline, and identify positive attributes such as a good view, a nice specimen plant or typical travel patterns.

You’ll want to note compass directions on your drawings, since we experience large temperature swings in New Mexico it’s important to note the different levels of sun exposure in your yard. Typically, the south side of your house will receive sun all day long. Compare this with the north side of your house, or northern exposure, where the ground is shaded most of the day. Once you understand the different microclimates of your yard you’ll be able to choose plants that grow best in those conditions.

It may be helpful to use multiple sheets of tracing paper that can be layered to create a full picture of your yard’s existing conditions.  For help identifying underground utilities (like water lines) in your yard, call 811 (See https://www.pnm.com/call-before-you-dig1 for more information).

  1. Analyze your landscape -- do you have enough space for what you want?

Now that you have identified all the existing elements in your yard, you can reflect on how well those elements are working. Take some time to walk around your yard and think through all your existing elements and spaces. Keep these questions in mind: Why is this located here? How does this space relate to the others? What are the pros and cons of my existing spaces?

These questions will help you analyze your yard.  Through that process you’ll discover constraints and opportunities for improvement.

  1. Research other landscape designs to get ideas for your yard

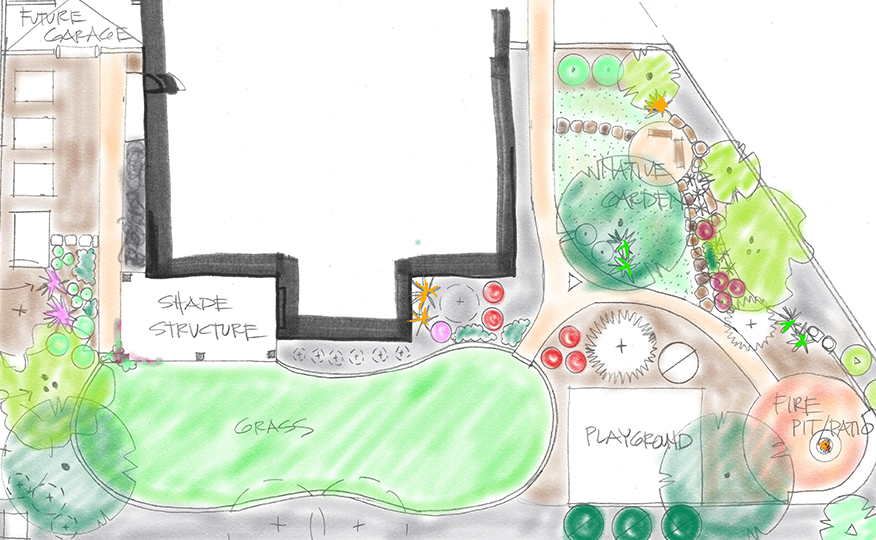
Now that you’ve done the hard work above it’s time to look at other people’s designs for some inspiration. The templates provided here were designed for the Water Authority by local landscape designer Judith Phillips, and landscape architects George Radnovich and David Cristiani. These templates can serve as thought-starters to guide homeowners in creating beautiful waterwise landscapes with color, logic, beauty and purpose.

You’ll want to read through each design and note the aspects of each that you like. Circle your favorite plants, materials and how they shape certain spaces. All of this will help inform your landscape design.

Landscape design templates

Kaleidoscapes (509KB PDF)

Judith Phillips creates vivid, striking plant arrangements with abundant textures and rotating, colorful perennials.

Greenscapes (508KB PDF)

David Cristiani combines contouring with groundcovers, grasses, vines, shrubs and trees for a lush, green xeriscape year-round.

Loungescapes (518KB PDF)

George Radnovich blends dramatic native and xeric plants for a spectacular lower-maintenance xeriscape.

Wildscapes (553KB PDF)

Judith Phillips balances copious blooming perennials with intensely aromatic plants to attract abundant local wildlife.

Hotscapes (91KB PDF)

David Cristiani fuses succulent textures and groupings that thrive in full sun and high heat for impressive visual impact.

Coolscapes (503KB PDF)

George Radnovich orchestrates an elegant, simple mixture of ornamental plants and features for north-facing xeriscapes.

  1. Draw out your own design

Now it’s time to try this for yourself. Grab your list of wants from your “brain dump,” pull out your plans with all your notes, and lay out the design templates in front of you. A pen, pencil, rule or scale bar, and some tracing paper will be everything you need to start marking up your plan with your new design ideas.

This is the fun part, all the stuff you just brainstormed, inventoried, analyzed and learned can all come together to help you design a really great landscape. Draw out as many ideas as you like and have fun with it. You are now on your way to a beautiful yard!

Author: Jill Brown, ASLA  Landscape Architect and owner of My Landscape Coach in Albuquerque, NM.

Tree Species We Love

Tree Species We Love

There are so many types of trees to choose from. We don’t blame you for being confused. Here are some of our favorites, just a small list of the many trees available here in New Mexico. Before you head out to buy your tree, though, let’s chat a little bit about them.

As you look around town, you’ll notice trees come in all shapes and sizes. The key to choosing the perfect tree for your yard is picking the right tree for the right place. In fact, this phrase is popular among arborists.

When deciding what tree to plant, think about the tree size now and at maturity. It may look small now, but how big will it grow once it’s mature? Make sure you provide enough room for future growth. No one wants branches growing into power lines, roots disrupting your foundation or leaves blocking the solar panels on your neighbor’s house.

Learn about the rate of growth of the tree, too, so you know how long it will take to get to mature height. Other key factors in choosing the perfect tree are understanding what sun exposure the tree likes. Does it like full sun all day? If so, plant it on the south side of the house or in a location where buildings will not block its access to sunlight. Cold hardiness, heat tolerance, soil preference and irrigation needs should all be considered when choosing a tree species.

Trees are also a long-term investment. Take the time now to choose the right tree for the right place and you’ll save money in the long run.

This list of recommended trees is broken into deciduous and evergreen trees.

A deciduous tree loses its leaves annually in the fall.

Evergreen trees shed their leaves or needles periodically, but usually remain green throughout the year.


Large Deciduous Trees

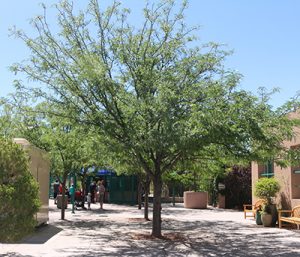
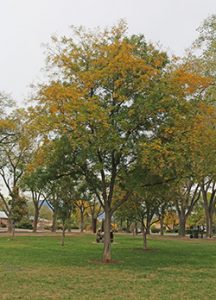
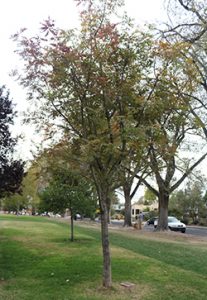
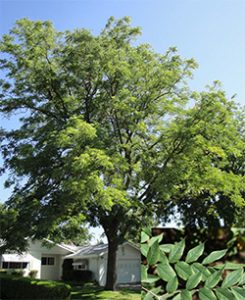
‘Accolade’ Elm, Ulmus japonica x wilsoniana ‘Morton’

Burr Oak, Quercus marcrocarpa

‘Shademaster’ Honeylocust, Glenditsia triacanthos ‘Shademaster’

Japanese Pagoda Tree, Sophora japonica

Medium Deciduous Trees

Chinese Pistache, Pistacia chinensis

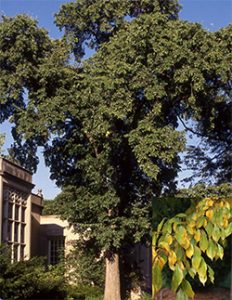
‘Expresso’ Kentucky Coffee Tree, Gymnocladus ‘Espresso-JFS’

Texas Red Oak, Quercus buckleyi

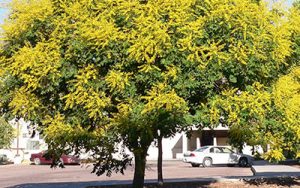
Goldenrain Tree, Koelreuteria paniculata


Small Deciduous Trees

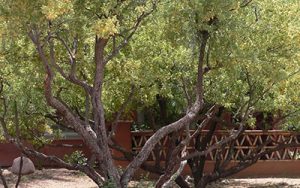
Mesquite, Prosopis pubescens

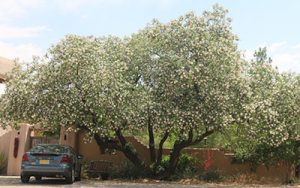
Desert Willow, Chilopsis linearis

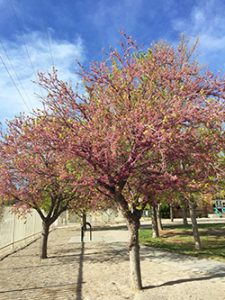
Oklahoma Redbud, Cercis candensis var. Texansis ‘Oklahoma’

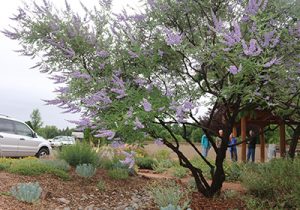
Purple Chastetree, Vitex agnus-castus

Evergreen Trees

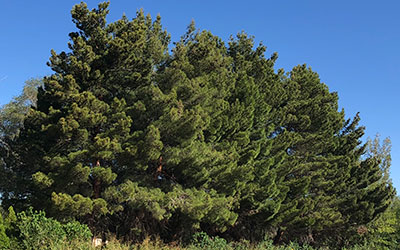
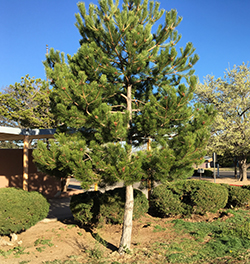
Austrian Pine, Pinus nigra

Scotch Pine, Pinus sylvestris

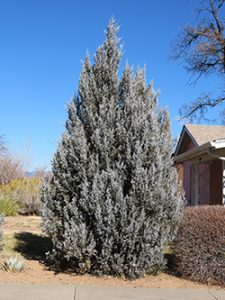
Whichita Blue Juniper, Juniperus scopulorum ‘Wichita Blue’

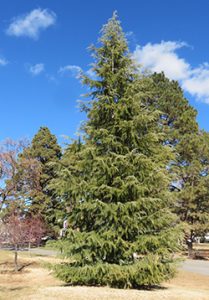
Deodor Cedor, Cedrus deodara

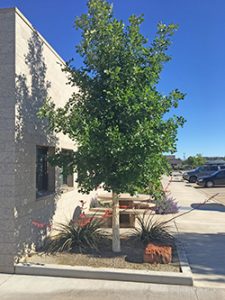
Photography Courtesy of: Trees of Corrales, Waterwise Landscapes, My Landscape Coach, and The University of Minnesota

“Low Maintenance” is Not“No Maintenance”

“Low Maintenance” is Not“No Maintenance”

Xeriscapes can be designed to require very little maintenance, to be healthy and attractive with seasonal cleanup and pruning rather than weekly mowing, but no garden is completely maintenance-free. To ensure that your landscape looks its best and stays water-wise, you may need to:

  • remove fallen leaves
  • trim off old flower stems
  • pull a few weeds
  • observe insect activity and decide when intervention is warranted and what the least invasive and most effective approach might be,
  • monitor watering
  • fertilize plants that need supplementing

While this may seem like a long list of tasks, in real time most of these may amount to a few hours every two or three months. The preventative pest patrol and irrigation check can be done in the evening every week or two with a cool drink in your hand a relaxing reminder to stop and smell the roses.


Mulching

Mulching

Mulches are blankets of loose material that cover the soil to minimize evaporation, keep roots cool in summer, suppress weed growth and slow erosion. Mulches can also provide visual interest and make the landscape more cohesive until young plants mature to fill the space.

Fibrous mulches such as pecan shells, shredded bark and composted cotton burrs are commonly used in planting beds, especially where plants prefer organic matter.

Stone mulches such as crusher fines  and gravel of various sizes and colors, can be used as pathways, lining rainwa- ter catchment, streambeds and basins, and to add texture to planting areas where desert plants prefer improved drainage.

Never use impervious plastic sheeting under mulches as it blocks air movement needed for healthy root growth and results in shallowly rooted plants more vulnerable to wind throw. Many types of pervious landscape fabrics are available where such material is needed for weed suppression or erosion control.