by 505 Outside | Jul 2, 2026 | Do It Yourself (DIY), Home Page, Maintenance, Outdoor Living, Summer, Water Conservation
Over 40% of Albuquerque homeowners use evaporative coolers, while the rest use some type of refrigerated air system. Today’s evaporative coolers (also known as swamp coolers) provide a practical, energy-efficient way to cool air in the low humidity climates found throughout New Mexico. Evaporative cooling isn’t a new concept. In fact, it’s the oldest known method of cooling hot, summer air to make living spaces more comfortable. Ancient Egyptians hung wet material so the wind could blow through it to create a cooling effect. In an evaporative cooler, warm air is cooled as it passes through porous pads that are kept moist by water dripping on their upper edges. A blower wheel pulls outside air through the wet pad, and the cool, humidified air is then circulated through the house. In the process of cooling the air, evaporative coolers provide an additional benefit of removing dust and pollen that can cause allergies and asthma attacks.
Evaporative coolers are very effective, particularly when the relative humidity (the moisture content of the air) is low. An evaporative cooler works best during the hottest time of the day, because relative humidity drops quickly as temperature increases. Studies show that a typical evaporative cooler uses only about one-third the energy of a refrigerated air conditioner,
The big question is how much water do swamp coolers use? Water requirements for an evaporative cooler will vary with the size of the house, its orientation toward the sun, window area, type of landscaping, proximity to hard surfaces and other structures, temperature preferences of the occupants, local climate, how many hours the cooler runs, and water quality.
In an average weather year, a 1,500-square-foot home in Albuquerque might use 7,250 gallons (based on the evaporative cooler running 1,130 hours). In an unusually warm year, these water requirements would be significantly higher. Virtually all models of evaporative coolers now available recirculate the water that drips from the pads, resulting in an efficient use of water. (Older, less water-efficient evaporative coolers might not have a pan to catch and recirculate water. If so, excess water shall be directed to plant material. Or replace the old cooler with a recirculating one.)
Some coolers have a “bleed-off valve” to drain a portion of the recirculating water to prevent excessive mineral buildup on the porous pads. Bleed-off water can increase overall evaporative cooler water use by 50% or more, which could increase total evaporative cooler water use to 11,000 gallons in Albuquerque. A more water efficient alternative to continual bleed-off is a “dump pump,” which empties the cooler pan at regular intervals to reduce mineral buildup.
Waterwise Tips for Evaporative Coolers
- Instead of turning on your cooler when it’s 79 degrees outside, wait until it is 85 degrees. Your cooler will use 50% less water.
- Turn on the water pump a few minutes before turning on the fan to give the cooler pads a chance to become saturated.
- Open a window 1-2 inches in the rooms you want to cool. This will draw cool air into the rooms and give warm air a chance to escape.
- In the evenings or when it’s not quite so hot outside, run your cooler fan without running the water pump. You’ll get nice, cooling airflow without using any water at all!
- Also run just the fan on rainy and high humidity days when your evaporative cooler is significantly less efficient.
- To keep your cooler from wasting water, check it for leaks monthly during the summer season. Take a look at its filters, pads, pump and reservoir. Replace your cooler pads at least once every summer, preferably twice — or aim to clean them with soap and water.
- Install a digital thermostat. Digital thermostats allow you to use much less water than you would otherwise because once your home gets to your desired temperature, it will automatically shut off.
Additional tips to keep your home cool, harvest water and reduce energy use
- Direct any water from a refrigerated air conditioner or mini split condenser toward plants.
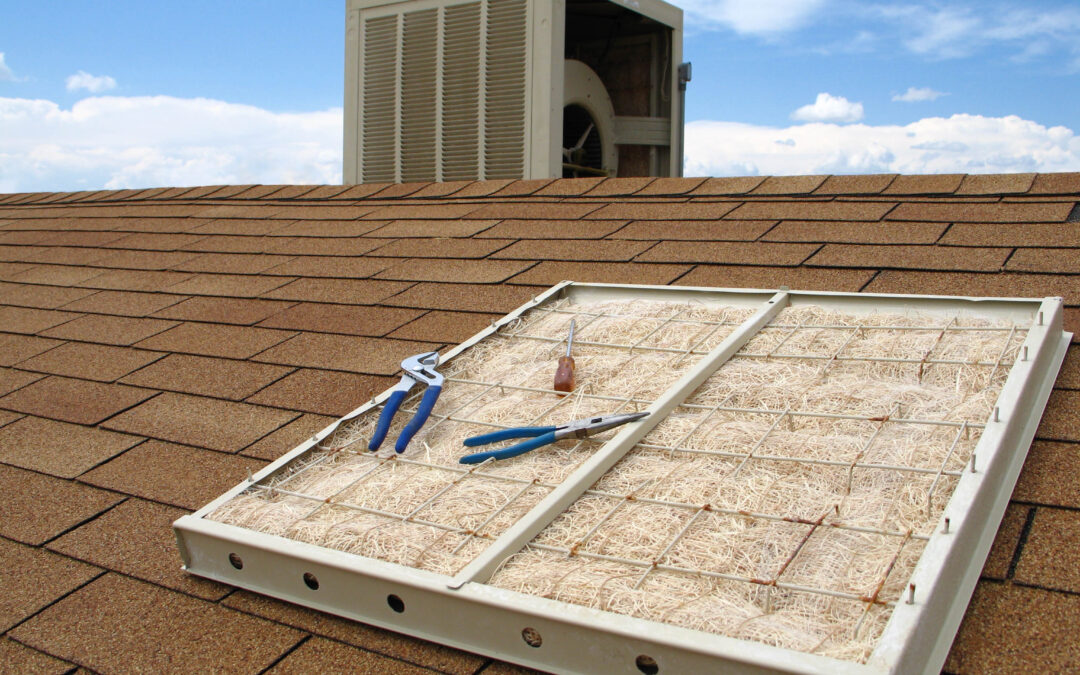
- Servicing your refrigerated air conditioner by performing general maintenance such as replacing or cleaning air filters can lower energy consumption by up to 15%. Add a calendar reminder for the first day of spring to check your air conditioner’s evaporator coil. This should be cleaned annually to ensure the system is performing optimally.
- Cooling your home with ceiling fans will allow you to comfortably raise your thermostat about 4 degrees. In the summer, fans should turn counterclockwise so air pushes downward, circulating the cooler air in the room and making the home feel cooler. Make sure to turn off ceiling fans when house is empty.
- Window treatments or coverings such as blinds, shades and films can help reduce the heat when temperatures rise. Close blinds and curtains on the East, West and South sides when nobody is home to keep the sun from heating up the house.
- Air loss through ducts can lead to high energy costs, accounting for nearly 30% of a cooling system’s energy consumption. By sealing and insulating your ducts, you can lower your energy bills.
- Avoid using heat-producing appliances like clothes dryers, dishwashers, stoves and ovens during the hottest part of the day. Use your grill for cooking and hang dry your clothes.
Learn more by checking out these other useful articles:
PNM Evaporative Cooling Rebates
Designing Shade the Right Way
The Benefit of Trees
City of Albuquerque Energy Efficiency Programs

Information courtesy of the Water Use and Conservation Bureau, New Mexico Office of the State Engineer. Additional tips courtesy of PNM. Have a question about the article or anything else? AskAnExpert@abcwua.org
by 505 Outside | May 28, 2026 | 505 Categories, Design, Do It Yourself (DIY), Outdoor Living
Creating shade in a landscape is about far more than escaping the summer heat. The right shade strategy can reduce energy costs, maximize moisture absorption of plants, improve comfort year-round, and dramatically change how a yard feels and functions. Yet many homeowners make decisions based only on appearance, without fully understanding how the sun moves through their property, how wind affects structures, how big mature trees will get or how shade systems hold up long term.
Understanding the Sun and Your Property
Before choosing any shade solution, it’s important to study how sunlight moves across the yard throughout the day and across the seasons. In summer, the sun sits high in the sky and creates intense heat, particularly on west-facing patios, windows and walls. In winter, the sun is much lower in the southern sky, allowing welcome warmth and natural light into the home from south and west facing windows.
A well-designed landscape should block harsh summer sun while still allowing beneficial winter light whenever possible. This is especially important in hot, dry climates like Albuquerque, where afternoon heat can make outdoor spaces unusable without proper shade.
The west and southwest sides of a property are typically the most critical areas to shade because they receive the hottest afternoon sun. South-facing areas also require careful planning, since they benefit from winter solar exposure.
Trees: Nature’s Best Long-Term Shade Solution
Trees are often the most effective and beautiful form of shade, but choosing the wrong tree or placing it incorrectly can create major problems over time. One of the biggest mistakes homeowners make is planting based on how a tree looks today instead of how it will perform in 20 years. A small nursery tree may eventually grow into a massive canopy that blocks winter light, crowds structures, damages paving or interferes with utilities. The most successful landscapes begin with selecting the right tree for the right location.
Tree placement is also critical. Improper tree placement is extremely common and often expensive to correct later. Some of the most frequent issues include planting trees too close to the house, ignoring mature canopy size, or failing to consider root growth and maintenance needs. Trees should also be selected based on climate compatibility, water use, soil type and branch strength. Fast-growing species may provide quick shade but often develop weak wood and become vulnerable during storms. Thoughtful placement can dramatically improve outdoor comfort and even reduce cooling costs by shading walls, roofs and windows from intense summer heat. Use the Climate Ready Tree Resource when selecting your tree.
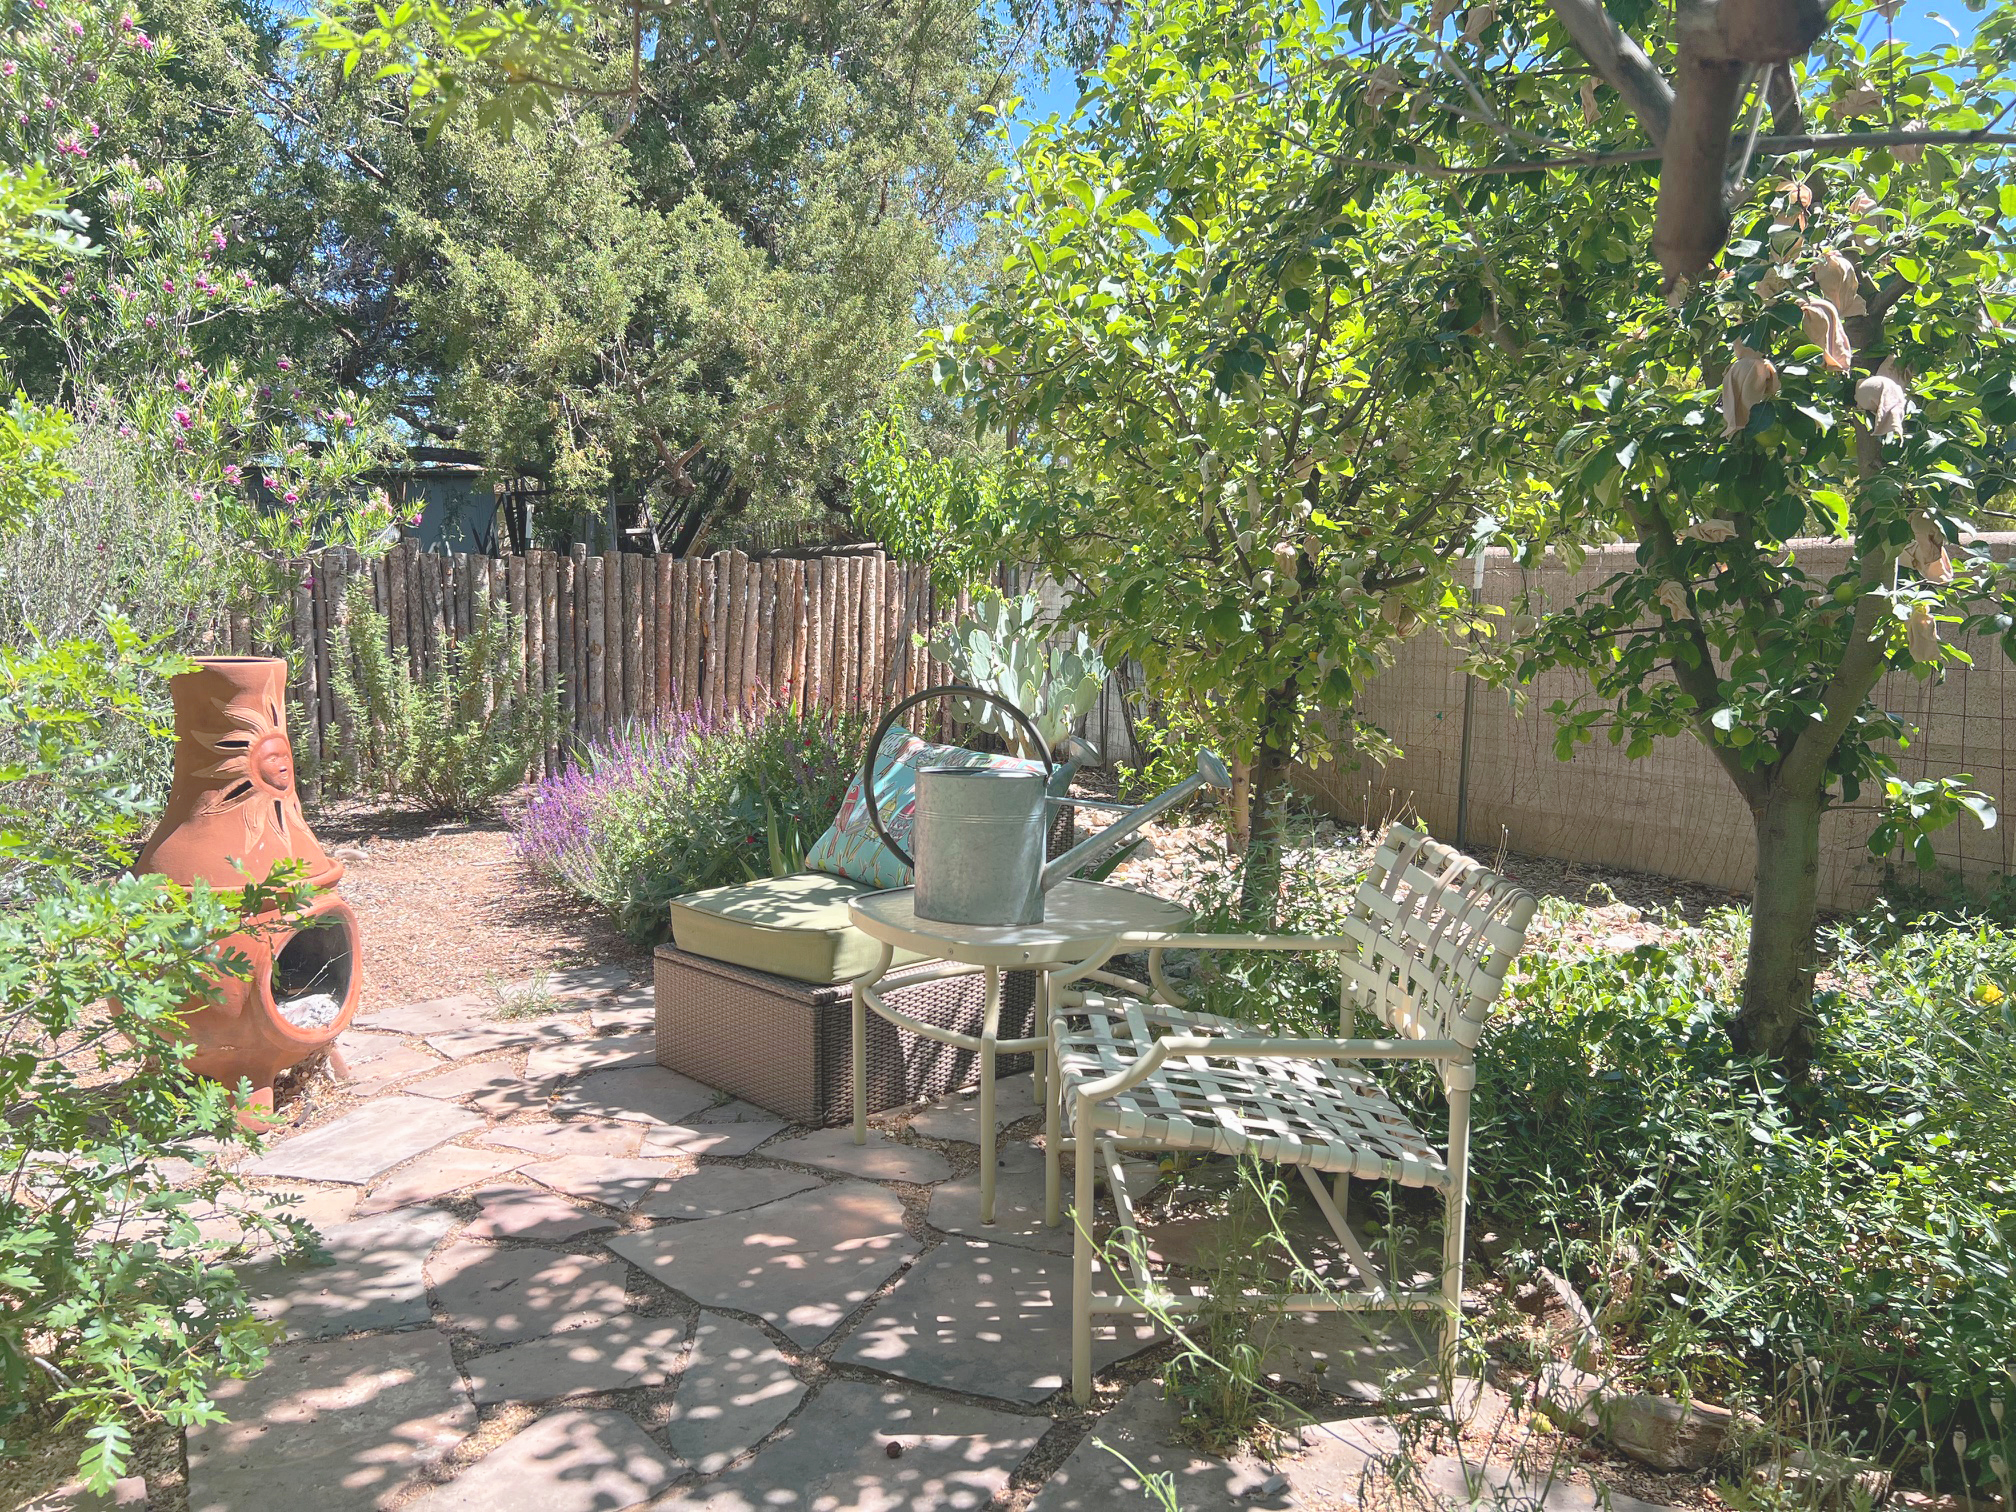
Patio Shaded by a dwarf apple tree.
Deciduous vs. Evergreen Trees
Deciduous trees lose their leaves in winter, making them ideal near south-facing windows and outdoor living areas because sunlight filters through the bare branches and helps naturally warm the home. During summer, their canopy provides cooling shade.
Evergreen trees, on the other hand, provide year-round screening and shade. While useful for privacy and wind protection, they can also block beneficial winter sun if placed too close to living areas. Understanding this difference is essential when planning a landscape that functions comfortably throughout the year.
Shade Sails: Modern Shade with Hidden Challenges
Shade sails have become increasingly popular because of their clean, modern appearance, simple installation and affordability. They can create dramatic outdoor spaces while providing significant relief from direct sun exposure. However, they are frequently installed incorrectly. What many homeowners do not realize is that shade sails behave much differently than traditional patio covers or pergolas. Under tension, the fabric acts similarly to a sail on a boat, capturing wind and placing enormous stress on posts, walls, and attachment points. Without proper engineering, failures are common.
Shade sails and shade fabrics are available in different shade densities, typically measured by the percentage of sunlight and UV rays blocked by the fabric. Lighter fabrics in the 50% to 70% range allow filtered light and maintain a more open feeling. Heavier fabrics in the 80% to 95% range provide greater cooling and UV protection but can create darker spaces with less airflow. For many residential applications, fabrics in the 70% to 90% range offer the best balance between comfort, openness and temperature reduction. These are not to be confused with the shade fabric used by farmers to reduce heat stress on their crops. These are lighter in weight and only provide 10-30% shade
One of the most common installation errors is underestimating wind loads. Many off-the-shelf systems are installed with insufficient footings, undersized posts or weak wall attachments. Over time, this can lead to sagging fabric, leaning posts, torn corners or even structural failure during high winds.
Another frequent mistake is installing shade sails completely flat. Properly designed sails use varying heights and angles to encourage drainage, maintain tension and reduce wind uplift. Flat sails tend to collect water and deteriorate more quickly.
Homeowners also often overlook maintenance and lifespan. Even high-quality shade fabrics eventually degrade from UV exposure, dust and wind fatigue. Most residential shade sails last approximately five to 10 years, depending on material quality and environmental conditions. In windy and snowy climates, some shade sails may need to be seasonally removed or designed with additional reinforcement systems.
Shade sail fabric stapled to wood beams.
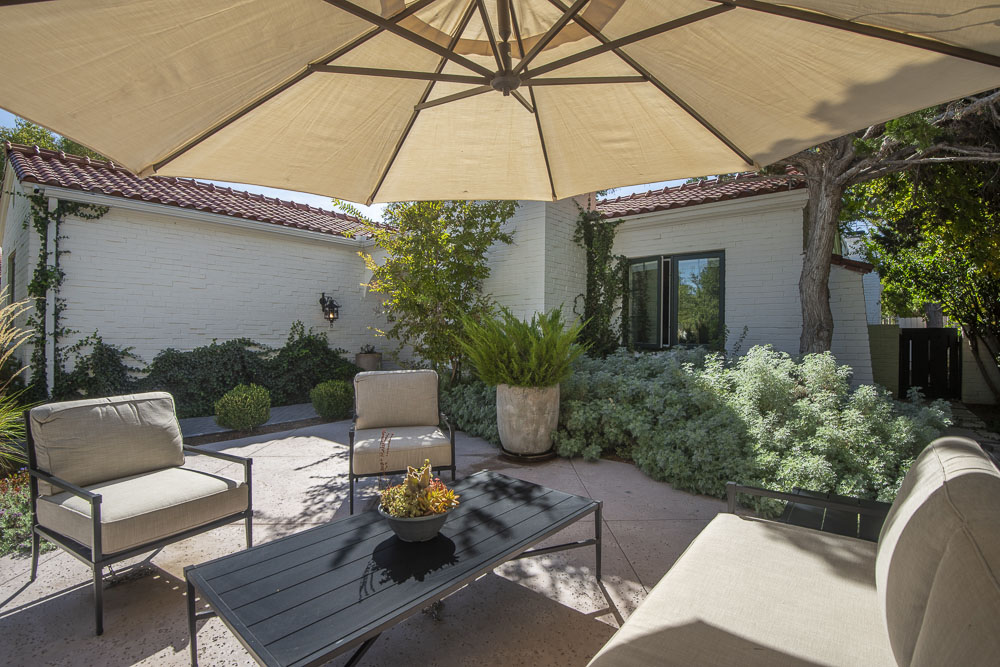
Pergolas: Permanent Structure with Architectural Appeal
Pergolas provide a more permanent and structurally reliable shade solution in many residential settings. Unlike shade sails, pergolas integrate directly with the architecture of the home and help define outdoor living spaces. They can support climbing vines, retractable canopies or additional shade elements while creating a strong visual framework within the landscape.
However, pergolas are often misunderstood as complete shade structures. Traditional pergolas provide filtered shade rather than full sun protection unless combined with solid roofing, shade panels or vegetation. The orientation of the pergola beams plays a major role in how much shade is created throughout the day. Beam spacing, height and direction should all respond to the sun angle and intended use of the space. A properly designed pergola balances shade, airflow and openness without trapping heat underneath the structure.
One of the least discussed, but most important aspects of outdoor shade structures is liability. Today, many pergola kits and shade systems are sold directly to homeowners online or through retailers. While these products may appear simple to install, they are often not engineered for specific site conditions such as local wind loads, soil conditions, drainage or attachment methods. If a structure fails, liability can become complicated.
Off-the-Shelf Systems
Prefabricated systems may place significant responsibility on the homeowner if improperly installed. In many cases, manufacturers provide general installation guidelines but not site-specific engineering.
Potential risks include
- Wind damage
- Structural movement
- Pulling fasteners from walls
- Water intrusion
- Premature failure
- Injury from collapsing components
Custom-Built Structures
With custom-built pergolas or shade structures, liability typically falls on the licensed contractor, engineer or fabricator responsible for the design and installation. Professionally designed structures generally include proper footing design, code compliance, engineering review when required, and better integration with the home.
For larger projects, homeowners should always verify contractor licensing, insurance coverage, permits and warranty information before construction begins.

Wood pergola connected to house.
Combining Shade Elements for the Best Results
The most successful landscapes rarely rely on a single source of shade. Instead, they combine trees, structures and planting design to create layered comfort throughout the property. Trees provide long-term cooling and seasonal benefits. Pergolas create usable outdoor rooms and architectural character. Shade sails are affordable and offer targeted protection in areas where flexibility or modern aesthetics are desired.
Together, these elements can transform a yard into a comfortable extension of the home while improving energy efficiency and increasing long-term property value.
Shade should never be treated as an afterthought. When carefully planned, it becomes one of the most important and functional aspects of landscape design.
Learn More Here:
Climate Ready Trees Webinar
Create Living Shade with Vines
Plants that Thrive Under Shade Trees
How to Research and Hire the Right Contractor
Author: Sara Zahm, owner of Sara Zahm Landscape Architect. Have a question about the article or anything else? AskAnExpert@abcwua.org
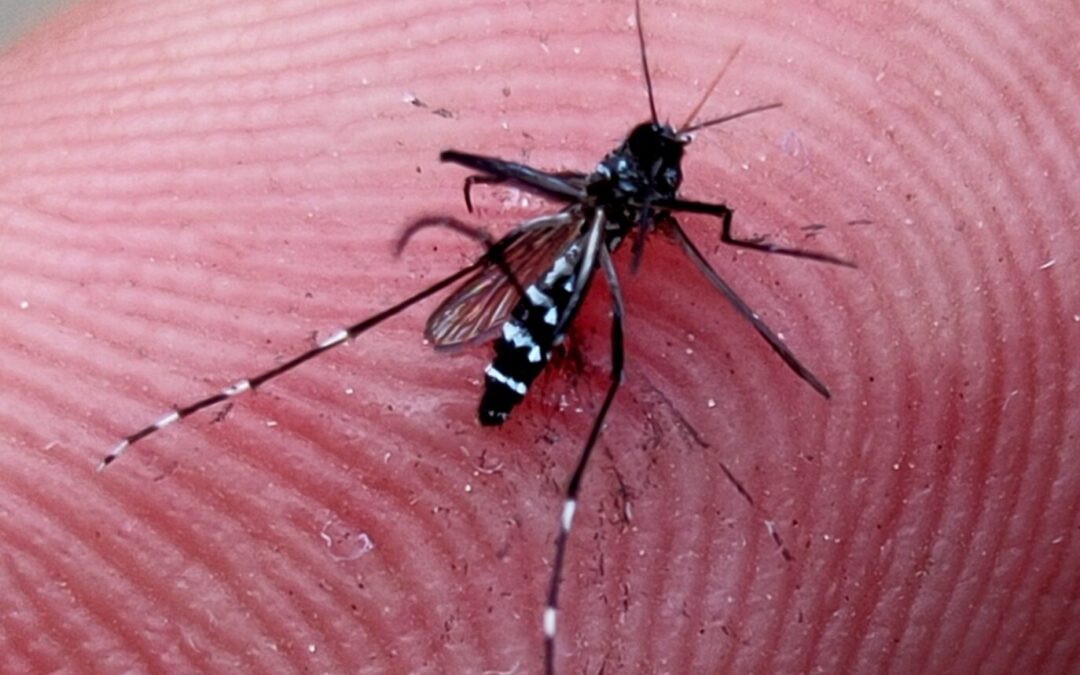
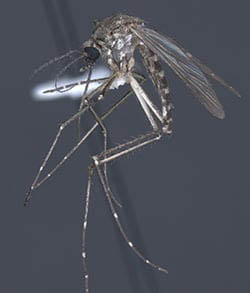 Floodwater Mosquito
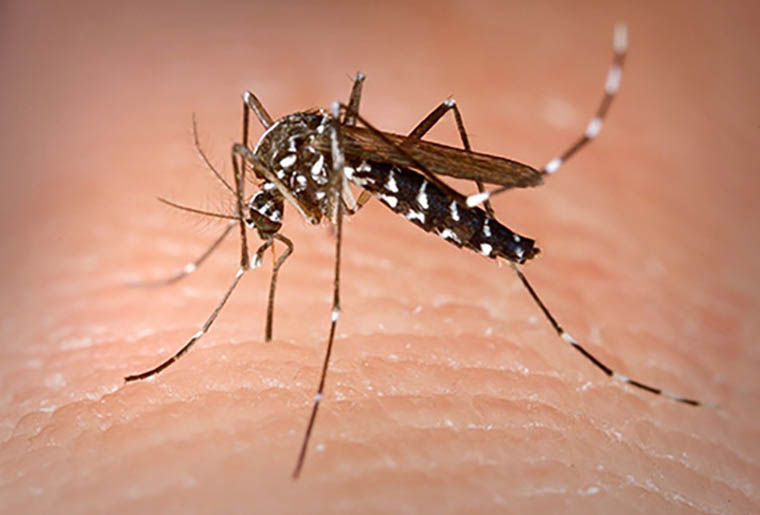 Yellow Fever Mosquito