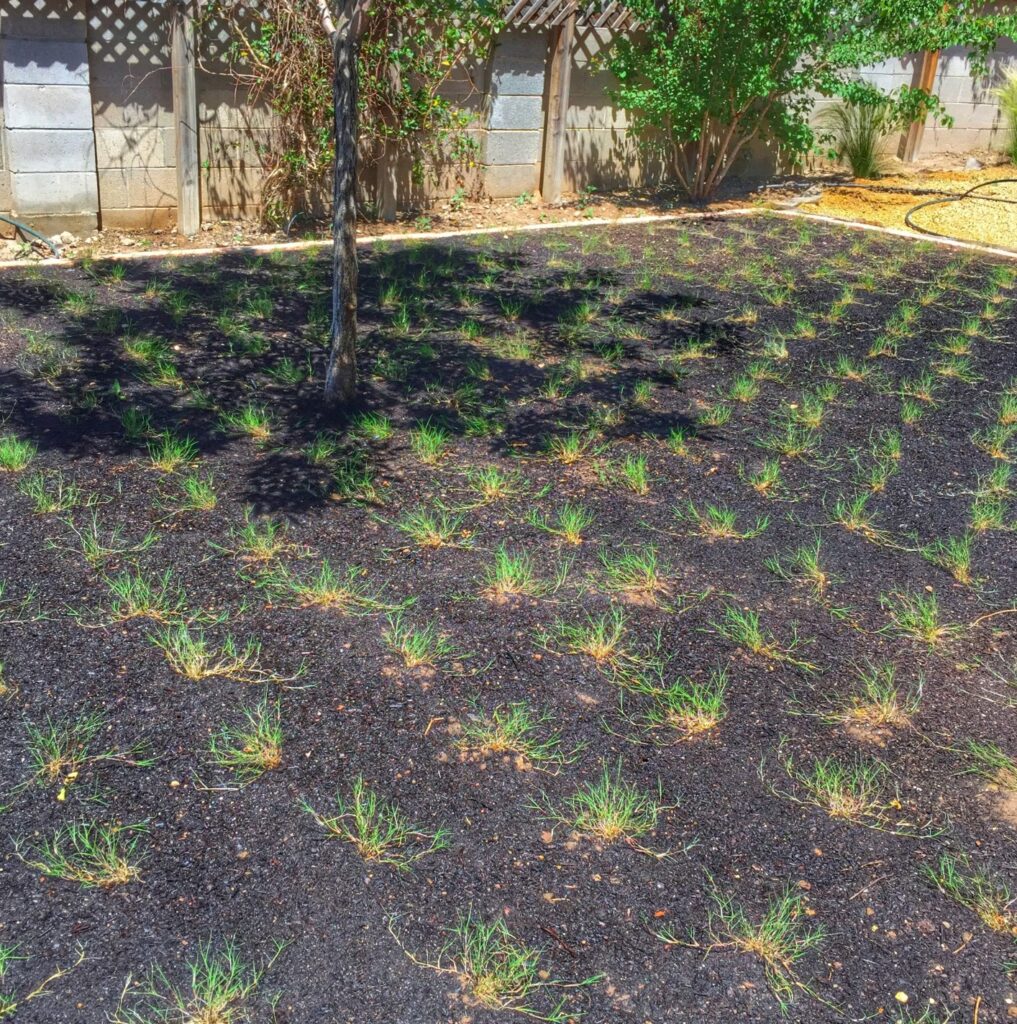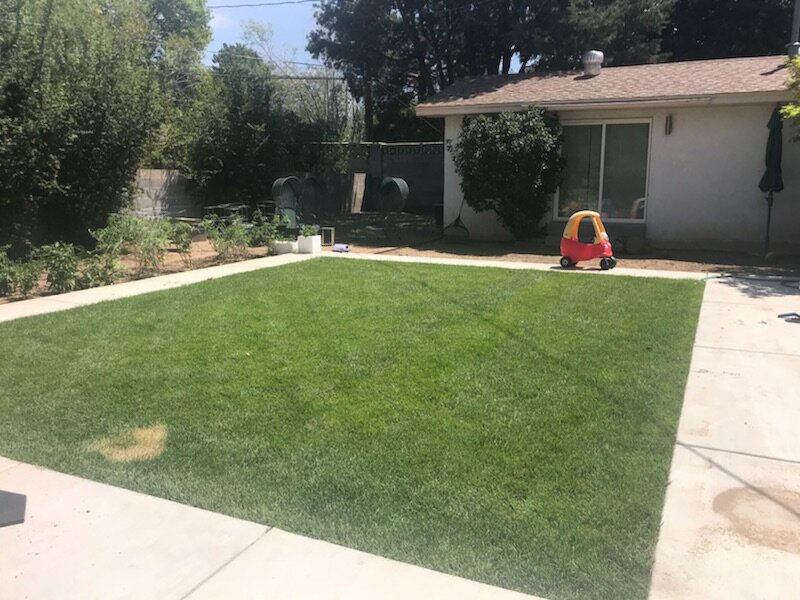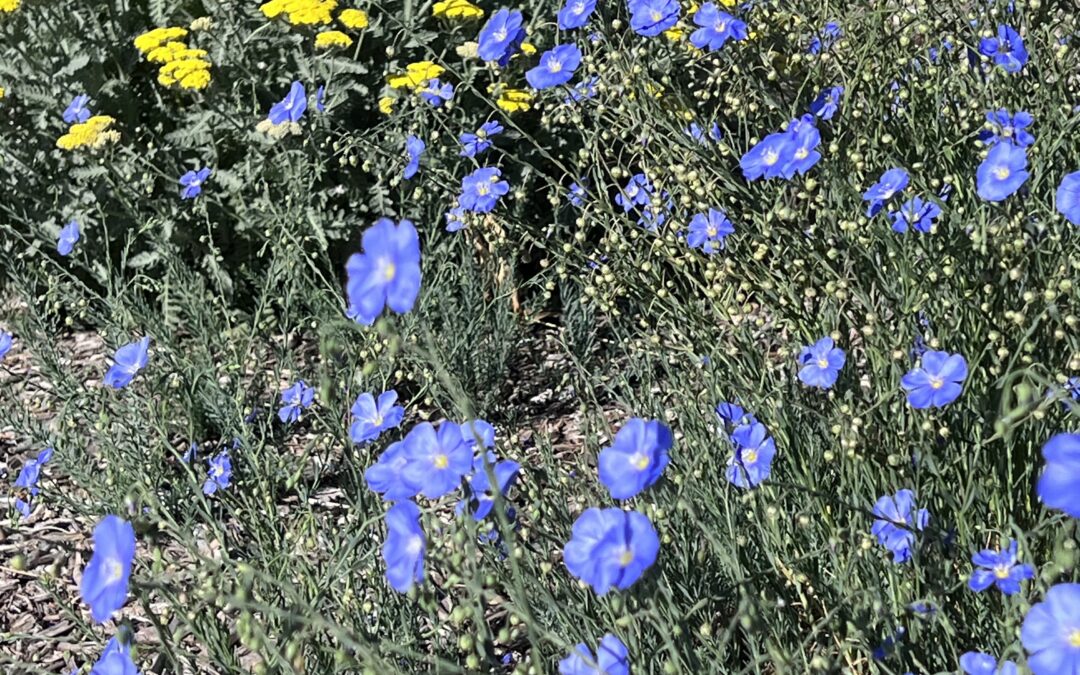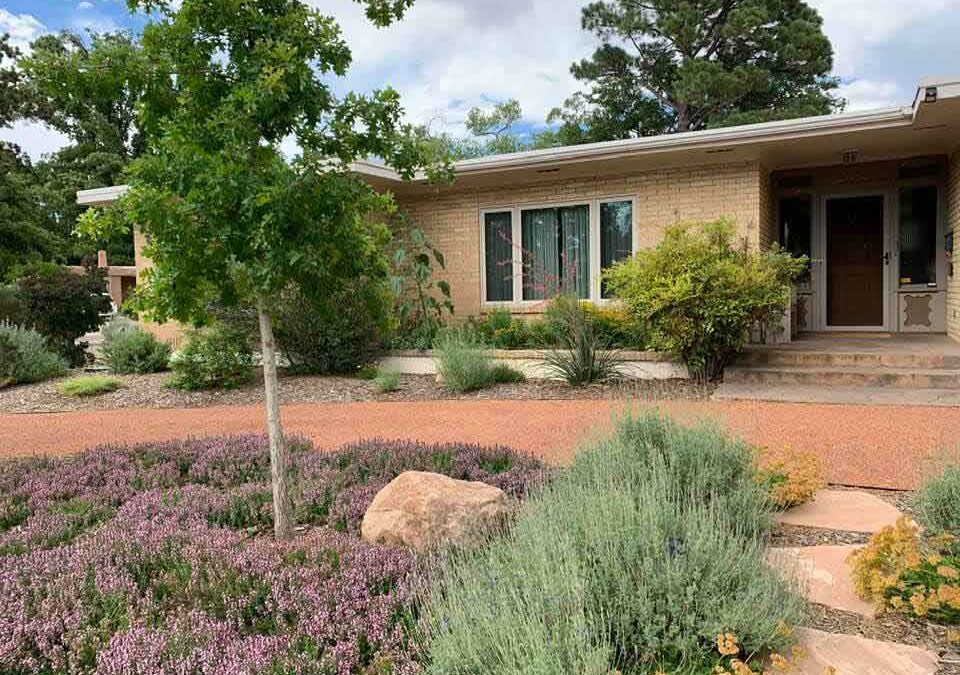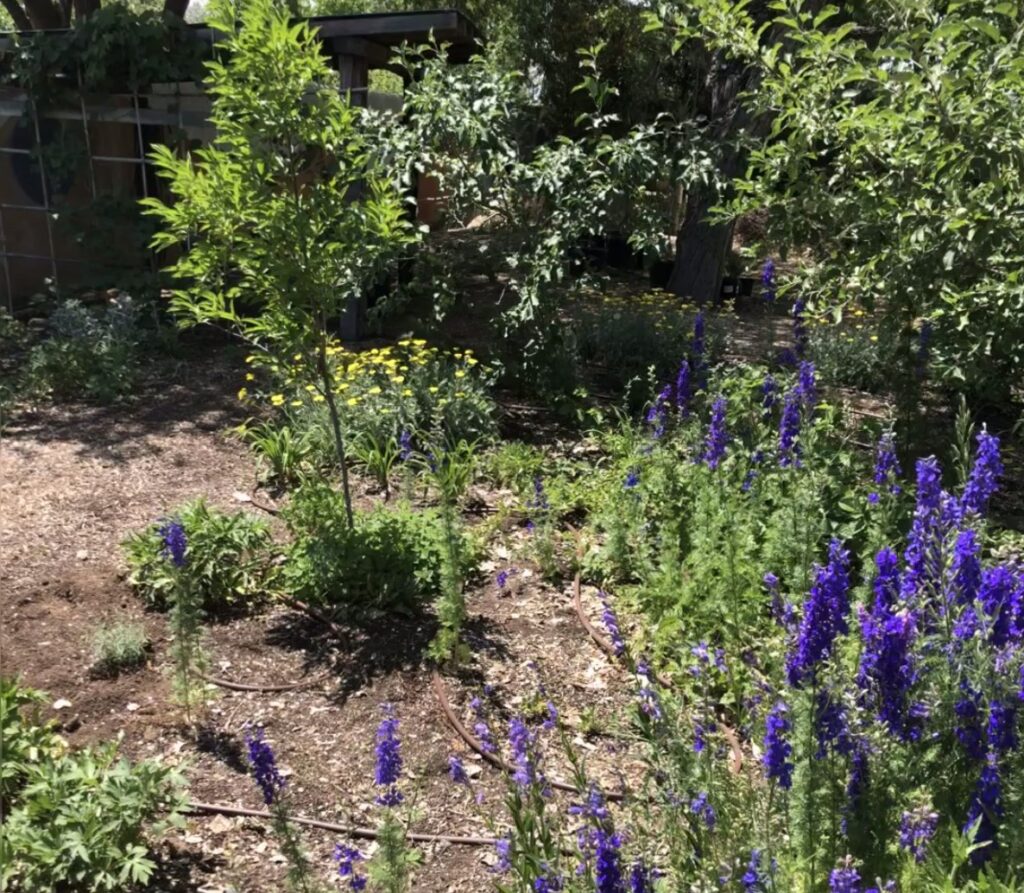
You undoubtedly have seen your neighbors and friends around town removing their grass lawns and replacing them with water efficient desert friendly xeriscapes. You may yourself be interested in doing the same with your yard but perhaps are overwhelmed by the tasks or concerned about how much it would cost. Don’t fret, it’s much simpler than you think. We’re walking you through the six steps to transform your lawn into a beautiful desert friendly xeriscape.
STEP 1
COME UP WITH A DESIGN, then apply for the $3-a-square-foot rebate.
No need to get overwhelmed by this step. You know your yard best, so observe and understand how you want to use your space. Brainstorm elements you want to include. Take into account existing plants and trees, views you want to preserve or hide, shady or very sunny spots, and downspouts/canales or other places where water collects.
Once you have your design, use spray paint or old hoses to lay it out on the ground. Walk around the space and make changes as needed.
Before demolition and removal of the lawn, call 811 to mark underground utilities. Also note existing tree roots that you need to protect during your work.
Lawn removal techniques: A sod cutter works best for most lawns unless there are large roots or the grass is Bermuda. Hand dig grass out around large roots so as not to cut any that are more than 2” thick. Use an herbicide to kill Bermuda due to its invasive and prolific roots. Along sidewalks you’ll want to dig down 4” by 12” wide to make room for 3” of mulch and slope the soil back up to the surrounding grade gently. Avoid using a skid steer to remove the grass, this can unnecessarily remove useful existing topsoil.
Drainage Considerations: Always grade water away from your house, masonry walls or walking paths and towards planting areas.
Install any hardscape elements such as walls, pergolas, sidewalks, pavers and boulders.
STEP 4
IRRIGATION
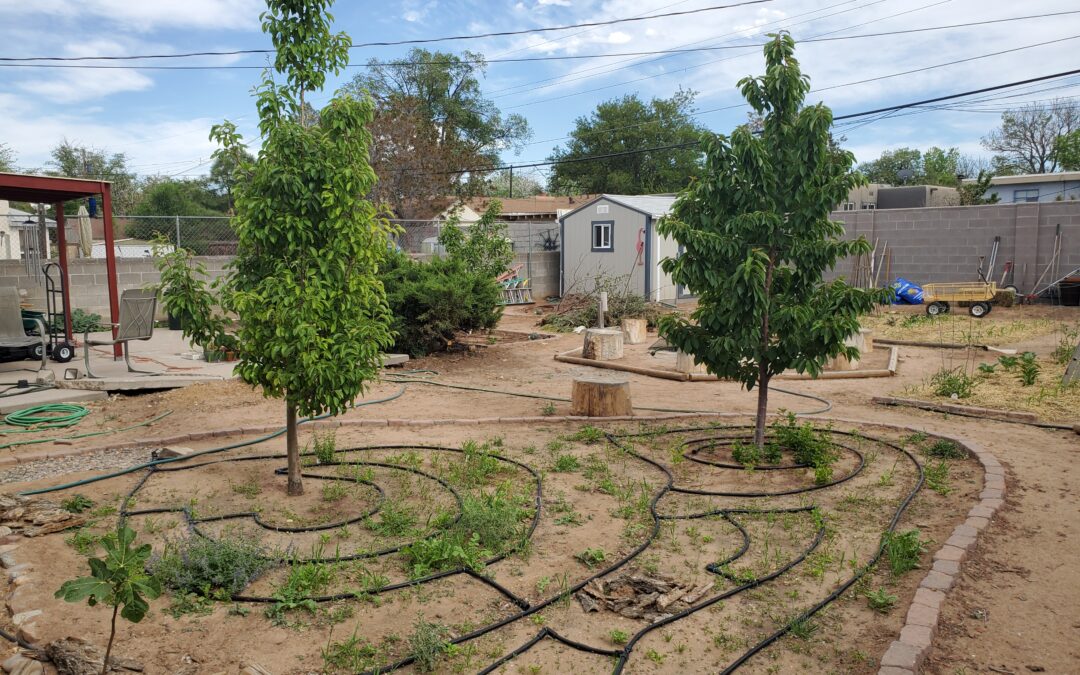
You’ll use a drip system to irrigate your new beautiful desert friendly xeriscape. Check that your existing spray valves are in good working condition. If so, you can reuse these valves. Simply have a licensed irrigator or plumber add a pressure reducer after the valve, then you can add your ½” drip polyline.
Irrigation Components: If your existing valves are damaged or non-functional you’ll need to install new ones. Typically, an irrigation specialist or licensed plumber would install your new manual shut-off valve, automatic valves, box, backflow preventers and pressure reducers. But if you want to do it yourself, do your research and reach out to local landscape irrigation suppliers for advice.
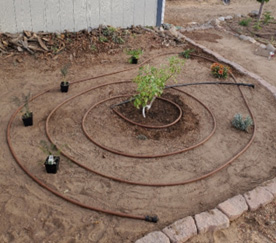
Drip Tubing: The drip tubing is everything downstream of the pressure reducers, and it’s relatively easy for homeowners to install. Uncoil the ½” or ¾” poly tubing in the sun until it’s flexible enough to manage (making sure there are no kinks in the process). Then, dig shallow 6” trenches, lay out the ½” poly in the trench, staking it with 6” weed fabric staples along the way, and snake the poly within a few feet of the plant locations. Wait until the plants are installed to cover the poly unless you have long lengths of it without plants.
Install the plants (link to article). Water your new plants with a hose right after they’re installed. You might need to create temporary basins around each plant to keep the water from running off.
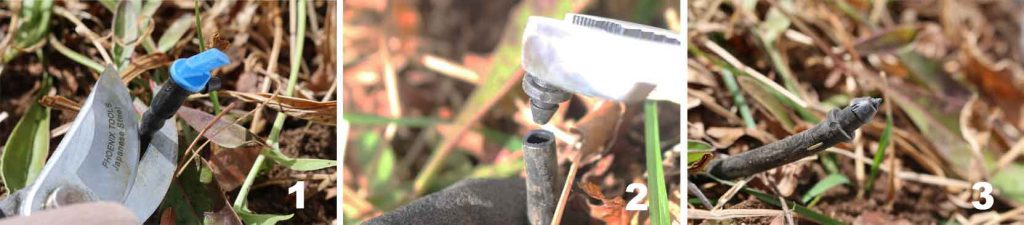
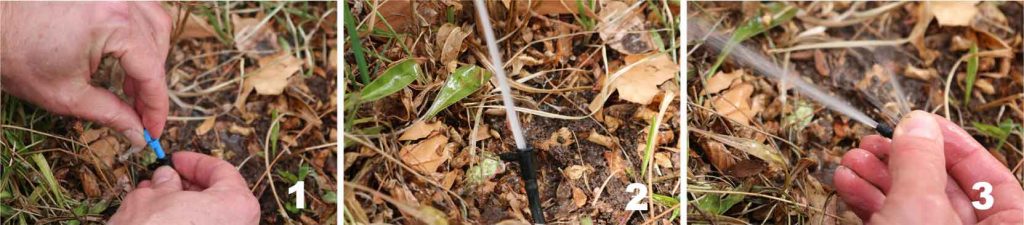
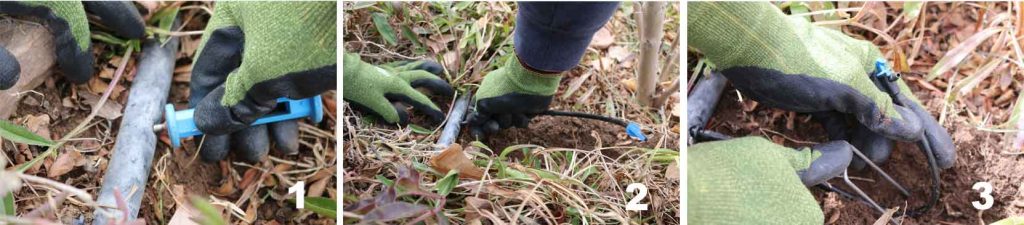
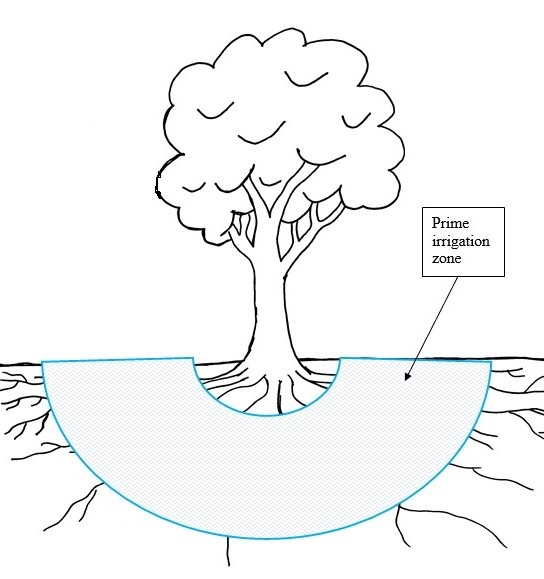
At this point, you’ll want to set up the permanent irrigation. Use your drip tubing punch tool to create a hole for the ¼” coupler and ¼” tubing. Always punch the hole in the side of the ½” poly, not the top, so a footstep doesn’t damage the connection. Carve a small trench in the dirt and run the ¼” tubing to the base of the plant and attach the emitter (use a weed fabric staple to hold it in place if necessary). Avoid running ¼” tubing farther than 3 feet in order to keep things orderly. After the ¼” tubing is installed, cover it with dirt to protect it and keep it from being tripped over.
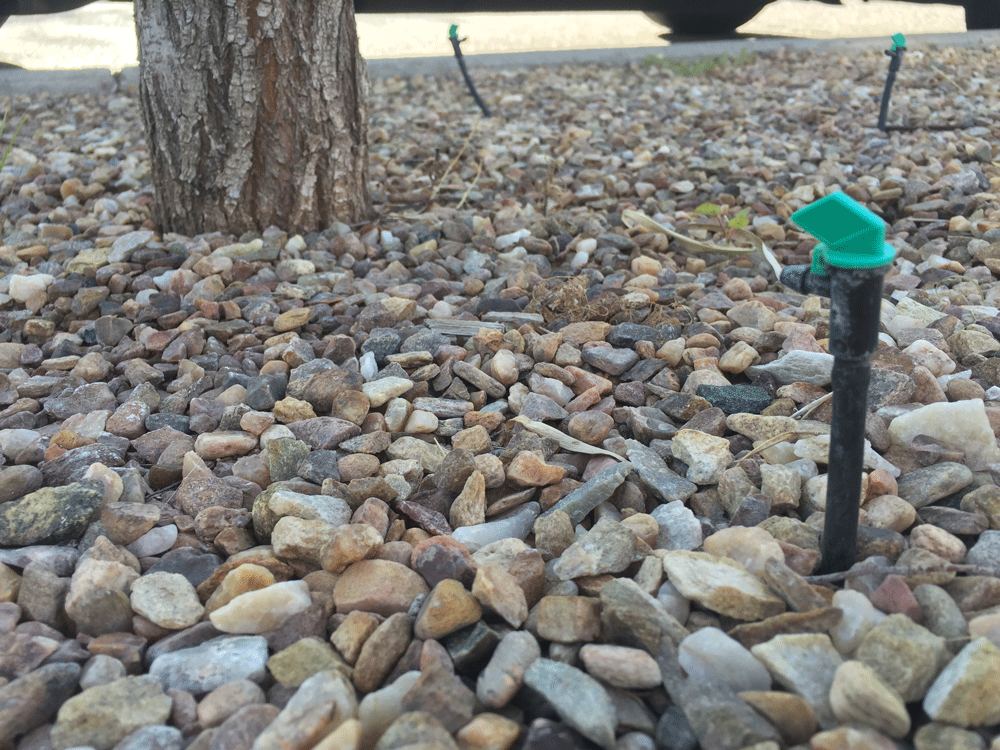
If you’re using gravel, the complexity and layout of your yard will determine whether you install weed barrier fabric before or after planting, but you do want the drip tubing under the weed fabric. For shredded wood chip mulch, lay the irrigation line down over the bare dirt then top with 3-4” of wood mulch.
If the mulch has been delivered in the street or on a concrete driveway, use a square shovel to scoop it up. From there, just load each wheelbarrow full and dump it throughout the yard. Spread it out with a rake and you’re done!
Natural areas and community gardens are great places to find inspiration for your landscape. We often look to neighbors’ yards, books, magazines or plant nurseries to get ideas, but those aren’t the only options. The greater Albuquerque area is home to beautiful open space areas that offer us places for recreation and conservation, but also are great sources of education and design inspiration. The plants you see in these natural areas are likely to do well in yards in that same part of town. Pay attention to what plants grow near each other as these will make good combinations in your yard as well.
Today, we are highlighting a couple of beautiful natural areas to visit in and around the South Valley.
Valle de Oro National Wildlife Refuge
Did you know that within our great city, there is a national wildlife refuge? It was established in 2012 and is one of the most ambitious urban conservation projects in the nation. Tucked behind an industrial zone in the South Valley, the Valle de Oro National Wildlife Refuge provides an escape from the city. Enjoy a peaceful wetland demonstration pond, beautiful sunsets, and walking trail loops that mark the beginning of extensive transformation plans. Stop by the visitor center to learn about upcoming events and how you can help re-wild the land both on the refuge and in your community.
Valle de Oro offers a diversity of activities, including bicycling, bird watching, photography, horseback riding, dog walking, hiking, jogging, picnicking, education and interpretation. There are loop trails of all lengths available with the longest trail bringing you to the Rio Grande Bosque.
Gutierrez Hubbell House History and Cultural Center
Nearby and located on the original path of the El Camino Real de Tierra Adentro National Historic Trail is the Gutierrez Hubbell House History and Cultural Center. Located at 6029 Isleta SW in Albuquerque, it is run by Bernalillo County and noted for its state and national historic status.
The Gutiérrez-Hubbell Open Space is an approximately 16-acre property that features the restored Gutiérrez-Hubbell House, courtyard, kitchen garden, heritage orchard, historic acequia and several actively farmed agricultural fields.
The house, a 5,700-square-foot earthen/adobe structure, is listed on the National Register of Historic Places and is a National Park Service certified site. Once a private residence of the prominent Gutiérrez and Hubbell families, it was also the location of a stagecoach stop, trading post and post office from the late 1860s to 1929. In 2000, the property was purchased by Bernalillo County and is managed as a Bernalillo County Open Space. Curated as a museum and educational center, the house also has community and gallery space and host several large events annually. Check the free backyard farming workshops and quarterly composting series that are held at the property.
This native primrose is a cheerful, easy-to-care-for perennial that brightens up any garden with its delicate, rosy blooms. It thrives in a variety of conditions — especially dry ones — making it perfect for water-wise gardening. From April to June, it puts on a stunning show, creating vibrant carpets of soft pink and white flowers that are irresistible to bees and butterflies, making it a wonderful addition to pollinator gardens! Just keep in mind that this little beauty loves to spread, so thoughtful placement will help it serve as an excellent ground cover.
Fig trees are a beautiful addition to local backyard orchards. Their large leaves give yards a lush tropical appearance, and the sweet fruit is wonderful for eating fresh, drying, fruit leathers, baking, jams and canning. Fig trees can produce two fruit crops per year: the “breba” crop in the spring and “main” crop in summer.
The primary limitation for figs is low winter or spring temperatures that may sometimes partially or completely kill fig tree canopies. If the roots are not killed during winter, fig trees that have experienced freezing temperatures usually grow back vigorously and can even produce some main crop fruit in the first year of regrowth. Fig trees should be planted in a protected area next to a south facing wall and mulched or tarped to minimize freeze damage. Figs are tolerant of abuse and relatively content with intense sunlight, extended droughts and alkaline soils.
“Celeste,” “Brown Turkey,” “Hardy Chicago,” “Desert King,” Kadota” and “Violette de Bordeaux” are only a few of the fig varieties that do well. “Black Mission” is a readily available but not very cold hardy for the greater Albuquerque area. In general, backyard fig varieties require no cross-pollination to produce fruit.
Grass lawns in the greater Albuquerque area need supplemental irrigation to survive our high desert climate. Most residential landscapes are watered by pop-up spray heads that include a sprinkler nozzle set into a spray sprinkler body.
We recommend switching out your older sprinkler nozzles and spray sprinkler bodies for more water efficient ones. Take a look below. They are easy to install; check out the pictures to see how simple it is.
These devices provide pressure regulation at each individual spray head. The sprinkler body is the exterior shell that connects to the irrigation system piping and houses the spray nozzle that applies water to your landscape. WaterSense-labeled spray sprinkler bodies with internal pressure regulation can reduce water waste by providing a consistent flow at the sprinkler nozzle. When the sprinkler body maintains pressure near its optimal operating pressure, the connected nozzle is better able to generate the right amount of water spray and coverage for more uniform distribution of water across the landscape.
Installation is simple. First remove the old spray body by twisting it off and then twist on the new spray body.
High Efficiency Rotating Sprinkler Nozzles (multi-stream)
We also encourage you to change your existing spray heads to high efficiency sprinkler nozzles. These nozzles minimize water waste with unique, multi-trajectory rotating streams that deliver water at a steady rate. This slower application rate allows water to gently soak in at rates that soils can absorb. Use these nozzles to replace the sprinkler head on any conventional spray head body or pop-up sprinkler for water savings of up to 30%.
High efficiency sprinkler nozzles are a great solution for upgrading an old and poorly performing sprinkler system. These nozzles create a heavier droplet that is less affected by wind and reduce misting. These nozzles work especially well with pressure regulating bodies. These heads require longer run times. Don't worry it does not use more water, because rotary nozzles deliver water at a slower rate than typical spray nozzles. Therein lies the efficiency: water saturates deep into the root zone rather than running off and evaporating. This can also help reduce the frequency of runs, thereby saving water.
To make the upgrade, carefully pull the riser out of the sprinkler body, it's spring loaded so keep a hold of it while you unscrew the old nozzle and replace it. After you replace the nozzle you may need to turn the system back on and rotate the body slightly to adjust the spray direction. Pull up the existing nozzles in your sprinklers. While holding them, remove the cap from the sprinkler and install the appropriate spray nozzle, as indicated on the plan. If you are using Hunter brand nozzles be sure to also buy this little orange tool to adjust the spray arc. Rainbird nozzles can be adjusted by turning the ridged rings with your fingers.