by 505 Outside | Dec 12, 2018 | Blog, Do It Yourself (DIY), Planting Tips, Tree Care
A correctly planted tree will grow more quickly, will be healthier and more attractive, and will live longer than an incorrectly planted one. A healthy tree will also have a stronger and larger root system better able to draw moisture from the soil. This allows it to better withstand the periodic droughts of arid New Mexico.
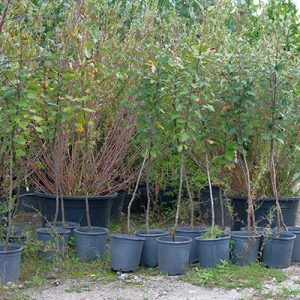
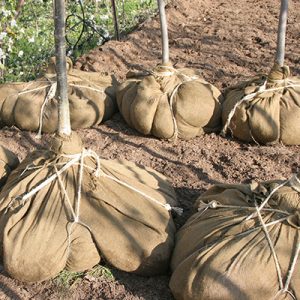
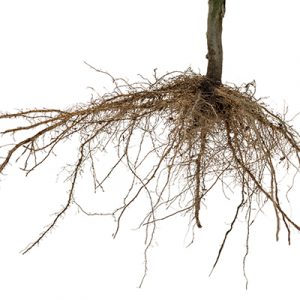
When you purchase a new tree from a nursery, it will come one of three ways: As a container tree, a ball and burlapped tree, or a bare-root tree. A containerized tree is simply a tree in a container (usually a plastic pot). Balled-and-burlapped trees are usually larger specimens that have been dug out of the field. After the tree is dug up, its root ball is wrapped in burlap fabric and covered with a wire cage. A bare-root tree, as the name implies, has no covering on the roots at all. This is often the case with fruit trees.

Container tree

Balled-and-burlapped tree

Bare-root tree
To plant a containerized tree, follow the steps below:
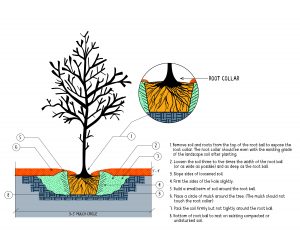
- Remove soil and roots from the top of the root ball to expose the root collar. Carefully remove the root ball from the container and set the tree on undisturbed soil in the center of the hole. The root collar should be even with the existing grade of the landscape soil after planting. (see sketch for more information.)
- Loosen the soil three to five times the width of the root ball (or as wide as possible) and as deep as the root ball. Tree roots grow best in loosened soil that has pore spaces for water and oxygen. The walls of the hole should be tapered away from the hole.
- Trim back roots that have begun to circle the root ball.
- Partially fill the hole with soil and firm it slightly. Water thoroughly and finish backfilling the hole with soil. Pack the soil firmly but not tightly around the root ball.
- Build a small berm of soil around the root ball. Fill the berm with water two or three times to make sure the soil is completely moist. Thereafter, begin a regular watering schedule.
- Place a protective circle of mulch, three feet wide or wider, around the tree. The mulch should not touch the root collar and should be installed at a depth of 3 to 4 inches for best results.
- Water your tree regularly. (See post on how to water a newly planted tree)

To plant a balled-and-burlapped (B&B) tree, follow the steps below:
- Remove soil and roots from the top of the root ball to expose the root collar. Carefully set the tree on undisturbed soil in the center of the hole. The root collar should be even with the existing grade of the landscape soil after planting. (see sketch for more information.)
- Loosen the soil three to five times the width of the root ball (or as wide as possible) and as deep as the root ball. Tree roots grow best in loosened soil that has pore spaces for water and oxygen. The walls of the hole should be tapered away from the hole.
- Carefully place the root ball in the center of the hole. The top of the root ball or bottom of the root collar (see photo) should be even with the soil level. Take note of the tree flair in the sketch.
- Remove twine or string, burlap, and if the root ball is surrounded by a wire basket, cut and remove the wire basket. Be careful to avoid breaking up the root ball.
- Partially fill the hole with soil and firm it slightly. Water thoroughly and finish backfilling the hole with soil. Pack the soil firmly but not tightly around the root ball.
- Build a small berm of soil around the root ball. Fill the berm with water two or three times to make sure the soil is completely moist. Thereafter, begin a regular watering schedule.
- Place a protective circle of mulch, three feet wide or wider, around the tree. The mulch should not touch the root collar and should be installed at a depth of 3 to 4 inches for best results.
- Water your tree regularly. (See post on how to water a newly planted tree)
PRO TIP: If possible, plant trees in valleys and depressions in the landscape so rainwater will naturally collect and give the tree a good soaking. Direct roof downspouts and canals towards trees.
Newly planted trees do, however, need water. Do a thorough watering at planting. Water again about 3 days after the first planting. Then water once a week for the next four weeks. Continue watering once a month for the rest of the winter. Every time you water, make sure it is a deep soak. That means watering to a depth of 24 inches. See how deep am I watering for instructions on how to measure watering depth.
Be sure to add mulch around your new trees. We recommend using an organic mulch installed to a depth of 3 inches around the tree, keeping mulch a few inches away from the trunk of the tree.
Staking a tree is not necessary unless your tree is located in a super windy spot. If you do stake the tree be sure the tie is not too tight. Promptly remove it one year after planting the tree.
Soil amendments are not necessary if you choose the right tree for the native soil conditions in your yard.
by 505 Outside | Dec 12, 2018 | Blog, Planting, Planting Tips, Tree Care, Xeriscape
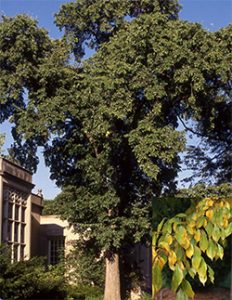
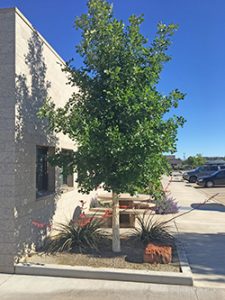
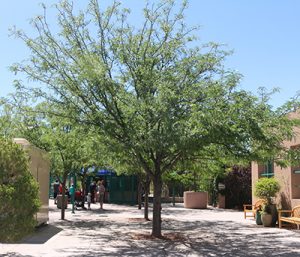
There are so many types of trees to choose from. We don’t blame you for being confused. Here are some of our favorites, just a small list of the many trees available here in New Mexico. Before you head out to buy your tree, though, let’s chat a little bit about them.
As you look around town, you’ll notice trees come in all shapes and sizes. The key to choosing the perfect tree for your yard is picking the right tree for the right place. In fact, this phrase is popular among arborists.
When deciding what tree to plant, think about the tree size now and at maturity. It may look small now, but how big will it grow once it’s mature? Make sure you provide enough room for future growth. No one wants branches growing into power lines, roots disrupting your foundation or leaves blocking the solar panels on your neighbor’s house.
Learn about the rate of growth of the tree, too, so you know how long it will take to get to mature height. Other key factors in choosing the perfect tree are understanding what sun exposure the tree likes. Does it like full sun all day? If so, plant it on the south side of the house or in a location where buildings will not block its access to sunlight. Cold hardiness, heat tolerance, soil preference and irrigation needs should all be considered when choosing a tree species.
Trees are also a long-term investment. Take the time now to choose the right tree for the right place and you’ll save money in the long run.
This list of recommended trees is broken into deciduous and evergreen trees.

A deciduous tree loses its leaves annually in the fall.

Evergreen trees shed their leaves or needles periodically, but usually remain green throughout the year.
Large Deciduous Trees

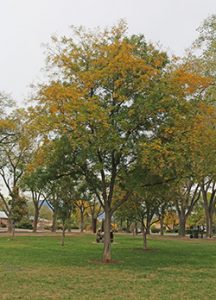
‘Accolade’ Elm, Ulmus japonica x wilsoniana ‘Morton’

Burr Oak, Quercus marcrocarpa

‘Shademaster’ Honeylocust, Glenditsia triacanthos ‘Shademaster’

Japanese Pagoda Tree, Sophora japonica
Medium Deciduous Trees

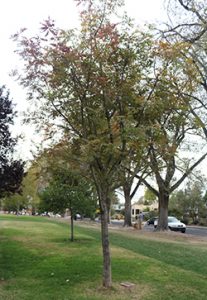
Chinese Pistache, Pistacia chinensis

‘Expresso’ Kentucky Coffee Tree, Gymnocladus ‘Espresso-JFS’

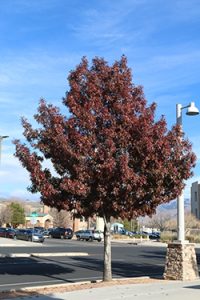
Texas Red Oak, Quercus buckleyi

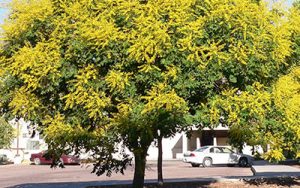
Goldenrain Tree, Koelreuteria paniculata
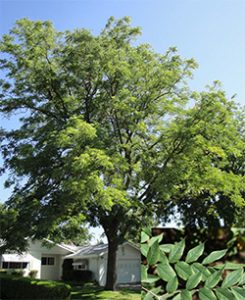
Small Deciduous Trees

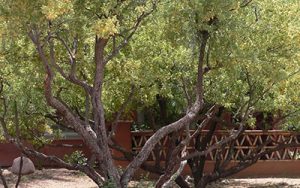
Mesquite, Prosopis pubescens

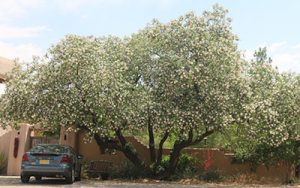
Desert Willow, Chilopsis linearis

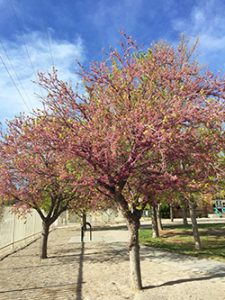
Oklahoma Redbud, Cercis candensis var. Texansis ‘Oklahoma’

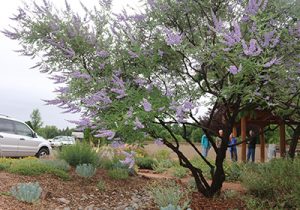
Purple Chastetree, Vitex agnus-castus
Evergreen Trees

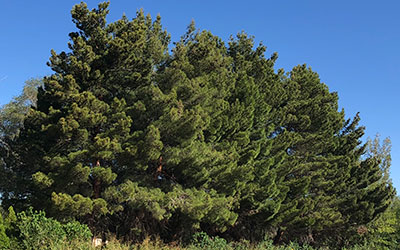
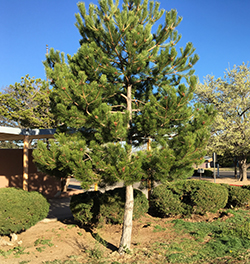
Austrian Pine, Pinus nigra

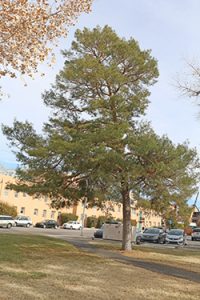
Scotch Pine, Pinus sylvestris

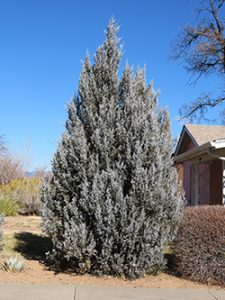
Whichita Blue Juniper, Juniperus scopulorum ‘Wichita Blue’

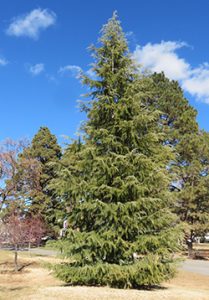
Deodor Cedor, Cedrus deodara

Photography Courtesy of: Trees of Corrales, Waterwise Landscapes, My Landscape Coach, and The University of Minnesota
by 505 Outside | Nov 14, 2018 | Blog, Fall, Planting, Planting Tips, Tree Care
Three reasons why fall is a great time to plant trees:
- Trees planted in the fall perform better come spring, compared to those planted in the summer, because tree roots are still active over the winter. This winter root development of newly planted trees, prepares it for spring, allowing its roots to spread out and then help the tree become established faster when temperatures begin to warm again.
- If planting a large ‘ball and burlap’ tree, fall offers the best choice for getting the tree species you want. This is when local tree nurseries dig up their trees from the fields and get them ready for sale. If planting a smaller containerized tree (nursery pot), be careful about selecting a tree that has been drought stressed all summer or has been in a container for too long and is too root bound. See this handy cue card for more information about selecting a good quality tree from your local nursery. https://www.urbantree.org/pdf/treequalityonsheet.pdf
- Less watering is required in the fall because the soil retains more moisture than in the summer, due to lower temperature, shorter days, and the fact that plants are not transpiring as much water. For tips on watering and caring for a newly planted fall tree, check out our other articles on trees.
Take advantage of our TREEBATES! The Water Authority offers money back on the purchase of new trees and for the care of existing trees such as professional pruning or mulch. Learn more here.
by 505 Outside | Nov 9, 2018 | Blog, Maintenance, Waterwise Tips, Winter
November is the time to prepare your landscape for winter. By following the simple recommendations outlined below, you can get your yard ready to endure the coming winter months so it can flourish next spring.
How do I prepare my plants for the winter season?
Turf grass:
- Mow your lawn to a height of 1-2 inches. Grass left too long over the winter can develop brown patches.
- Aerate the ground before it freezes. Aerating involves penetrating the lawn with small holes to allow air, water and nutrients to reach the roots over winter. Power aerators are available to rent at your local home and garden center, or you can try a strap-on shoe aerator.
- Remove fallen leaves from the lawn. These may cause damage to the grass if left over the winter.
All other plants:
- Add mulch to existing plants. Mulch helps retain moisture and keeps the soil a more consistent temperature in the winter. When mulching trees, be sure to leave space around the trunk.
Do I need to water my plants in the winter?
Yes! In our area we recommend you continue to water your plants over the winter. But you won’t need to water as often. During the winter, soil retains water for longer periods because of the colder nights and shorter days.
You’ll want to pay attention to how much rain and snow you get in your yard each month. If it has rained more than ½ inch (or snowed more than 6 inches) in the last 4 weeks, then no need to water. If we are having a dry winter (less than ½ inch of precipitation in a month), then your yard is thirsty! Give it a drink.
When watering during the winter, we recommend you water during the warmest part of the day. Below is a chart with watering recommendations.
How much do I water my plants during the winter?
| Plant Type |
How often? |
How deep? |
| Trees |
1 time a month |
24 inches |
| Shrubs |
1 time a month |
18 inches |
| Flowering plants |
1 time a month |
12 inches |
| Desert accents |
none |
none |
| Groundcover |
1 time a month |
12 inches |
| Grass: turf |
2 times a month |
6 inches |
| Grass: ornamental |
1 time a month |
12 inches |
| Vines |
1 time a month |
18 inches |
How do I know how deeply I’m watering my plants?

Testing soil moisture with a long screwdriver.
Use a soil probe or a long screwdriver to test soil moisture. Push the screwdriver into the soil about an hour after you’ve watered your plants. It will go easily into moist soil. Mark and measure how far it went into the ground. That will tell you how deep you have watered that plant. Every yard is different, but once you figure out how long it takes your watering system to water to certain depths, you’ll be set.
Winterize your irrigation system
In a climate where winter temperatures can get below freezing, it may be advisable to “winterize” your irrigation system in order to avoid damage. If water is left in pipes, valves and sprinkler heads during freezing temperatures, that water may expand. You can imagine the results.
The steps you should take to prepare your irrigation system for winter depend on a lot of factors, but the overall goals for winterizing are the same for most systems:

Shut-off valve with sprinkler valve key.
- Shut off the water supply to your irrigation system
- Locate your shut-off valve (often hidden in a 3” PVC pipe; sometimes this pipe has a white or yellow cap on it as shown in the photo) and turn it to the right to shut it off

Controller set to the "off"position.
2. Turn off the irrigation system controller (if you have one)
- Leave your controller plugged in to save programming information for next year
- Turn the controller dial to OFF.

Flush Cap at the end of a drip system.
3. Drain the water from all pipes, valves, and sprinkler heads
- There are several ways to drain your system. Manual drain valves, automatic drain valves, are blown out with compressed air. This should be left to trained professionals.
- Local irrigation specialists can be hired to help.
- If you have an irrigation system with drip hoses, we recommend you locate the end cap (flush cap) of the drip hose and drain out the water.
Don’t forget – hose bibs (or faucets located on the outside of your house) can also freeze. Make sure that water to your hose bibs is shut off. Remove any hoses that are connected to hose bibs, and turn on the faucet to allow any trapped water to drain out. On warm winter days, you may want to turn the water back ON in order to water with a hose.
by 505 Outside | Oct 2, 2018 | Blog, Design
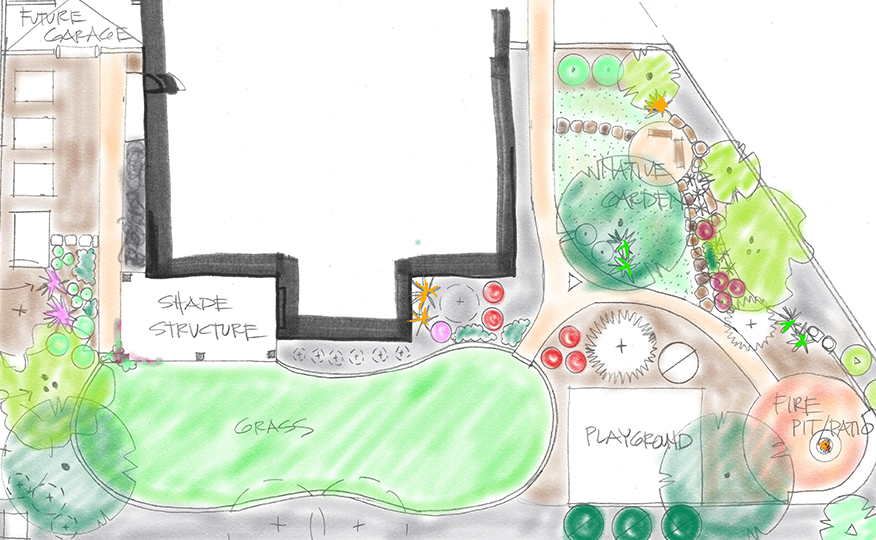
These free desert friendly designs were designed for the Water Authority by local landscape professionals Judith Phillips, George Radnovich and David Cristiani. These templates can serve as blueprints and thought-starters to guide residential and business property owners in creating spectacular desert friendly with color, logic, beauty and purpose.
Judith Phillips creates vivid, striking plant arrangements with abundant textures and rotating, colorful perennials.
David Cristiani combines contouring with groundcovers, grasses, vines, shrubs and trees for a lush, green xeriscape year-round.
George Radnovich blends dramatic native and xeric plants for a spectacular lower-maintenance xeriscape.
Judith Phillips balances copious blooming perennials with intensely aromatic plants to attract abundant local wildlife.
David Cristiani fuses succulent textures and groupings that thrive in full sun and high heat for impressive visual impact.
George Radnovich orchestrates an elegant, simple mixture of ornamental plants and features for north-facing xeriscapes.