What are high efficiency rotary nozzles and why should you use them in your lawn?
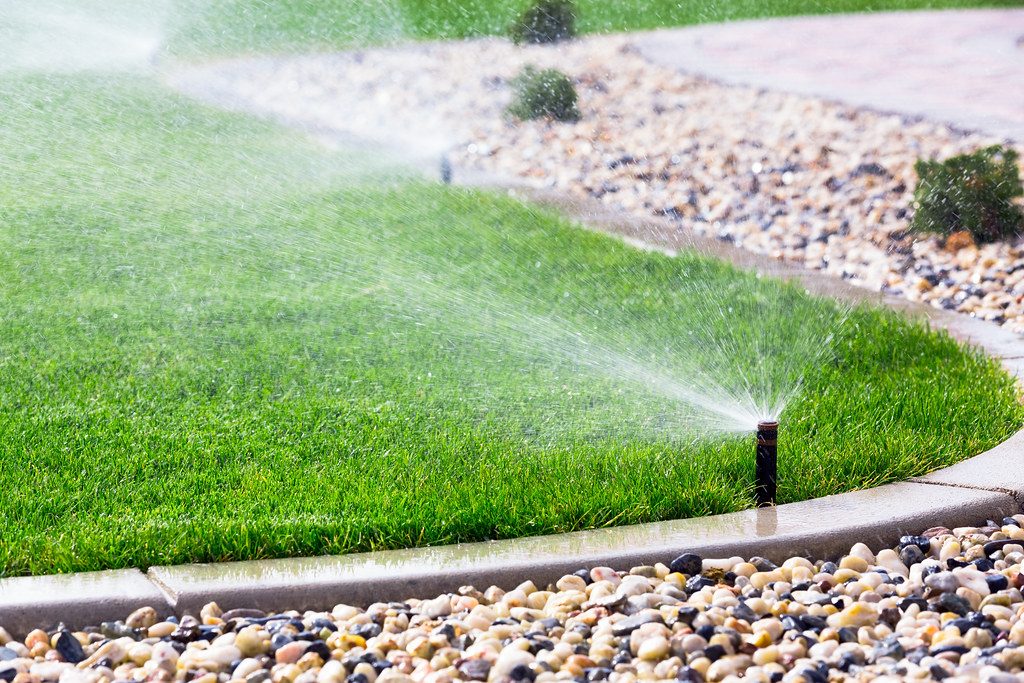
Grass lawns in the greater Albuquerque area require supplemental irrigation in order to survive our high desert climate. Most residential landscapes are watered by pop up spray heads with conventional nozzles, as pictured below.
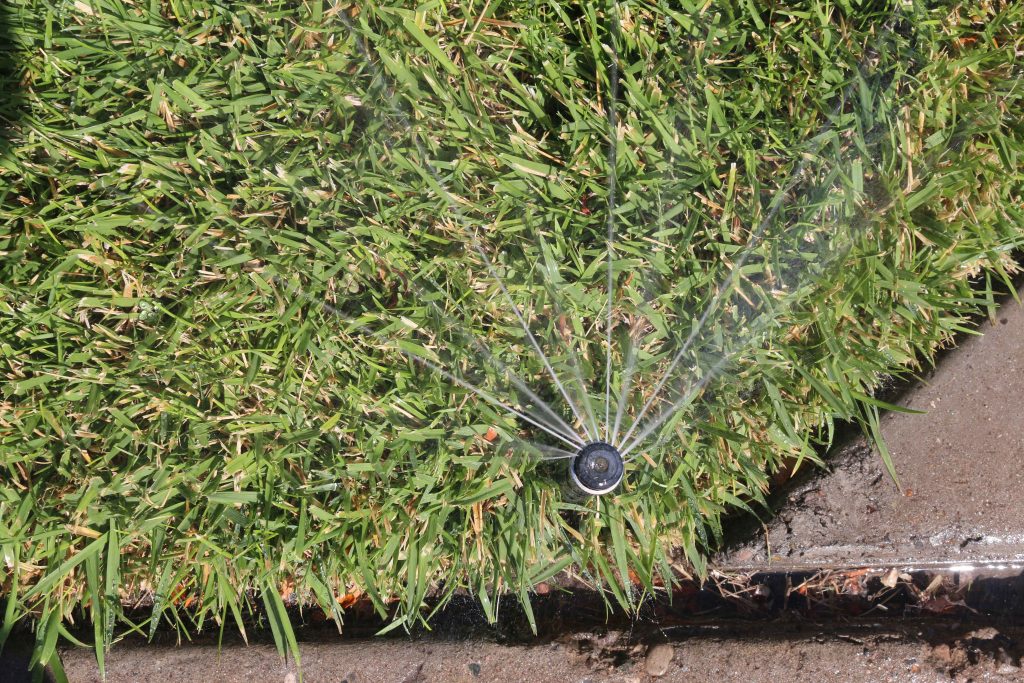
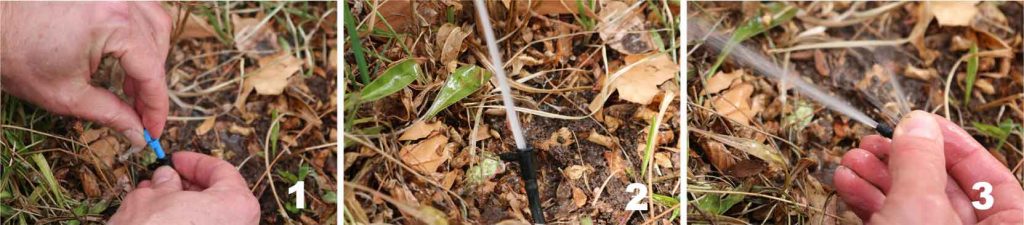
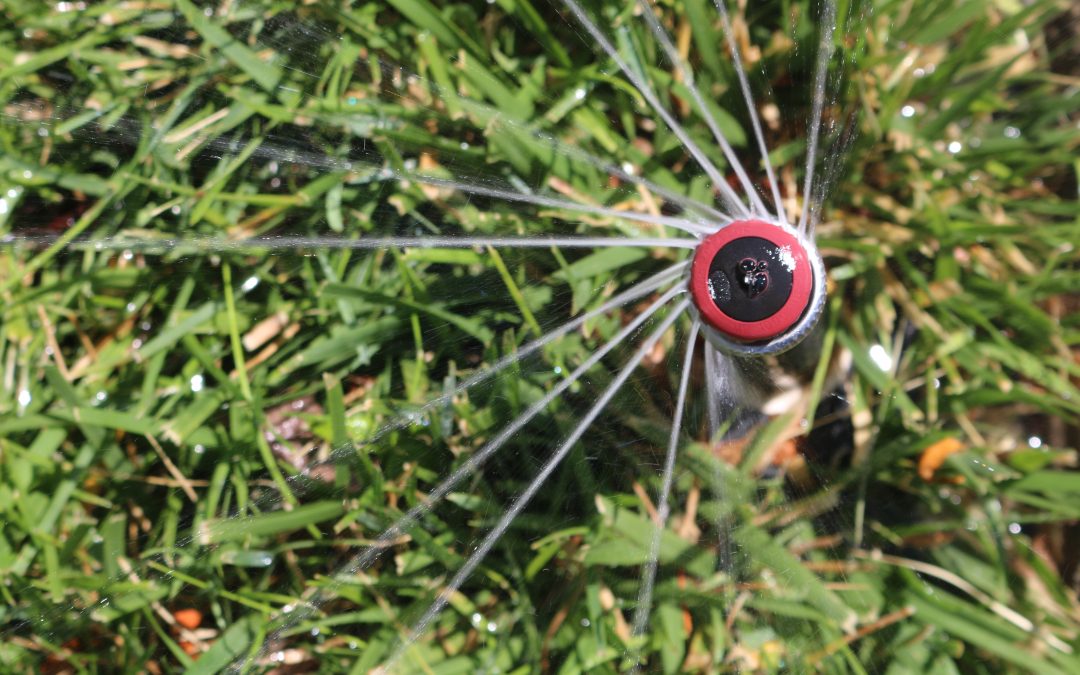
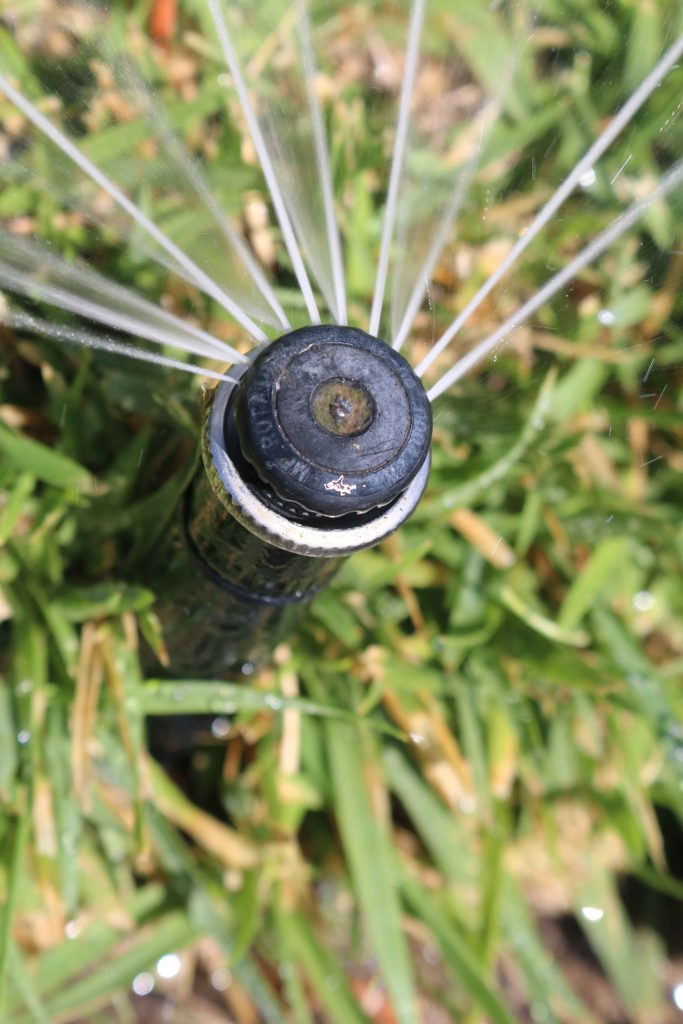
But did you know that water waste from these conventional spray nozzles can be reduced by simply swapping the nozzle out for high efficiency rotary nozzles? And for just a few dollars per head. Rotary nozzles improve irrigation efficiency by delivering water more slowly. That prevents runoff by giving soil time to absorb the water and allows the water to reach the root zone of the plant. These nozzles also deliver water in a larger droplet size, making the spray less susceptible to being carried off by the wind. This is all accomplished via their distinctive multiple rotating streams of water, pictured below.
505Outside visited local irrigation supply stores to find out their most frequently asked questions about these nozzles.
Can I replace my existing spray nozzles with these high efficiency rotary nozzles?
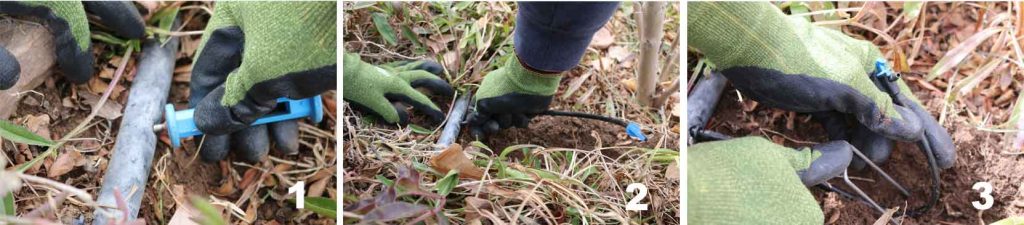
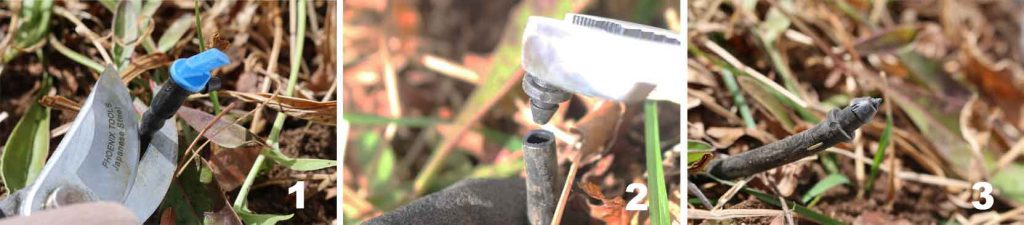
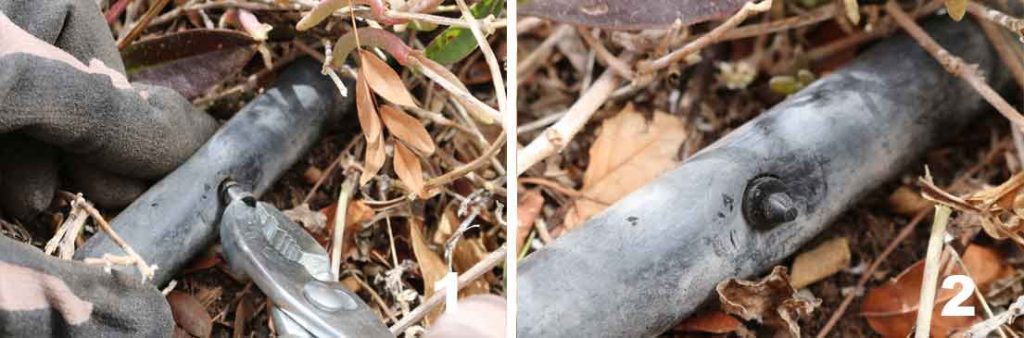
Yes. In most cases it’s as simple as unscrewing the existing nozzle and dropping in the rotary nozzle and filter basket. These are available at any local irrigation supply store. If you bring in your existing spray head, the staff can recommend the best solution for you. Water Authority has rebates available for the purchase of rotary nozzles, too. Visit the link here.
Sounds too good to be true. Are there any negatives?
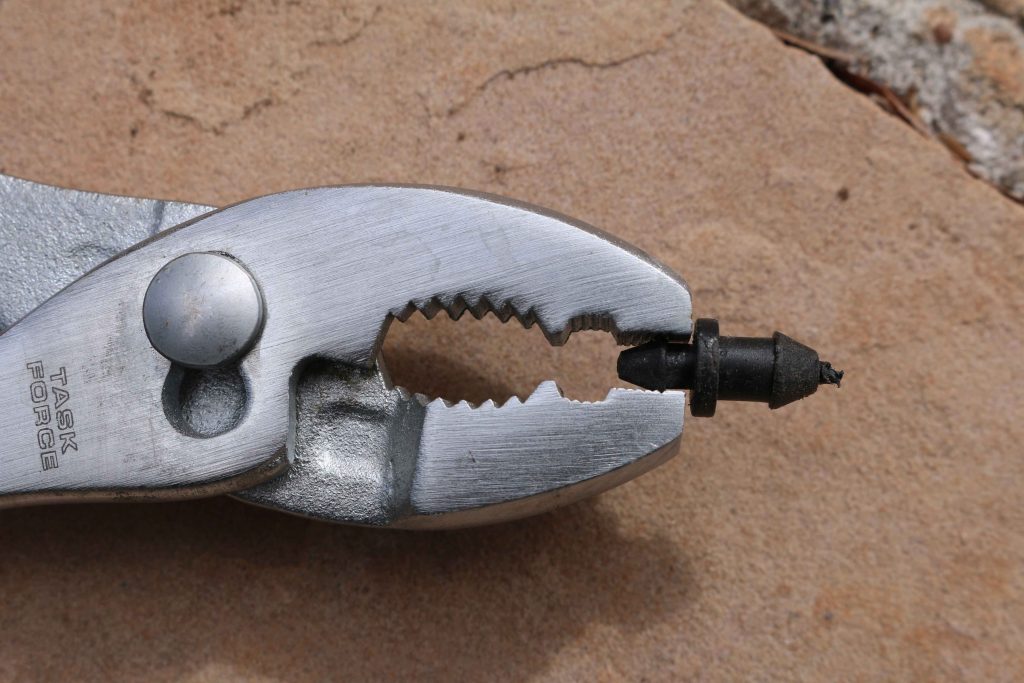
They tend to clog with the hard water typically found in Albuquerque. Make sure the brand you select comes with an inline filter basket, so you can easily flush out and unclog your spray head.
What else should I know about high efficiency rotary nozzles?
They require longer run times. This is where most homeowners get confused. Wouldn’t a longer run time mean I’m using more water? The answer is no, because rotary nozzles deliver water at a slower rate than typical spray nozzles. Therein lies the efficiency: water saturates deep into the root zone rather than running off and evaporating. This can also help reduce the frequency of runs, thereby saving water.
They work best at 30-40 psi. If the pressure running through your irrigation system is too high, the rotary nozzle will spin out of control and break. The average pounds per inch (psi) in Albuquerque ranges between 40 and 70 psi, so you may need a pressure regulator on your system to avoid damage. Check with your local supplier to figure out if you need to regulate the pressure on your system, and how.
They are adjustable. Most rotary nozzle brands provide matched precipitation rates across radius, arcs, and pattern types, making it easy to install a system with even distribution. Nozzles can be easily adjusted by tool or by hand while the heads are running, to avoid water waste through overspray.
Stop by your local irrigation supplier and learn all about these high efficiency rotary nozzles.