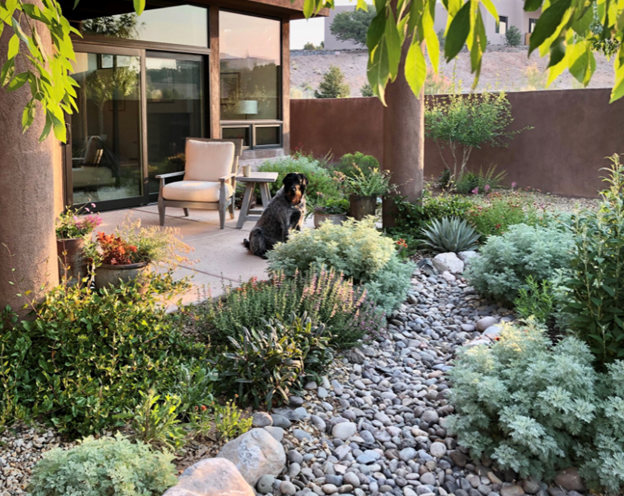
Do you want to learn how to harvest rainwater to support a beautiful, regionally adapted, low -water-use landscape in your yard? A new video series launched in June provides instruction on how to design, install, and maintain residential-scale, passive rainwater harvesting features. In passive water harvesting, rainwater is conveyed directly to a landscaped area and infiltrated in the soil.
Landscapes that incorporate rainwater harvesting and native/drought-tolerant plants require little supplemental irrigation. Rainwater harvesting provides the deep watering that large plants like trees and shrubs need in our hot and dry climate. Capturing and infiltrating rainwater also reduces runoff that carries pollutants to the Rio Grande River.
In this series, you will learn how to construct some of the most common passive rainwater harvesting features in residential applications – basins, swales and soil sponges. The training addresses site selection, sizing basins, grading swales, installing soil sponges for enhanced infiltration and selecting plants. It is presented by four local experts on rainwater harvesting and arid-adapted gardens: Jim Brooks, Tess Houle, Judith Phillips, and Hunter Ten Broeck.
The video series was developed through a collaboration between Bernalillo County, Ciudad Soil and Water Conservation District, and the Arid LID Coalition, and included the installation of a Rainwater Harvesting Learning Landscape at the Gutiérrez-Hubbell House History and Cultural Center. Please visit the Rainwater Harvesting Learning Landscape in person to see an example of a rainwater harvesting feature designed for our arid climate.
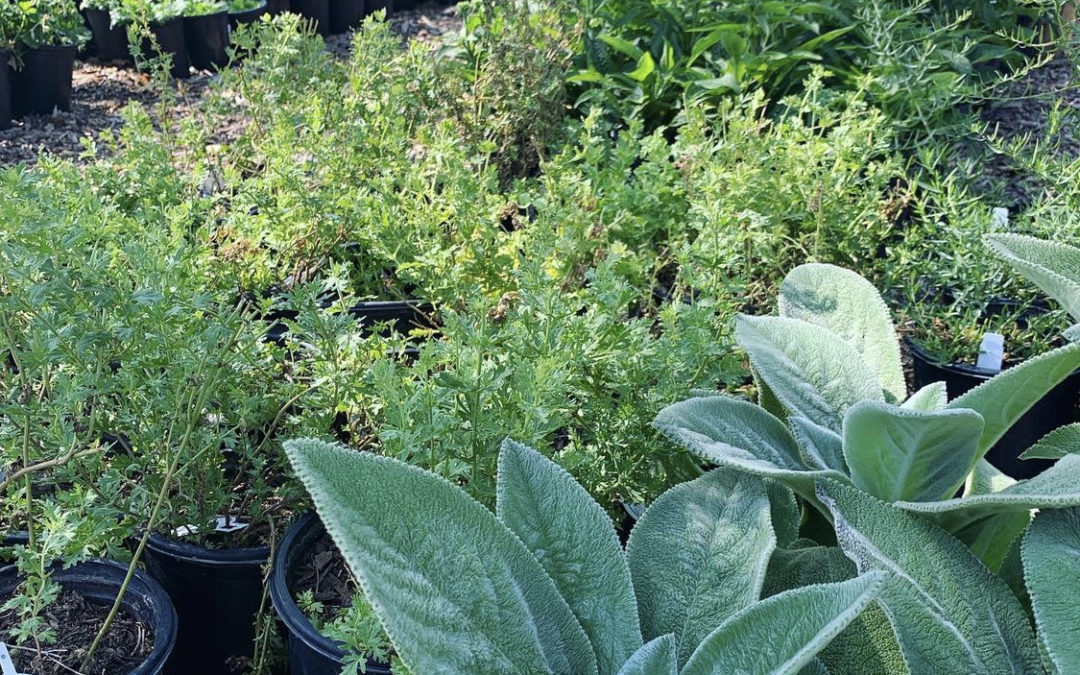
Fall can be a great time to plant, especially if you are planting higher elevation and temperate climate plants that are adapted to cooler, more humid growing conditions. In the fall, the soil is still warm enough to encourage roots to develop so watering properly makes a big difference on preparing them to survive in the winter season. What to plant? Most conifers, shade trees, cool season grass and moisture-loving fruit and ornamental trees, such as crabapples, apples and pears, are a great selection for planting in this autumn.
What not to plant this fall? The answer is plants from desert ecosystems like southern New Mexico and the Mediterranean natives. Their newly planted roots are less able to survive our winter cold. The same is true for perennial wildflowers and warm season grasses. These should be planted in the spring through early August. Succulents are another group of plants that thrive after settling into the garden during the warmer part of the growing season, so wait until the spring to plant them.
Knowing what to plant at this time of year will give you that edge you need to grow healthy plants!
Author: Judith Phillips, owner of Design Oasis, landscape designer, and garden writer with 30 years of experience designing arid-adapted and native gardens in the high desert. Photography:Plants of the Southwest. Have a question about the article? [email protected]
Did you know that half of Albuquerque homeowners do not have an irrigation system? We’ve been talking to hundreds of homeowners, and it turns out that the reason they haven’t installed one in their yard is they think an irrigation system for a typical lot (1/8 acre or 10,000 sf) will cost $5,000 or more. The good news is this is a myth! The cost for one fully installed irrigation drip system plus a controller/timer is between $1,350 and $1,900. Prices will vary depending on the size of your yard, the complexity of your water connection and if you want to add additional valves for irrigating plants with different watering needs, such as existing mature trees, vegetable beds, container plants or a turf grass lawn.
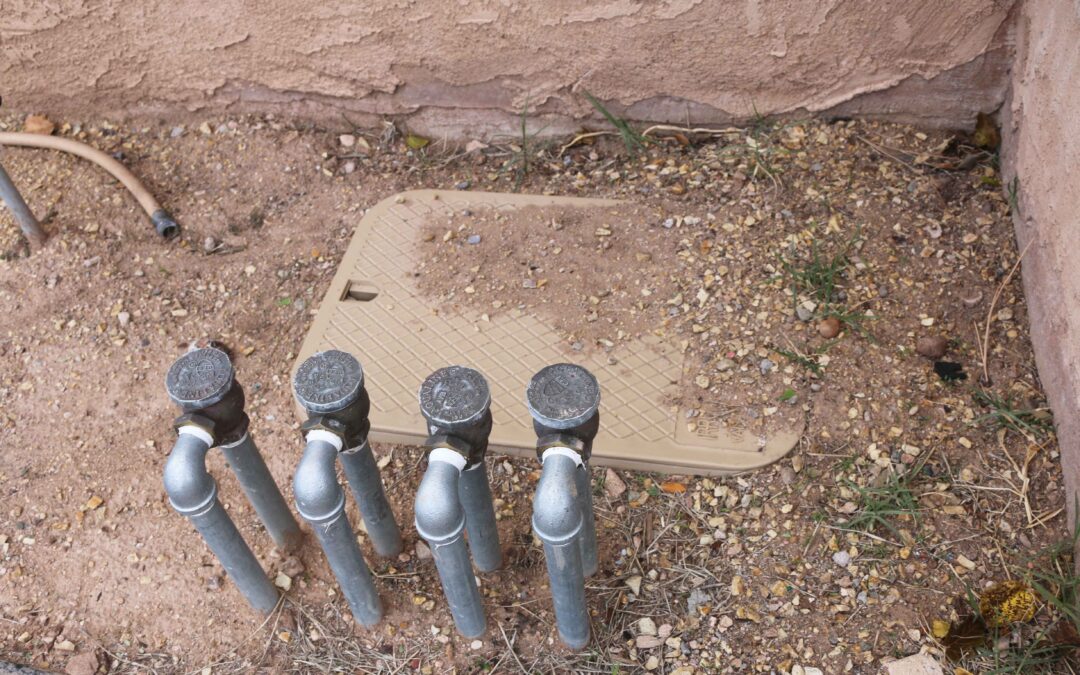
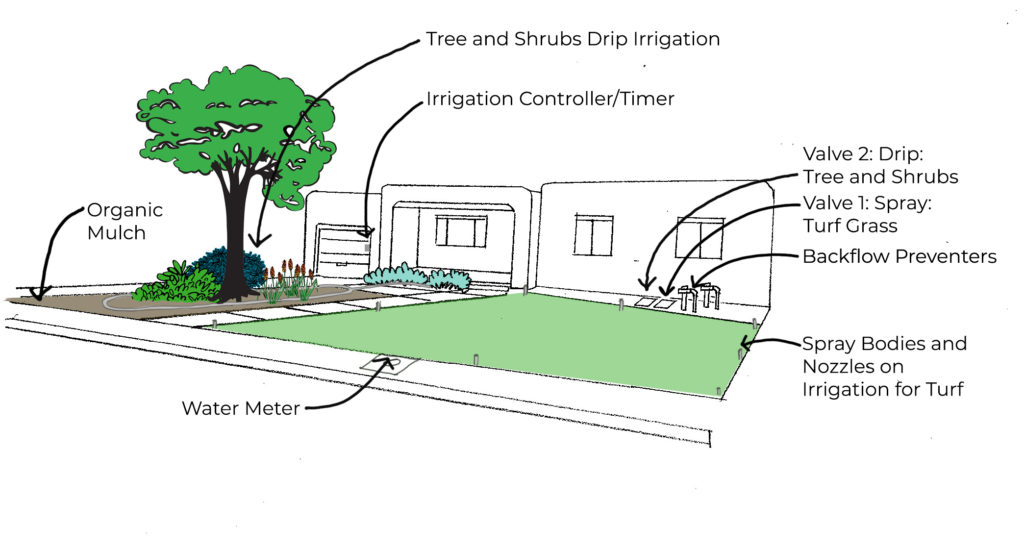
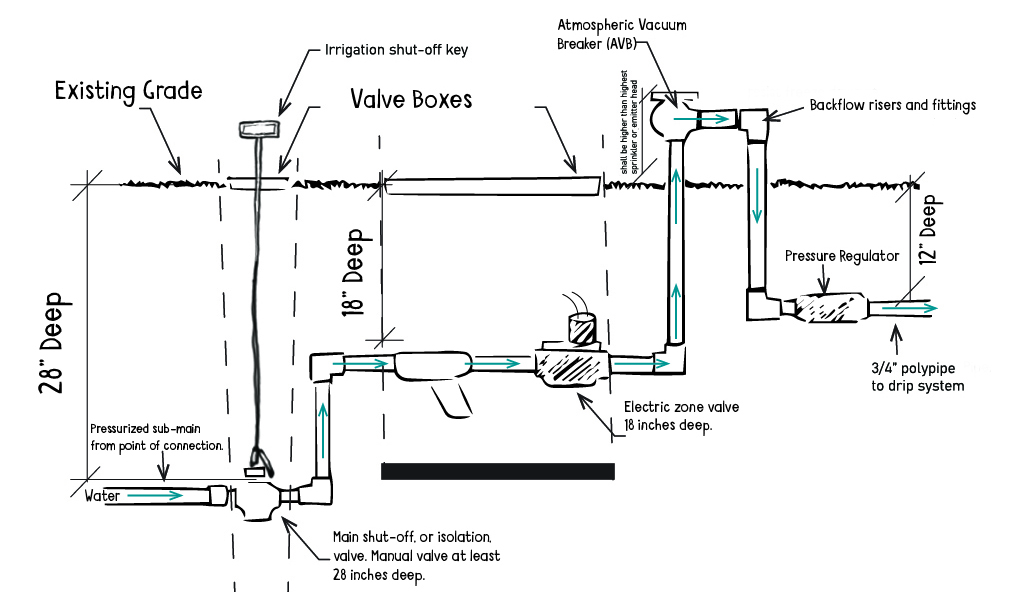
Here is what a typical irrigation system looks like. Do any of these elements look familiar to you? Perhaps you have a residential backflow preventer in your own yard and didn’t realize it or you thought it didn’t work because you’ve turned on the timer in your garage and nothing happens.
Many homes already have one or a couple of residential backflow preventers in the yard that are no longer in use. A local irrigation contractor usually can get those back up and running and include a new stub out for drip irrigation.
For those homes that don’t have any existing irrigation remnants, you’ll need to start from the beginning. One drip irrigation system is generally all you will need in a desert-friendly xeriscape for a 1/8 acre or smaller yard. Drip irrigation is the recommended method of delivering water to all your plants and trees (but not turf grasses).
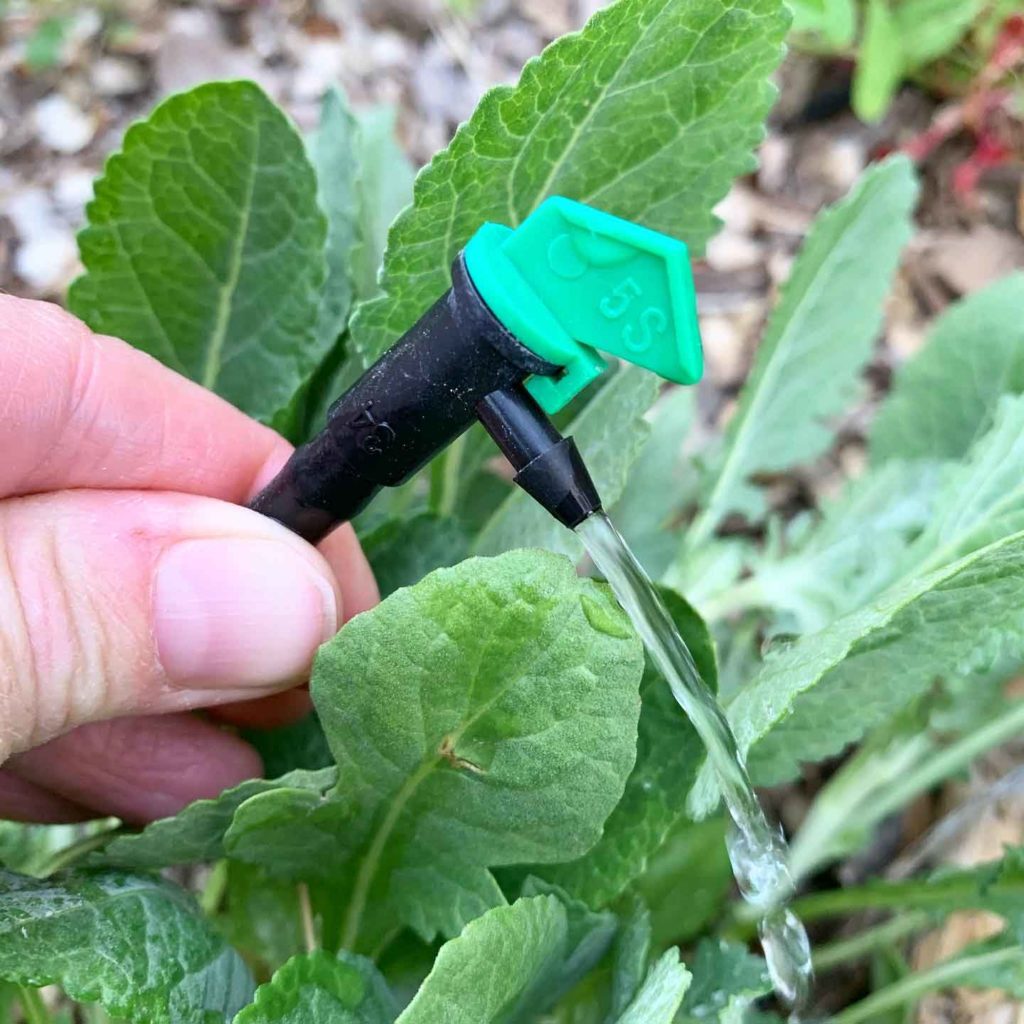
You’ll want to install one backflow preventer with one valve to run the drip system in the yard. A ¾” distribution polyline is connected to the valve. The polyline, which winds all around the yard, has ¼” spaghetti tubing connected to it so water gets directly to the plants. Due to our typically high water pressure, most drip irrigation systems require a pressure regulator to slow the water pressure, thereby reducing the chance of the drip emitters getting popped off the line.
Here is a breakdown of the costs:
One automatic residential backflow preventer with valve and pressure regulator with stub out to future dripline. $600-800 installed (includes parts and labor).
¾” dripline polyline connects to the stub out of a new valve or from an existing one and winds around the yard. Add ¼” spaghetti tube with drip flag emitters on the end to water each plant in your yard. $400-600 installed (includes parts and labor).
One automatic irrigation controller/timer (Smart Controller that connects to the Internet and your smartphone). $350-$500 (includes parts and labor) (rebates available)
A regular controller costs $350 (includes parts and labor).
Before hiring an irrigation designer and/or contractor, it’s advisable to ask them specific questions so you can make wise choices about design options and the kind of equipment you need.Click on this link to access a helpful guide put together by the Irrigation Association as developed by Cal Poly, San Luis Obispo. Adding an irrigation system (especially a drip system) means watering your plants using the least amount of water to provide optimal health. It is making sure that every drop of water you use goes to where it is needed and can be used most effectively by your plants. An irrigation system conserves water, produces a healthier landscape, saves time and is not as costly as you think!
Author: Jill Brown, ASLA. Landscape Architect and Owner of My Landscape Coach The prices quoted here are based on my experience as a landscape professional in the Albuquerque market. Prices will vary, of course, on size, complexity, and availability. Have a question about the article? [email protected]
ALBUQUERQUE, N.M. — By and large, New Mexican homeowners are getting the all-important message of the arid Southwest: Water is precious, and not to be wasted.
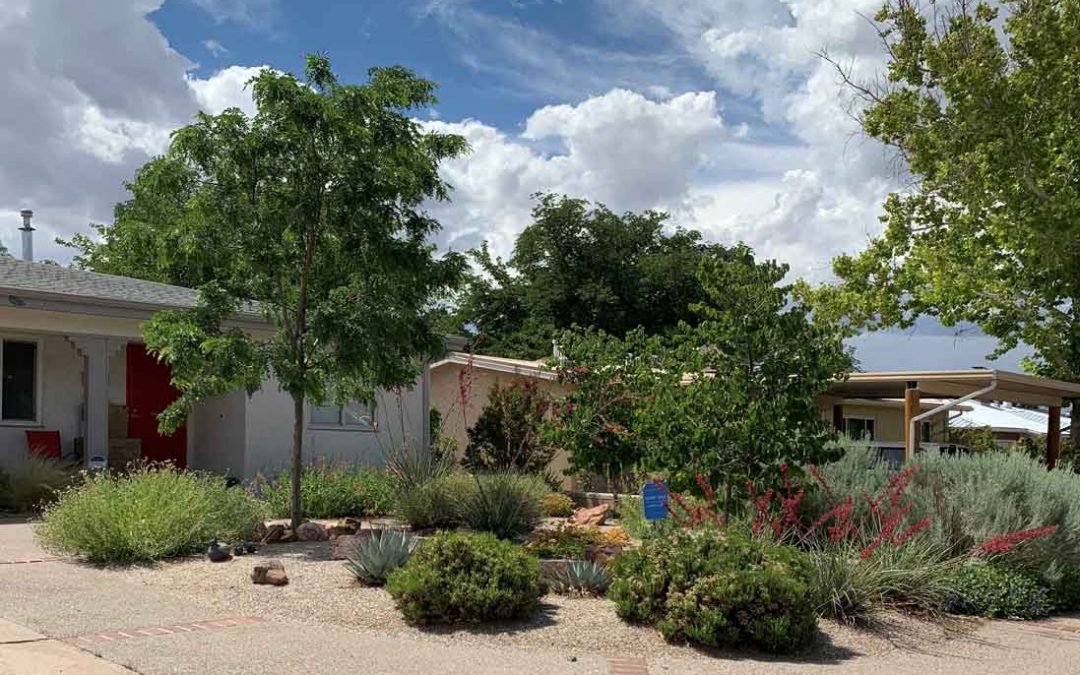
But local experts say an important piece of the story is still often lost when it comes to landscaping: Conserving water doesn’t have to mean a yard consisting of one plant surrounded by gravel.
“We’ve got to go away from that,” said Carlos Bustos, water conservation program manager for the Albuquerque Bernalillo County Water Utility Authority. “Xeriscapes are luscious, they’re beautiful, they’re abundant, they’re resilient, they’re sustainable. … We hope that 10 years from now we’re not still dealing with the idea of ‘zeroscapes.'”
Solange Serquis, of Santa Fe-based Serquis + Associates Landscape Architecture, agreed.
“I am a big believer that we all deserve aesthetic and beauty,” she said. “When you combine aesthetic and beauty to achieve something else, like passive cooling or low-consumption plants or an invitation to be outdoors, better use of … energy indoors, that’s the main thing.”
Plant selection
According to Jill Brown, a landscape architect and owner of My Landscape Coach, selecting plants tends to be a point in the landscaping process where homeowners get very engaged.
“If I go back and look at the most popular articles, the most popular things, discussions, questions that we’ve received, it’s always about plants,” said Brown, who also provides content for the water utility authority’s landscape website 505 Outside. “So people are really interested in plants and learning about plants and in that aspect of a landscape.”
For several local landscape pros, planting trees tops the list.
“That’s going to provide shade, which is going to reduce your energy bills if you put it … on the south side of the home … or the west side of the home,” Brown said.
Bustos said if a tree is well planned and well-positioned, those energy savings can be significant.
“There’s studies out there that say that if you place a tree strategically where you need to, you can save up to 25% of the energy in a typical household use,” he said, adding that tree shade helps reduce water lost by other plants nearby.
“By creating this microclimate, you can reduce the water need between 6 and 20%,” he said. “It’s always cooler in the shade.”
Serquis says planting trees adds long-term value.
“I always say planting a tree is an act of … citizenship,” she said. “Because you plant that tree today and in maybe 50 years, it’s … a heritage for the neighborhood.”
With trees as well as with smaller plants, Serquis said she’s looking for ways to passively cool living spaces – both indoors and outdoors – and selects varieties that have low water consumption.
When it comes to choosing specific plant varieties, Brown’s got a simple approach.
“Basically native plants that you buy from a local nursery are going to work in your soil,” she said. “That’s like a generalization we like to tell homeowners: Don’t over-stress about your soil. If you buy plants from a local nursery, you’ll be OK.”
Of course, there’s a caveat: Those plants and trees still have to be watered properly.
Irrigation
Brown said data and her own experience suggest that in the universe of homeowners who care about their landscaping, about half use an irrigation system of some kind, and about half are hand-watering.
Those hand-waterers, according to Brown and Bustos, should think about installing an irrigation system.
“Hand-watering is wasteful, because they’re spraying the leaves and … we need to get to the roots,” Brown said.
Those who already have an irrigation system can consider whether it’s efficient or fine-tuned enough.
Those who use spray sprinklers, for example, may consider swapping out sprayers for highly efficient models that are more available to homeowners today than in the past, often on the shelf of local irrigation supply companies, Brown said.
Homeowners can look at whether plants in their yard are being watered to the right depth, whether their irrigation system adjusts with the seasons – less water during the spring and fall than in summer – or with the weather.
Plants’ water needs also vary depending in what type of soil they’re planted – which even in the Albuquerque metro area can range widely, from sand on the West Side to clay in the valley.
Brown concedes the considerations can overwhelm homeowners.
“People really just want you to say, ‘Hey, water your landscape 20 minutes two times a week in the summer, 20 minutes once a week in the spring and fall,” Brown said.
Lawns
Serquis said when she first moved to New Mexico from Argentina, the trend was incentivizing homeowners to get rid of their lawns altogether in favor of gravel. But lawns don’t get quite such a bad rap with conservation-minded landscapers these days.
“I think there is something in between” lawn and gravel, Serquis said. “(It) depends how you look at the grass, or what type of grass – it’s not that bad. And a xeriscape with no plants, just as a reflecting surface, could be even worse” because of the heat generated.
Brown said there are types of grass that require less water – and even if homeowners want the grass “that’s at the park,” there are better ways to water it than with a spray system that throws water high in the air and risks evaporation. Bustos agreed.
“If you have a lawn and you’re enjoying it and it’s functional and you’re taking care of it, then update it,” he said. “You know, update that irrigation system. There’s technology out there that just can make things a lot more efficient.”
Mulch
Brown said mulch is an important part of landscaping in the Southwest.
“One of the biggest things people complain about are weeds in New Mexico, and a lot of that is because wherever there is bare dirt, you’re going to get weeds,” she said. “… The simplest solution and the most inexpensive solution and easy to install is 3 to 4 inches of a shredded wood chip mulch over the entire yard.”
Mulch helps soil hold in moisture and insulate plant roots, and it breaks down over time to enrich the soil. Brown said a mulch layer often means replacing expanses of gravel.
“All gravel does is produce more heat and more weeds,” she said. “Even if you have the weed cloth, the weed cloth just makes it easier to pull the weeds.”
Starting small
Bustos acknowledged the process of adapting a landscape can be daunting. He said he encourages residents to start with the “lowest investment,” which is changing behaviors. People can start following the seasonal irrigation needs of their landscape, rather than giving the same amount of water all year.
Those ready to invest some resources can take small steps like installing smart irrigation controllers, swapping out sprinkler heads and efficient nozzles – steps Bustos said can save up to 30% of water usage in some cases.
“If you really want to invest, you want to transform your yard into a desert-friendly landscape, then we got a xeriscape rebate that folks can tap into,” he said.
Brown said while her clients may be in different phases with their landscapes, they tend to share one thing in common. “Overall, in general, people in Albuquerque want to save water,” she said. “That is a no-brainer now.”
Author: Gabrielle Porter, Albuquerque Journal Business Editor. Reprinted with permission from the Albuquerque Journal. Have a question about the article? [email protected]
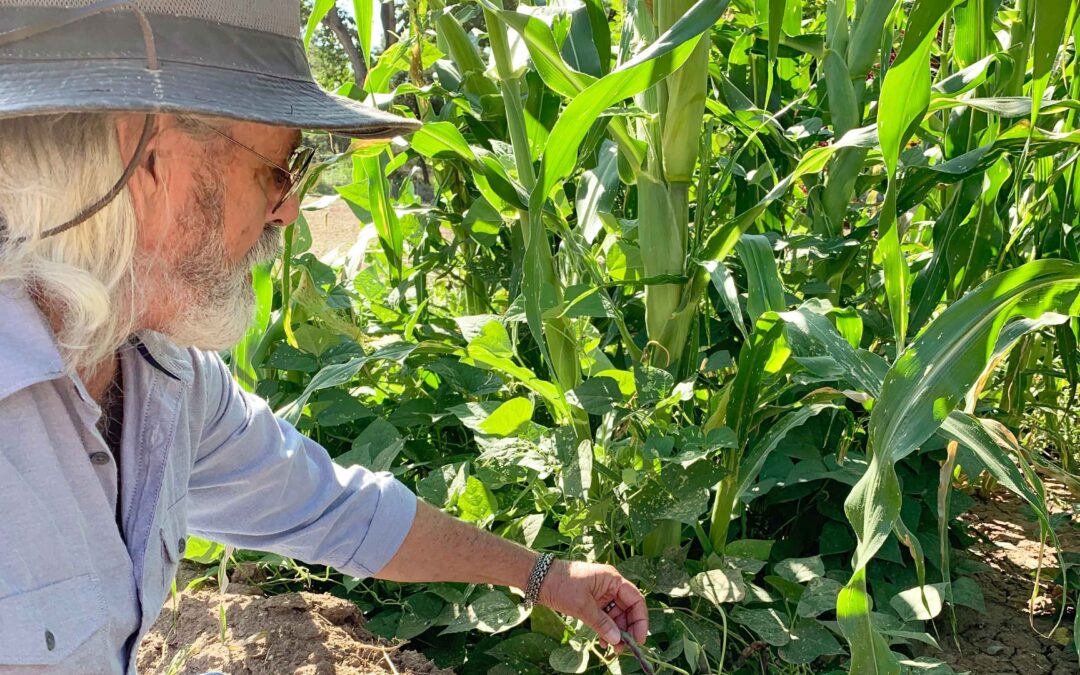
Growing vegetables and herbs at home in small spaces can be easy, fun, rewarding and not expensive. Here are some tips for anyone from first timer to a pro.
Start small with a raised bed, good-sized pots or containers or a small plot of ground. Good soil is the key in all of them, so do not skimp there. If you are a composter, good compost is a great addition to our native soil, which is generally alkaline and low in organic matter. If you are growing in the ground, compost added to the soil is highly recommended. Plant nurseries offer good compost in bags, and you can also purchase in bulk, from a bucket to truckloads, from composting facilities.
When planting in containers, use a potting soil labeled for growing vegetables. Do not use pure compost, topsoil or garden soil in containers. Those are designed for in-ground use. Start your own seeds or purchase plants from a local nursery.
Choose what you grow based on what you love. Most will agree there is nothing like the flavor of a homegrown tomato, but the joy of growing, harvesting, preparing, sharing and eating something you have grown is a rich pleasure in a complicated world. Beans are fast and easy to grow. Since dried beans are inexpensive and readily available and it takes a lot to make a pot of cooked beans, I stick to green beans. I have done Three Sisters (corn, beans, squash) in large pots on my patio using climbing green beans.
Tomatoes will do fine in a five-gallon pot or larger, and peppers of many varieties do great in containers, as do most herbs. Look up books on companion planting. Roses Love Garlic and Carrots Love Tomatoesare books by Louise Riotte that suggest good neighbors in the garden. Lisa Mason’s Vegetables Love Flowers and Companion Planting by Sally Roth also give useful information. I have planted borage with my tomatoes for many years on the advice of an old gardener friend, and I rarely have tomato worms. Borage is both beautiful and edible!
Never leave the surface of the soil exposed. Always use mulch. My preferred mulch is barley straw (not hay!) It is clean and rarely has weeds or other seeds in it. You get an occasional sprig of barley that is simple to pull and lay with the rest of the mulch. Spread the straw three or four inches thick, thinning carefully at the base of plants. It holds moisture, prevents unwanted seedlings from sprouting and can be turned into the soil or added to compost at the end of the season. Water is crucial. Consistent deep watering, whether you use in-line drip tubing, soaker hoses or attentive hand watering, is important. The soil must not dry out or be too wet. Most containers will need water every day or two. Pay attention, ask your gardening friends questions, share stories of failure and success and enjoy the fruits of your labor!
Author: Wes Brittenham Farm & Landscape Manager, Los Poblanos Historic Inn & Organic Farm Have a question about the article? [email protected]
June, July and August are the hottest months for Albuquerque. Our current drought intensifies the heat stress of plants even more because there is lower soil moisture content and higher than normal ET from plants (plants losing more water due to EvapoTranspiration). Regional plants have evolved to adapt to this type of stress, but they still need water. Don’t go overboard! Plants growing in soil that is too wet can be negatively affected, leading to the death of roots. Stunted slow growth and yellowing leaves could be a symptom of overwatering.
Follow these tips to assure your plant’s success and conserve water.
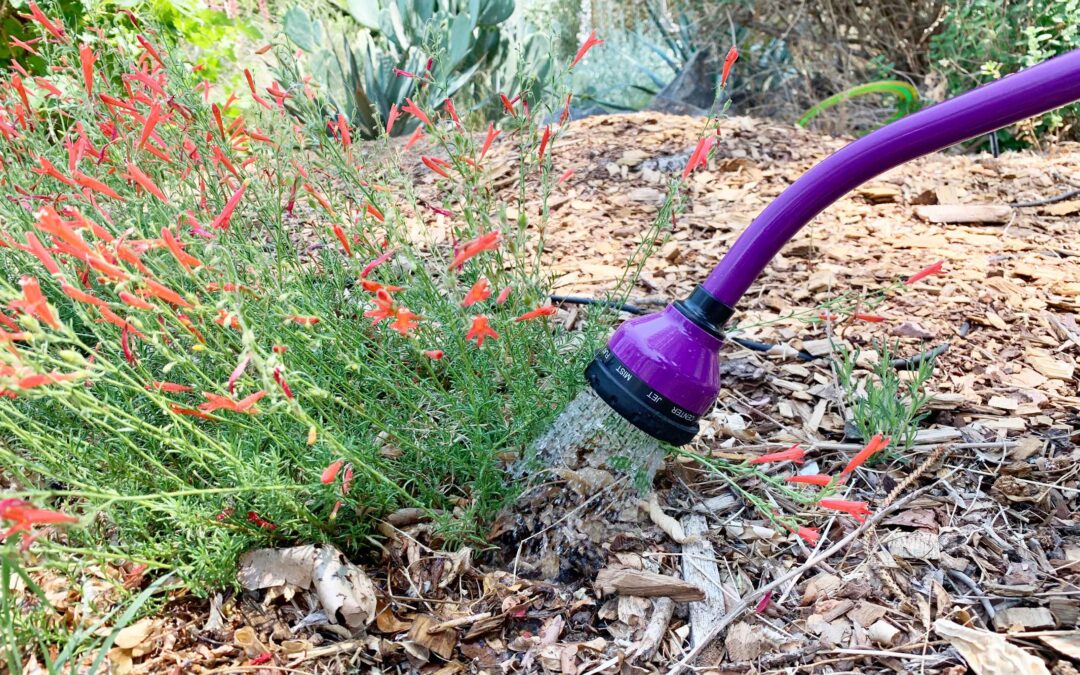
Tips for Watering Your Plants Using a Hose and Nozzle:
Make sure your nozzle or watering wand has an on/off switch that does not leak. This allows you to completely turn off the water at the hose end when you are not using it.
Make sure the wand or nozzle is set to “shower” or a setting that imitates rainfall.
To make sure you don’t have too much pressure, grab a five-gallon bucket and adjust your hose pressure with the nozzle or wand attached. Fill it up ¾ of the way in one minute. Set a timer (timers and stopwatches on your phone are great for this) so you know how long that minute is.
Once you know the correct pressure, we recommend writing down how many turns of the handle you did and use that as your reference. Or, using fingernail polish, put a dot on your faucet handle that also lines up with a dot on the faucet stem so you have a visual reminder.
If you are watering just a few plants located near each other, you will want to build a well around the plants. This makes sure the water stays where you want it to be most effective and avoids water waste.
Wetting plant leaves or the trunk base of a tree is not an efficient way to water and may damage the health of some plants. Instead, water around the plant, aiming at the root growing area.
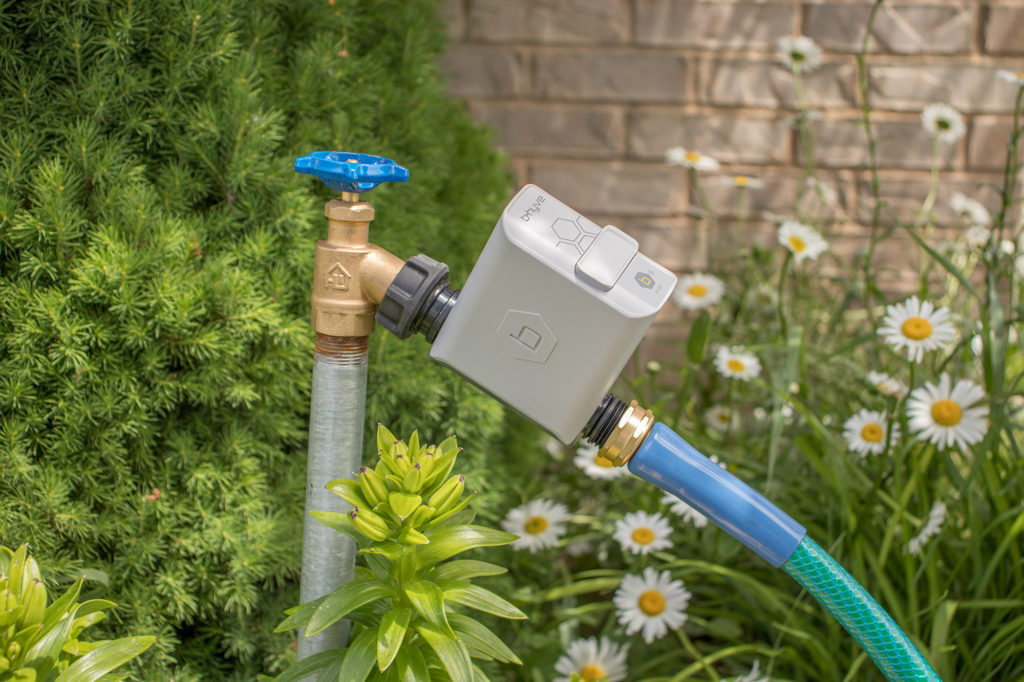
If you are ready to invest in a more efficient irrigation system instead of dragging your hose around the yard, a Water Sense Smart hose timer is the way to go.
A Smart timer system connected to a professional landscape dripline can water your yard at a set time and for a set length of time. Hose timers can accommodate many several hoses and zones (usually from one to four). We offer a rebate on a Water Sense Smart Irrigation Controllers hose timer that adjusts to our weather and your plant’s watering needs. Each valve can be set to water at various times throughout the day. For example, you could set one valve to water your vegetable garden for 10 minutes daily and another valve to water your perennials two times a week for 20 minutes.
Drip Irrigation Tips:
Make sure you always have a pressure regulator on your drip line. Even if you are converting an old turf valve into a drip zone, use an in-line pressure regulator.
Using professional in-line emitted drip tubing around trees and shrubs is often the most efficient way to provide your trees with enough water.
Make sure you have more than one emitter per plant. That way, if an emitter clogs, you have less chance of that plant dying from lack of water.
“Walk the Line” at least once a month, looking and listening for any broken drip. You are listening for the sound of rushing water and looking for little fountains, excessive wet areas or wilted plants.
Make sure you know approximately where your polyline runs so it is easier for you to know where to plant and make repairs.
Make sure drip irrigation gets moved out to the edge of a shrub or tree canopy and increase the number of emitters as your plants get larger. This is especially important on trees and medium and high-water shrubs.
Your Desert Accent plants, and Rainwater-Only plants may not need supplemental drip irrigation after the third year, so plugging the emitters will help you save water.
Author: Richard Perce, Irrigation Efficiency Specialist with the Water Conservation Department for the Water Authority. Have a question about the article? [email protected]