The amount of water needed and where that water should be applied changes as woody plants (such as trees, shrubs and vines) get larger. Woody plant material has two types of roots, stabilizing roots and feeder roots. Both types of roots do just what their name implies. Stabilizing roots are thick and dense to keep the plant in place and support its weight. Feeder roots are super fine and grow more like a net to take in water and nutrients. Feeder roots expand out as the plant grows.
Some woody plants require more water as they mature, but more desert-friendly species may not require extra water or may even be able to survive without supplemental irrigation once established. Perennials normally do not need to have expanded watering the same way woody plants do as they mature.
Some examples of this:
Plant Type
Plant
1st summer
2nd summer
3rd summer
Tree
Desert Willow (Chilopsis linearis)
60 gallon per month
120 gallons per month
400 gallons per month
Shrub
Butterfly Bush (Buddleia davidii)
60 gallon per month
70 gallon per month
100 gallon per month
Desert-Friendly Shrub
Chamisa (Ericameria nauseosa)
20-30 gallons per month
20-30 gallons per month
Usually possible to remove from irrigation
Vine
Trumpet Vine (Campsis radicans)
40 gallons per month
60 gallons per month
100 gallons per month
Woody Groundcover
Prostrate Sumac (Rhus trilobata)
20-30 gallons per month
40 gallons per month
60 gallons per month
For those plants that do have increased irrigation needs as they mature here are three easy ways to apply the right amount of water in the right place depending on the type of irrigation you are using.
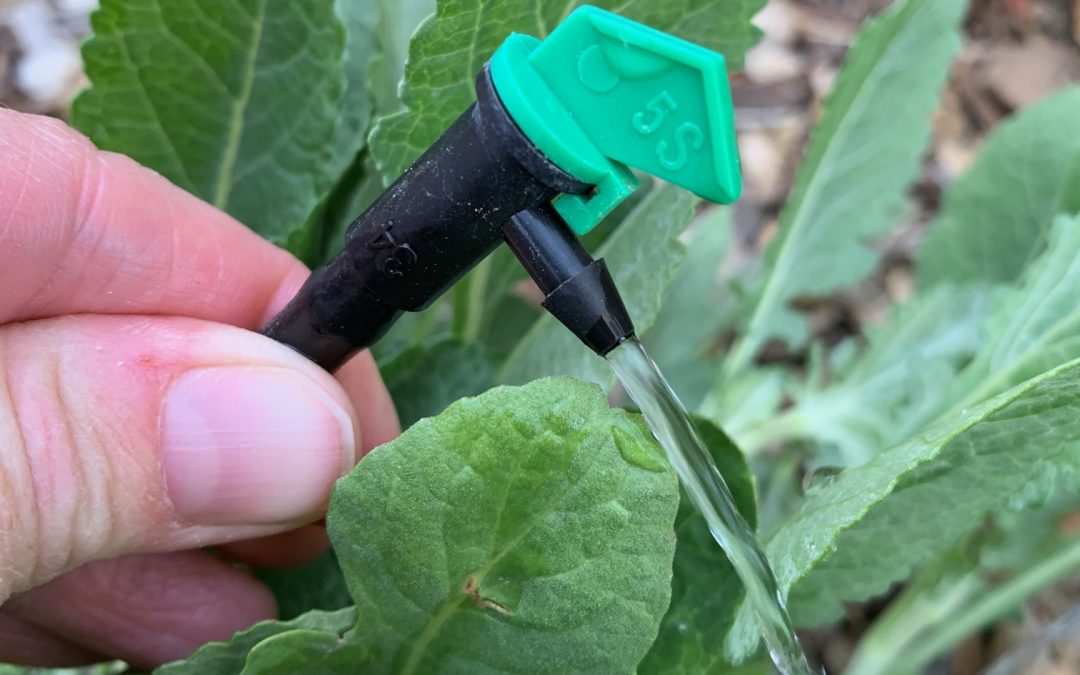
Drip Emitters – Move the drip emitters out to stay in line with the outer edge of the plants leaves where the feeder roots will be. Increase the number of emitters watering the plant too, placing them evenly around the outer perimeter of the plant.
Netafim (in-line professional drip line) – this is typically installed in rings around the plant and additional rings can be added as the plant grows larger. Netafim can also be laid out in a grid pattern, particularly when being installed around an already established plant.
Hand-watering – Build and maintain a watering well at the outer edge of the plant perimeter. As the plant grows, increase the size of the well.
Author: Richard Perce, Irrigation Efficiency Specialist with the Water Resources Division for the Water Authority. Have a question about the article [email protected]
Service: April’s freeze
may have damaged your irrigation system, so make sure to inspect it for leaks,
or broken sprinkler heads and emitters!
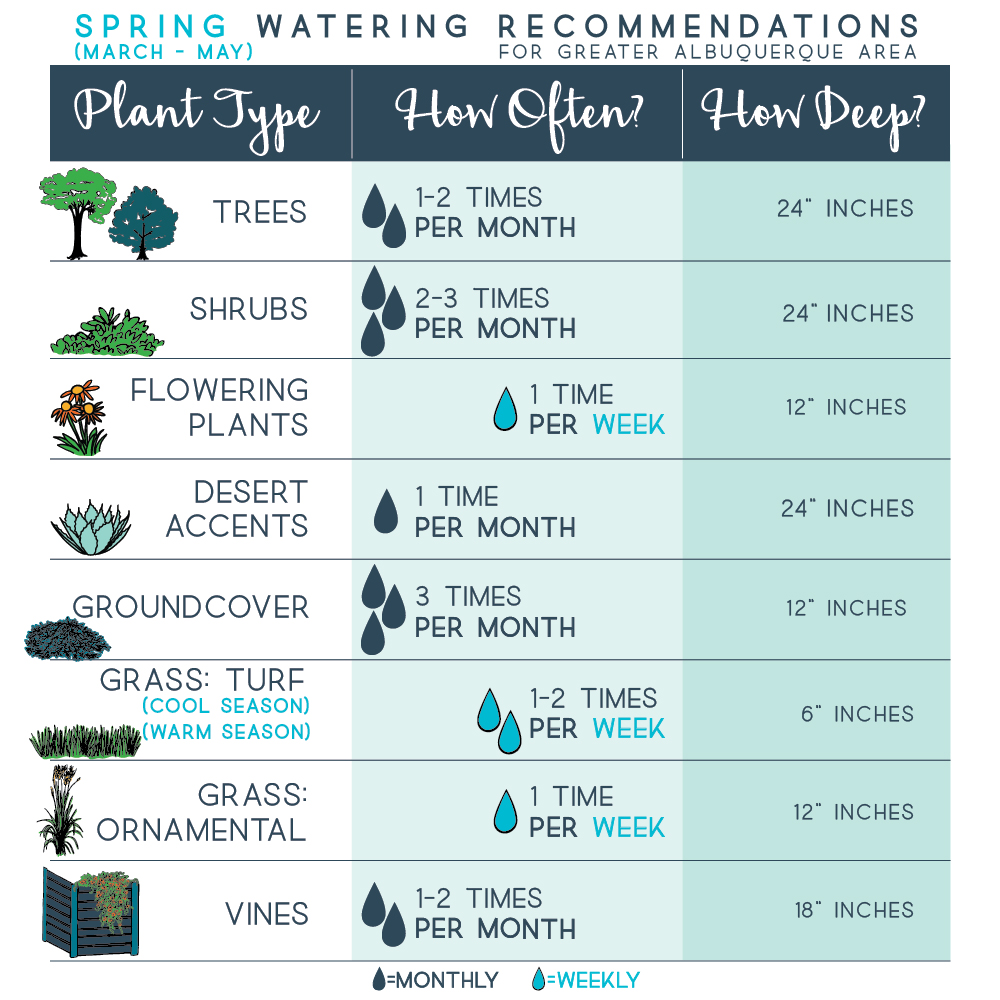
Watering Recommendations: Spring rains are benefitting established landscapes! Follow these watering recommendations to keep your yard looking healthy: for grass (turf), water one-two times per week and for your trees water one-two times per month. To know how much to water, follow our Water by the Seasons spring watering recommendations. Remember, if it rains more than a half inch you can skip your next scheduled watering time as there is no need for supplemental irrigation.
Do you want to walk barefoot across cool, soft grass? Especially on those hot summer days? We’d love for you to do that! We also want you to take care of your lawn in a healthy way that saves the most water.
One might assume that proper lawn care begins in the spring
but creating that beautiful lawn can start at any time. Sometimes it’s even better
to start in the fall. Either way, you need to begin with good soil, full of
organic material that will both provide nutrition and help hold in that
moisture. But if you don’t already have that, how do you get it?
First, dethatch your lawnonce a year. Most lawns need this done when the layer of thatch reaches roughly ½” thick. Cool season grasses, such as bluegrass, need to be dethatched in the fall, whereas warm season grasses, such as Bermudagrass, need to be dethatched in the spring.
Aeratingis the second step needed to keep your lawn as healthy and water efficient as possible. If you have an older lawn, or have highly compacted soil, you should aerate twice a year -- once in the spring and again in the fall. If you are aerating, or hiring someone else to do it, run the irrigation first and flag all your spray heads or rotors. This prevents inadvertently creating the need for sprinkler repairs! Aerate the whole lawn one direction and then again perpendicular to the first pass.
Also, regularly sharpen the blades on your mower and set it up as a mulching mower. Your mowing height should be as high as possible to help maintain a healthy lawn and conserve water.
Watering correctly is most important, so maintain your irrigation system year-round, and follow the Water by the Seasons watering recommendations. Check all the filters on each of your spray heads or rotors, then run your system to ensure that all of your spray nozzles or rotors are aligned and aren’t clogged. Repair or replace anything that isn’t working properly. Also check the base of each spray head to make sure you don’t have a leak at the base. The ground will probably be soft and squishy if there is one. To improve efficiency of your system, choose high efficiency sprinkler nozzles (rebates of $2 are available).
One last thing. Kick those shoes off and go enjoy that lawn!
Author: Richard Perce, Irrigation Efficiency Specialist with the Water Resources Division for the Water Authority. Have a question about the article [email protected]
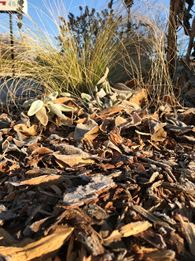
Shredded woodchip mulch helps soil hold moisture and insulates plant roots on a frosty November morning. Photo credit M. Thompson.
One of the most frequent questions we get at NMSU Extension is, “Should I add fertilizer or amendments to the soil when planting?” The short answer is no. And the long-term answer is an even stronger no.
Soil amendments are materials that are
worked into the soil with the intention of improving soil physical qualities. But
it’s just not that simple. As City of Las Cruces Community Forester Jimmy
Zabriskie said when I asked if he ever recommends using soil amendments when
planting a tree, “Save your money for mulch.” Organic
mulch is
material that sits on top of the soil, providing an insulation layer that helps
control soil temperature, retain moisture, and suppress weeds.
When planting ornamental plants, the
recommended species are the ones with roots that are well adapted to our native
soils. They’re more likely to live long, sustainable lives in our native soils
without amendments. The bottom line: Always put the same soil you dug up right
back into the hole with the new plant, and top dress with a thick layer of
mulch.
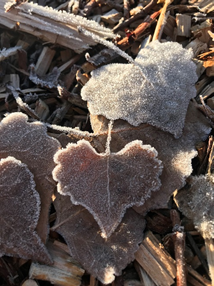
Frosty cottonwood leaves add a nice layer on top of several inches of shredded woodchip mulch. Photo credit M. Thompson
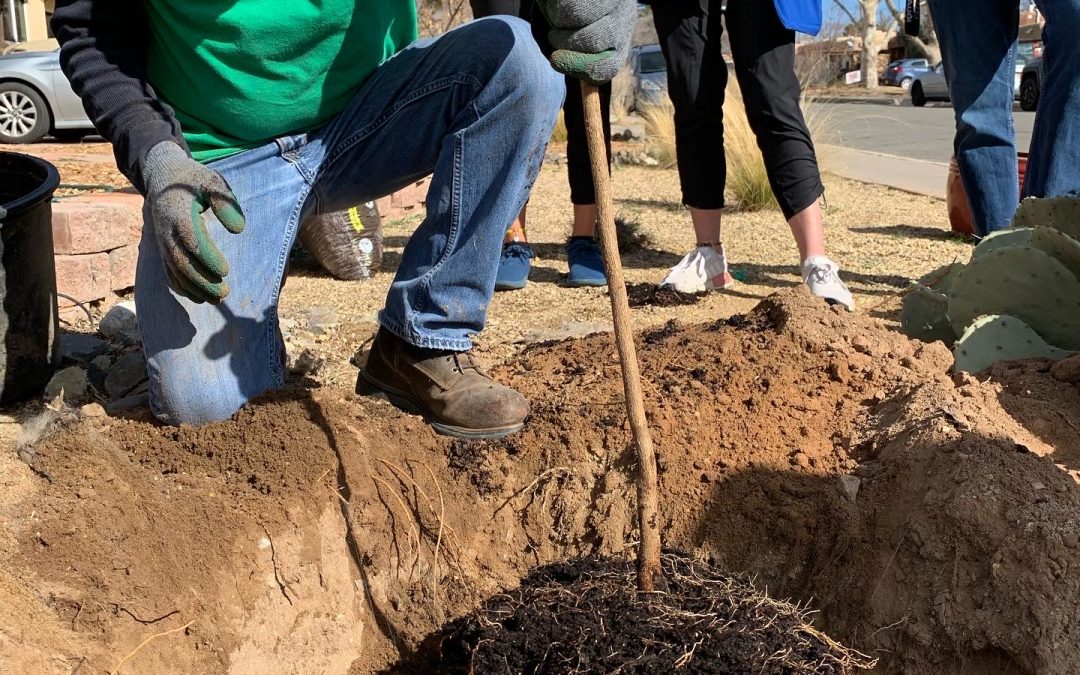
As for fertilizers, slow and steady wins this race. As Albuquerque City Forester Joran Viers said recently at a tree planting demo put on by Tree New Mexico and The Nature Conservancy, it helps to think of our trees (and other plants) as marathoners, not sprinters. When fertilizer is applied to trees, they can grow too fast for their own good and are more likely to develop structural problems and other issues. Fertilizers are not recommended at the time of planting perennial plants, either, because we want the plant’s energy to go into root establishment at a healthy rate to support the aboveground growth. The growth hormones necessary for healthy root development are found in the root tips and are made by the plant itself, so adding root stimulator to living roots is not necessary or even helpful. (Side note: Rooting hormone is potentially useful when you’re trying to get roots to grow quickly from cuttings where the roots have been removed completely.) So hold off on fertilizing for at least a few years while your plants are setting down roots.
Research on all sorts of landscape plants has shown that by adding amendments (like organic matter or perlite) to your soil backfill, the initial, short-term results are good. But the interface between the amended soil and the native soil is bad news. Water doesn’t move well across the interface, and neither do roots. With time, the roots may be inclined to stay in the original planting hole and spiral around, so you end up with essentially a potted tree or plant with reduced growth rate, constant water and nutrient stress (because lateral roots never fully developed), heightened vulnerability to pests and diseases, and even an increased falling hazard (think root ball in socket).
Author: Marisa Thompson, PhD, is the Extension Horticulture Specialist for New Mexico State University and is based at the Agricultural Science Center at Los Lunas. For more gardening information, including decades of archived Southwest Yard & Garden weekly columns, visit the NMSU Extension Horticulture page (https://desertblooms.nmsu.edu/), , follow us on social media (@NMDesertBlooms), or contact your County Cooperative Extension office (https://aces.nmsu.edu/county).
We scoured the internet, met
with local experts, and pulled together a great educational resource list for you.
When you’re ready to dig into all there is to know about landscaping in New
Mexico, these resources are ready for you.
Agaves, Yuccas and Related Plants. Mary Irish, Portland
Oregon: Timber Press, 2000.
A Field Guide to the Plants and Animals of the
Middle Rio Grande Bosque. Jean-Luc Cartron, David Lightfoot, Jane
Mygatt, Sandra Brantley and Timothy Lowrey, Albuquerque, New Mexico: University
of New Mexico Press, 2008.
Landscaping with Native Plants of the
Southwest. George
Oxford Miller, Minneapolis, MN: Voyageur Press, 2007
Native Plants for High-Elevation Western
Gardens. Janice
Busco and Nancy R. Morin, Golden, Colorado: Fulcrum Publishing, 2003.
Natural by Design. Judith Phillips, Santa
Fe, NM: Museum of New Mexico Press, 1995.
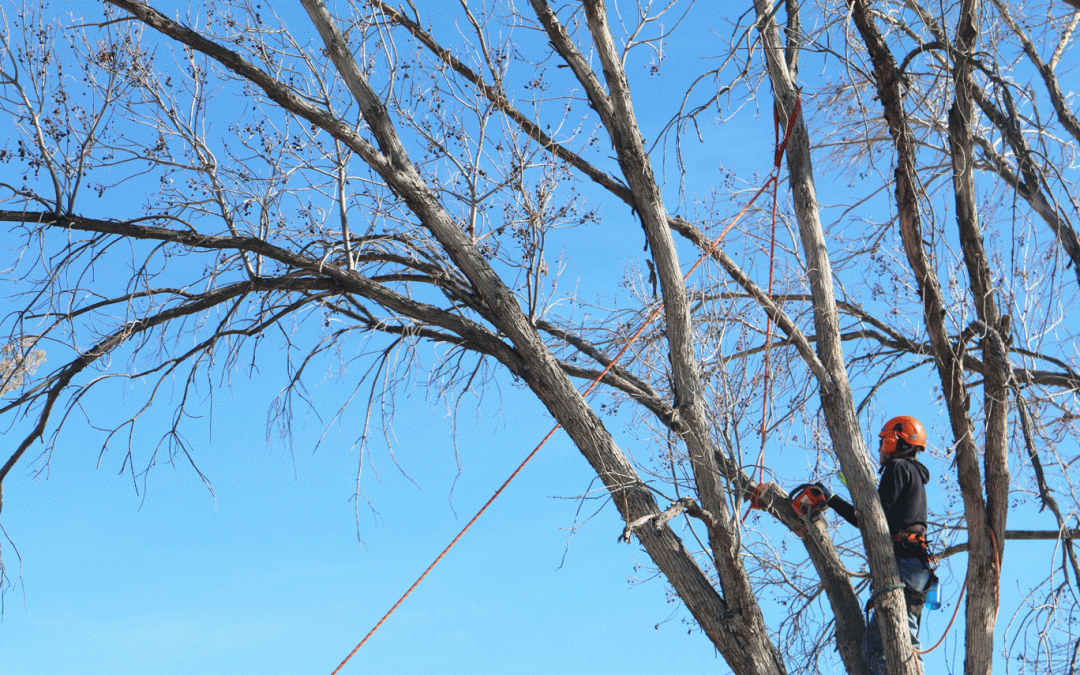
The winter is best time of year to prune trees. The Water Authority recommends hiring an arborist to prune them because arborists specialize in the care of individual trees. They are knowledgeable about the needs of trees and are trained and equipped to provide the proper care.
Arborists can provide the following services:
Pruning
Tree removal
Emergency tree care
Planting
Plant health care
Other services such as
consulting, tree risk assessment, cabling and bracing of trees.
How do you find a professional arborist to take care of your trees? We recommend to ask the following questions when looking for an arborist:
Are they certified? Certified
arborists have achieved a level of knowledge in the art and science of tree care
through experience. They have passed a
comprehensive examination developed by some of the nation’s leading tree care experts.
There is an online resource called Find an Arborist to help you locate one in
your area.
Do they have insurance? Check
that they have a certificate of insurance that includes proof of liability for
personal and property damage, including workers’ compensation.
Do they offer a contract? Get
a written contract of the work to be completed from the arborist. It should
include the estimate for the services, a start date, and estimate of how long the
work will take.
Do they have references? Ask
the tree company to provide a few names of past customers, and ask friends and neighbors for local references, too.