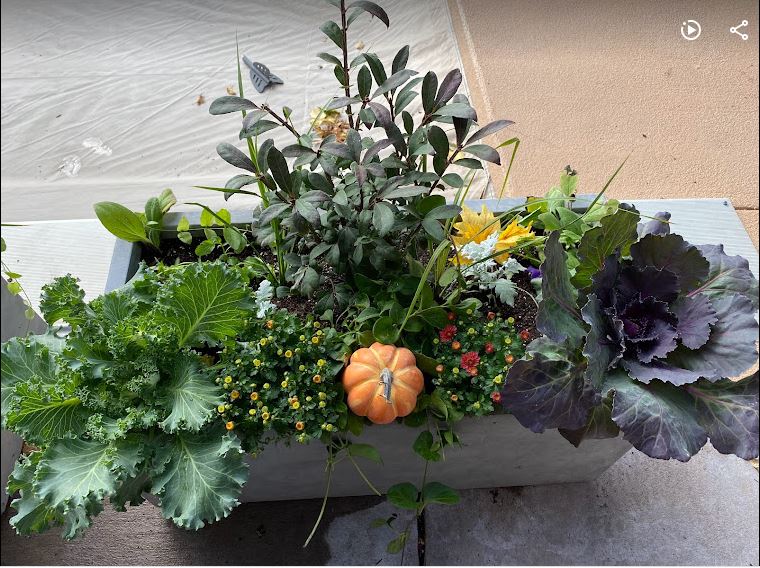
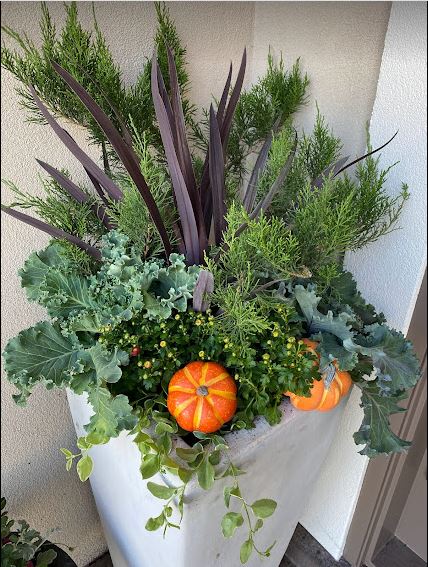
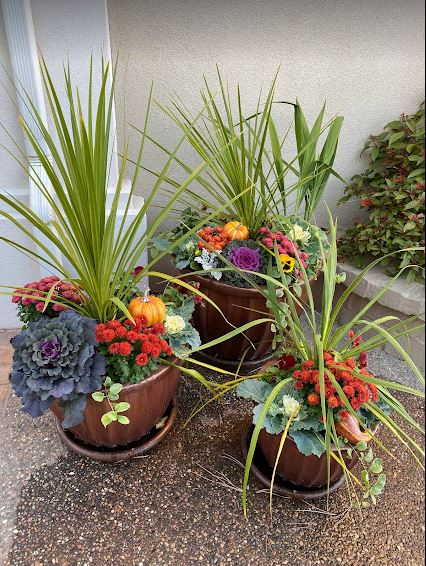
Containers are an easy way to add a splash of color to your garden, porch, balcony or patio, without ever having to dig a hole in our hard New Mexico soil. While you could drop pansies or geraniums in a pot and consider it complete, you could also plant a truly stunning container garden full of color, texture and fragrance. The right combination of plants arranged properly in a planter can be magical. After that, you only need to keep things watered and fertilized as you enjoy the colorful design all season long.
1. Choose the Right Container
Containers have their own unique characteristics to consider, including weight, appearance and sensitivity to weather changes. Also, consider your budget, space and style when selecting them. Keep in mind that the larger the size, the less you'll need to water. But whatever you choose, make sure your containers have good drainage.
2. Select a Color Theme and Plant Combinations
Starting with a color theme for your container garden can help with plant selection. When combining plants in your containers, it’s important to make sure they all have the same light requirements and watering needs. A good rule of thumb is to plant in odd numbers and combine three types of plants — thrillers, fillers, and spillers — in each container to add interest and balance to your design.
“Thriller” plants are the centerpiece of your design. They add height and a bold vertical element. Options include plants chosen for foliage, ornamental grasses or other upright plants. In larger containers, small shrubs or trees, topiaries, spirals and other vertical selections can be used. Thrillers typically go near the center of a container, but they can also be put toward the back of the planter, depending on its final location.
“Filler” plants tend to be more rounded and make the container look full. These are generally placed in front of or around your selected thriller. In a narrow, long container like a window box, fillers are placed halfway between the edge of the container and the thrillers. Violas, pansies, dusty miller, ornamental kale/cabbage, ornamental peppers, geraniums and mums are just a few of the many options for autumn fillers.
“Spiller” plants literally spill out of a container. If your container garden is going to be visible from all sides, be sure to place spillers all the way around. Some favorite autumn spillers are licorice plant (Helichrysum), English ivy, Dichondra 'Silver Falls', ivy geranium and perennial vinca (minor or major), also called periwinkle. I am especially fond of some of the brighter vinca varieties like Illumination or Wojo’s Gem.
3. Fill the Container with a Good Potting Mix
Once you've selected plants and a container, it's time to get started! Fill your container about two-thirds full with a good quality potting mix. If you have a really large planter and would like to use less potting mix, you can use empty water bottles or smaller empty nursery pots or containers turned upside down to take up some of the space in the bottom of the container. Fill around them with potting mix until your container is two-thirds full.
4. Arrange Plants in Your Container
When you're ready to add plants, remove the plants from their nursery pots, gently loosening the root ball with your fingers. Place them in your container and add soil, stopping about two inches from the top of the container to leave enough space for watering.
5. Water Your Plants
Water your container garden thoroughly to help the soil settle. After watering, add more soil if needed to insure good root coverage. Check your containers every 2-3 days, and when the top two inches are dry, it’s time to water again. Don’t forget container plantings may need water twice a day when it’s hot, especially if it’s also windy.
Don't be afraid to add different types of plants, such as annuals, perennials, herbs, cold-hardy vegetables, and even small shrubs, to the same container. The important thing is to select plants that require the same growing conditions. I really like using dwarf Alberta spruce or lemon cypress as the vertical element, surrounded by licorice plants, pansies/violas, dusty miller and ornamental cabbages. I will occasionally add artificial gourds, pumpkins and other décor to make them even more festive.
With a little planning and creativity, you can put together stunning container designs that can be enjoyed all season long.
All species are in constant need of habitat in which to dwell that gives the next generation a chance to thrive. It is easy to share your space with wildlife and provide crucial habitat for birds. If you have a yard with non-native grass (or one full of gravel), you have a blank slate for making your yard a bird and pollinator paradise. By planting xeric and native plants and using natural mulch, you can make your yard cooler, reduce water usage and actively care for birds.
If the thought of converting an entire yard seems daunting, dig out the grass (or pull back the rocks and weed cloth) from one section at a time. Adding pollinator plants to a sunny patch is a great way to start. Many pollinator plants produce fruits or seeds for birds.
Providing both food and cover is important for birds. If you already have mature shrubs and trees, you can focus on adding food sources. If your yard is bare, plan to add different levels of habitat with trees, shrubs, perennial flowering plants and native grasses. Plant wildflowers in clusters of three or more so that birds and pollinators will notice them when flying by and be able to have a hearty meal once they find the food source. For information about the size and needs of each plant you want to put in your yard as well as its habitat value, search for “bird” in The ABQ Backyard Refuge plant list.
In the desert, providing a clean water source is beneficial to birds. A dinner plate with fresh water will be as welcome as a fancy bird bath!
Another easy way to make a bird-friendly yard is by employing these simple practices:
Keep birds safe by trimming trees after nesting season ends in late September. Bird nests are inconspicuous by design and can be easily overlooked. Trees with dead or diseased branches also provide perches, food, shelter, and nesting sites. If they don’t pose a safety risk, consider leaving dead branches for the birds.
Plants that provide seeds for birds can only do so if you leave the dried seed heads over winter instead of cutting them off in autumn. Leave them standing until spring and then remove last year’s stalks to make room for new growth.
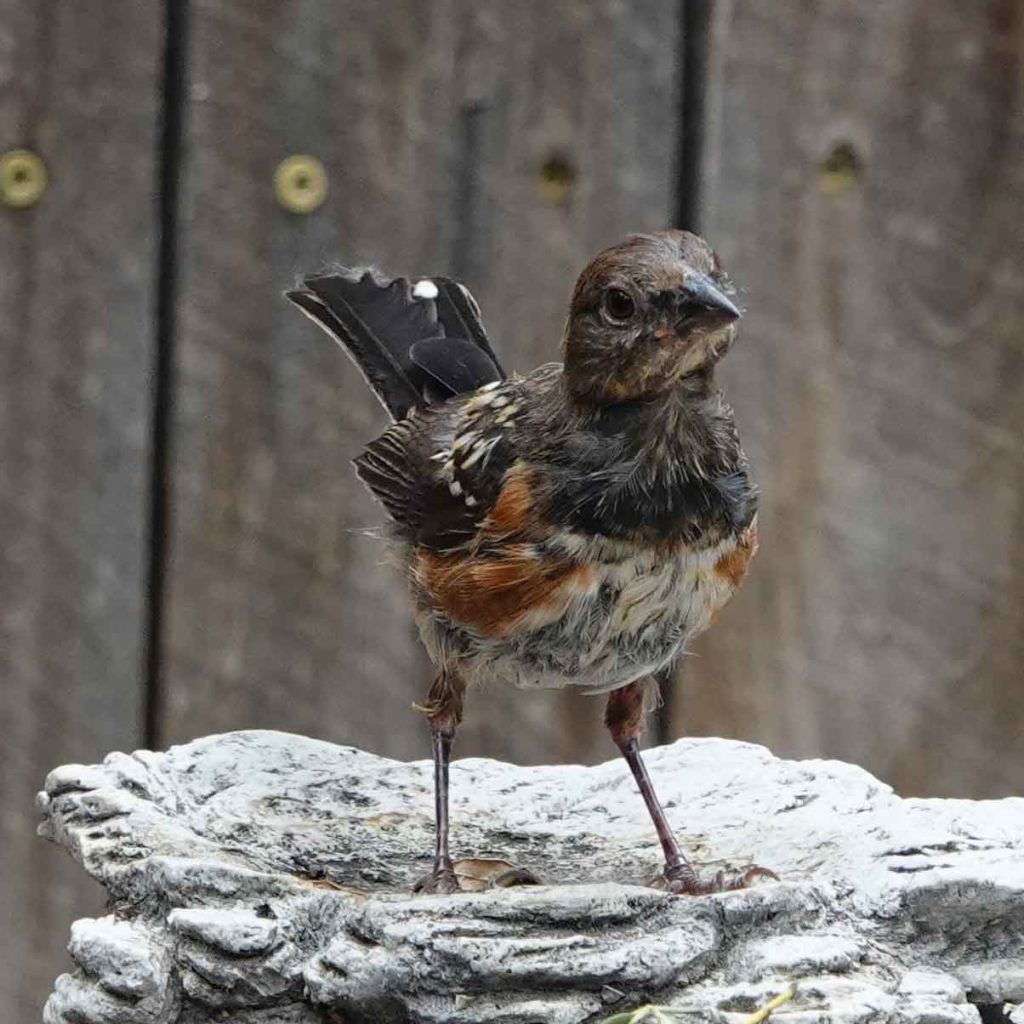
Leaving even just a small patch of leaves where they fall supports insects and the birds, like Spotted Towhees, that rely on them.
Challenge yourself to develop a tolerance for “pests." Insects are the primary food source for many species of birds. Hummingbirds use spider webs to build nests that hold fast to branches and expand around their growing nestlings. Avoid using chemical controls so you do not harm the wildlife you’ve invited into your yard.
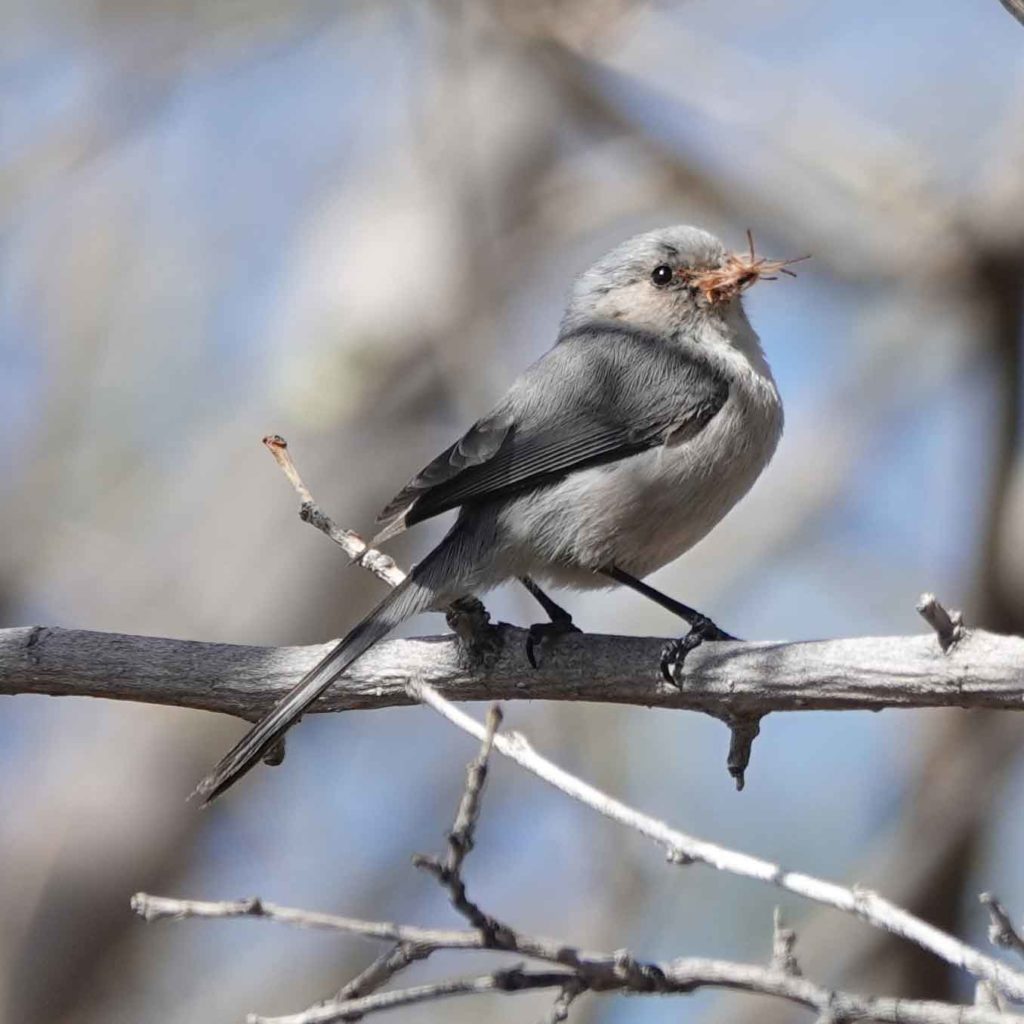
Love your dandelions! In addition to supporting pollinators, hummingbird mamas use aster fluff to build cozy nests.
Owls and other raptors keep rodent populations in check and die if they eat a poisoned rat or mouse. Never use rodenticides! If you have a suitable tree, consider installing an owl box as well.
Domestic cats are part of the ecosystem when outdoors. They are both predators and prey, killing millions of birds and mammals each year, and in danger of being eaten by a coyote or owl. Keeping your cat indoors, or in a catio, will protect your cat and wildlife at the same time.
The ABQ Backyard Refuge Program introductory guide, workbook and plant list can be very helpful in designing a habitat that includes all the necessary habitat elements (food, shelter, water), or you can simply begin by managing your yard in bird-friendly ways.
Supporting birds in our urban area starts with focusing care and attention on our wild neighbors and taking their well-being into consideration when managing our yards. By supporting birds you will have opportunities for observing how our wild neighbors live and discovering new ways of sharing your space. Sharing our resources and growing habitat that benefits both you and wildlife can make our city a better place for the entire living community.
There are a number of things to consider when you are growing fruit and vegetables
The healthier your soil is the less water you will need over the growing season. Improve your soils by adding compost and other amendments every year. Getting a soil test can help you determine exactly what to add.
Cover your garden with an organic mulch, whether it is straw or wood chips (or another organic product). A thick layer (3-4”) of mulch will reduce the frequency of watering, and the amount you need because it helps cool the soil and protects against rapid evaporation.
Raised beds and pots can make gardening more convenient because you don’t have to stoop and it’s a way to utilize small spaces, or area where the ground may not be able to be used for gardening. The convenience often comes with a trade-off. Raised beds and pots tend to require water more frequently, often times using more water over a growing season than if you planted your garden in the soil.
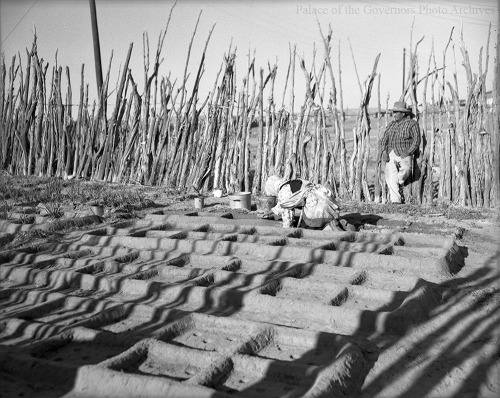
Historic, or traditional methods, such as waffle gardens and using ollas (unglazed terracotta pots which go in the soil at a plant’s rootzone) will often help you conserve water. More information on waffle gardens can be found here: Waffle Gardens - UNM Sustainability
Choose appropriate fruits and vegetables for your garden. Blueberries may be a “superfood” and delicious, but they want to grow in acidic, consistently moist soils. Those conditions are essentially the opposite of Albuquerque. Huckleberries, related to blueberries, prefer a more alkaline soil, and will often flourish in drier conditions.
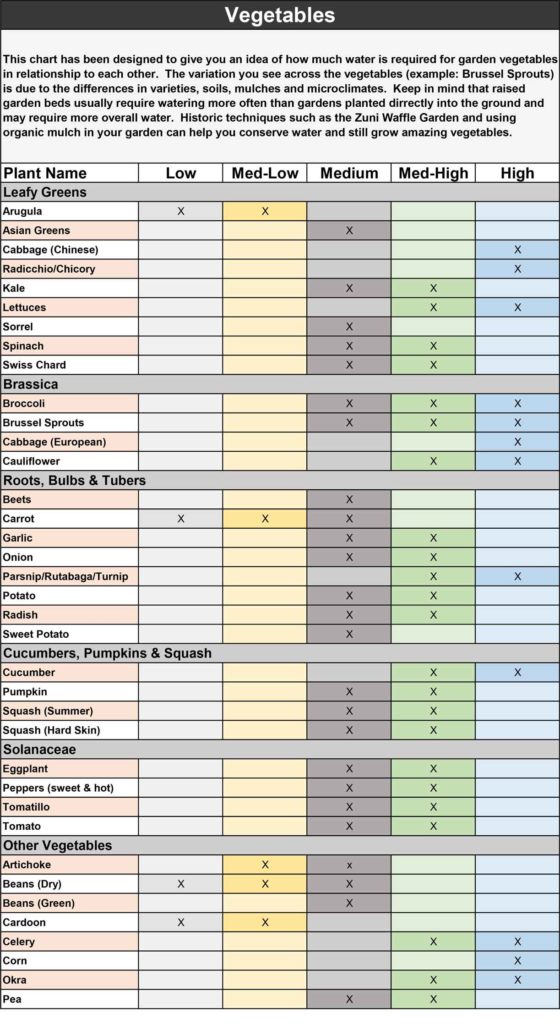
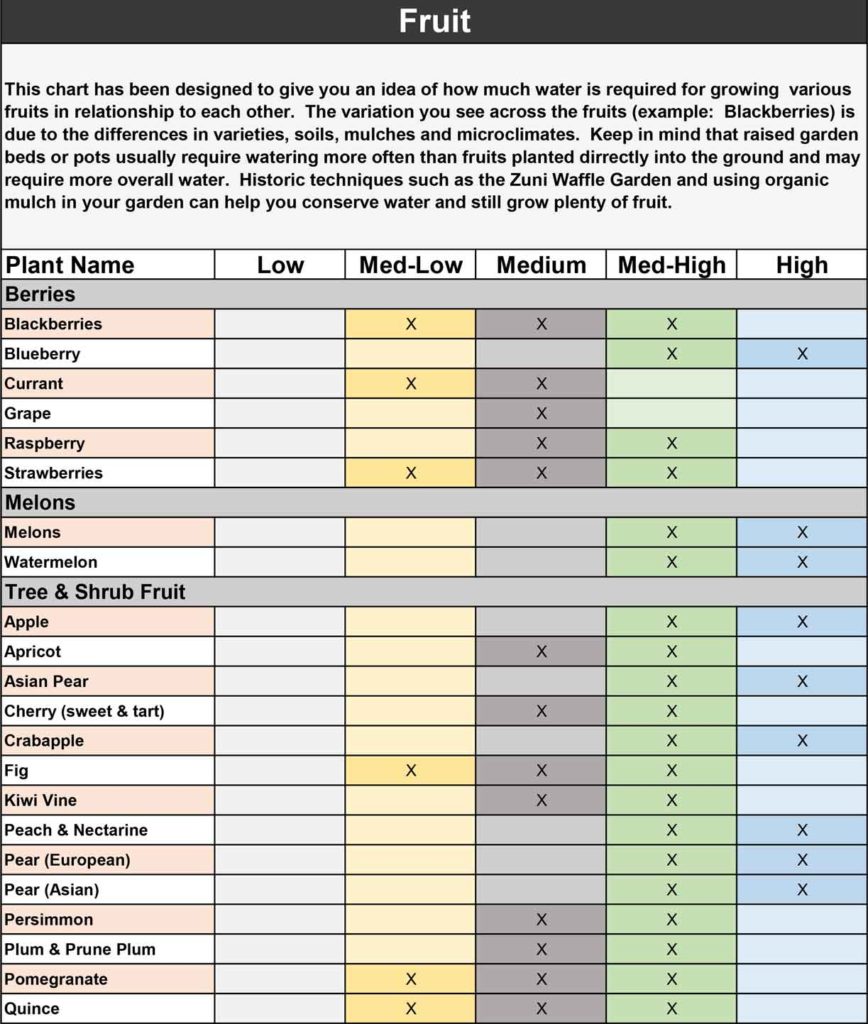
We have provided you with a quick guide to also give you a better idea of the relative amount of water needed to keep your fruits and veggies healthy and consistently producing for you.
Author: Richard Perce, Irrigation Efficiency Specialist with the Water Conservation Department for the Water Authority. Have a question about the article? AskAnExpert@abcwua.org
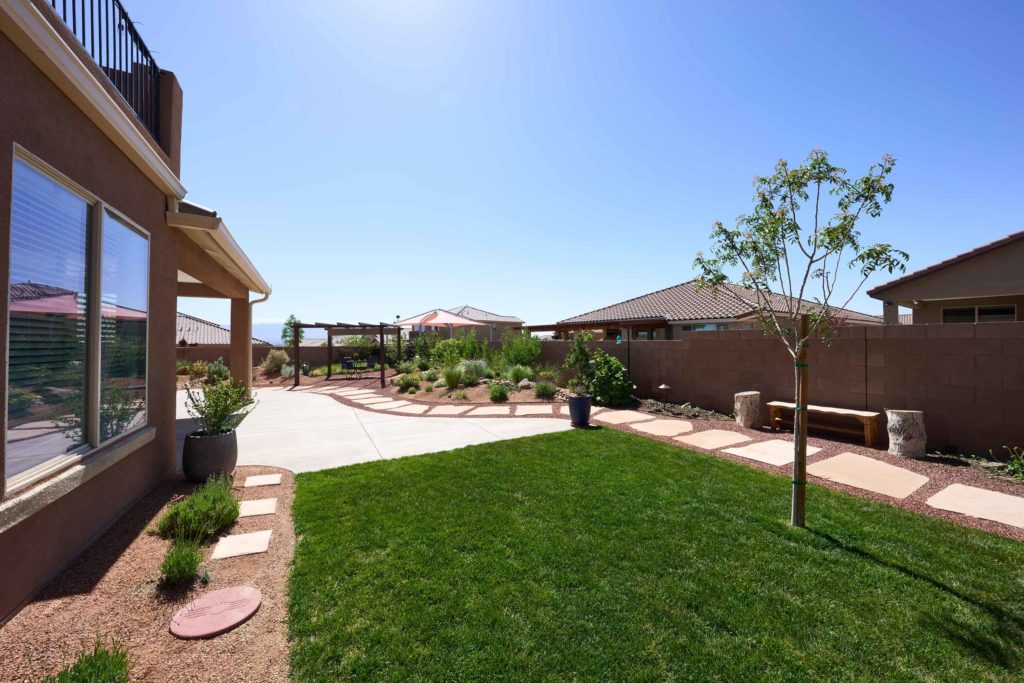
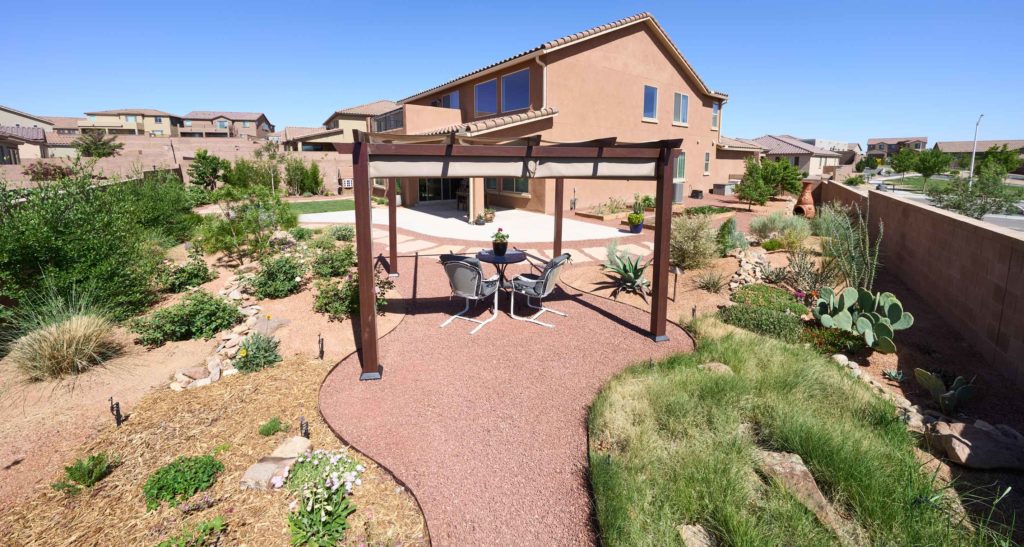
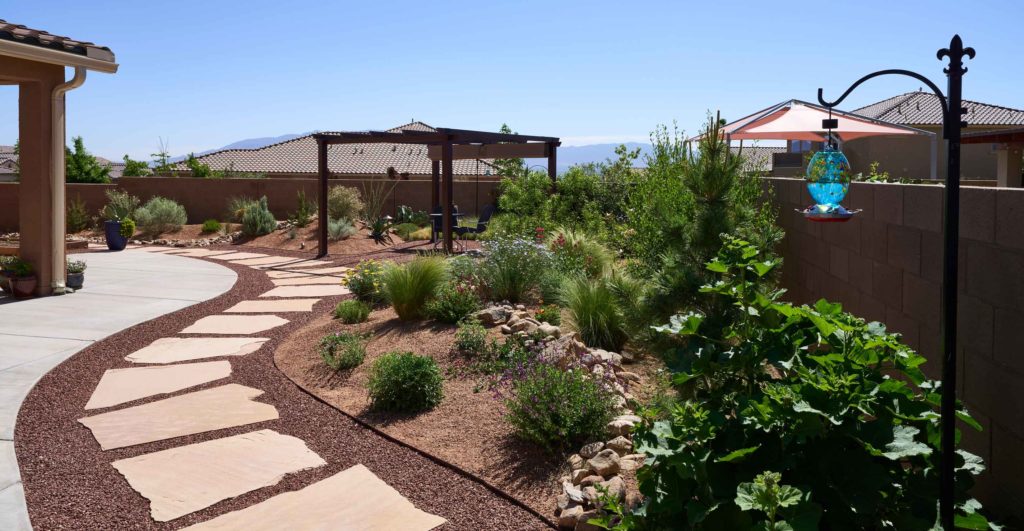
Congratulations to the ten winners of our first annual Water Authority Desert Friendly Landscape Contest! Thank you for sharing your beautiful gardens with us. They will be an inspiration for others to make the switch to desert-friendly landscapes.
Succulent Garden Wisdom
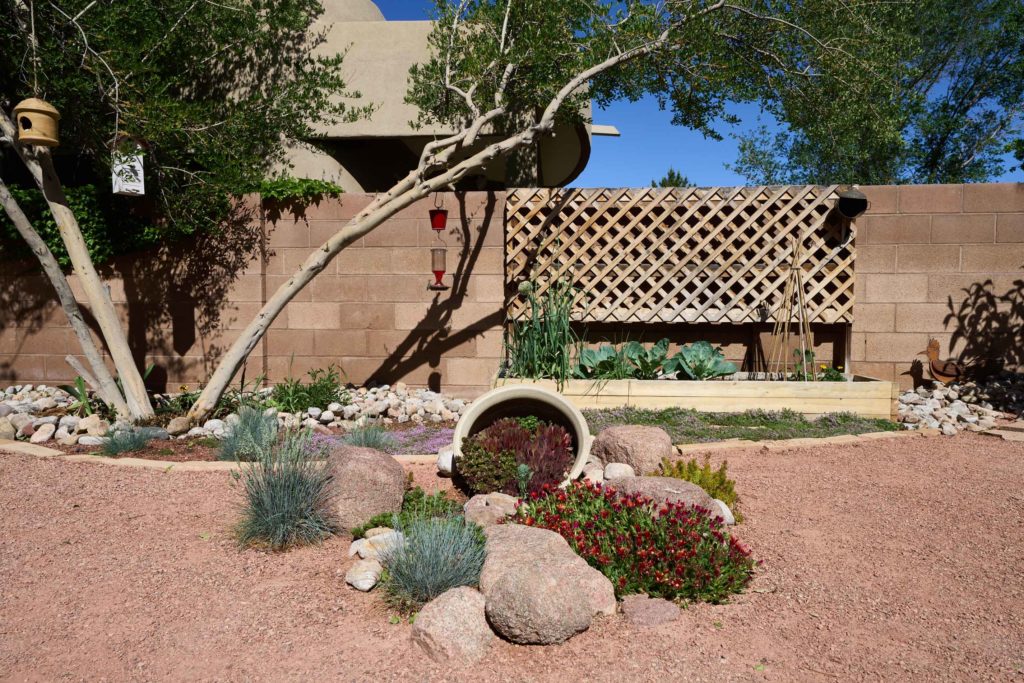
What once was a high-water use turfgrass lawn in the Northeast Heights is now a xeriscape garden with a focus on succulents. Janice transformed 550 square feet of turf into a diverse landscape complete with low-water use trees and shrubs and a beautiful succulent garden. She loves that there is, “No more mowing! No more trimming edges! No more feeding with nutrients! No more grass!”
When selecting plants, Janice turned to a variety of resources, including 505Outside, the Xeriscape guide and avid gardener friends. She hired a professional landscape company to install her new drip system. “The drip system is my go-to irrigation system as recommended by various professionals,” Janice said. “My plants and trees are happy following the 505Outside seasonal watering recommendations.”
Succulent beds are her favorites, and she looks forward to adding new succulent species each year. Janice enjoys the diversity of plants in her yard and how they change colors throughout the seasons.
What started as a way to reduce water usage has evolved into a renewed love of the outdoors. Janice keeps track of landscape seasonal transitions, rain events, plant changes and teachings in her “Garden Wisdom” journal. “A garden can teach a lot about flexibility, patience and calmness,” she added.
Unearthing Wildscape
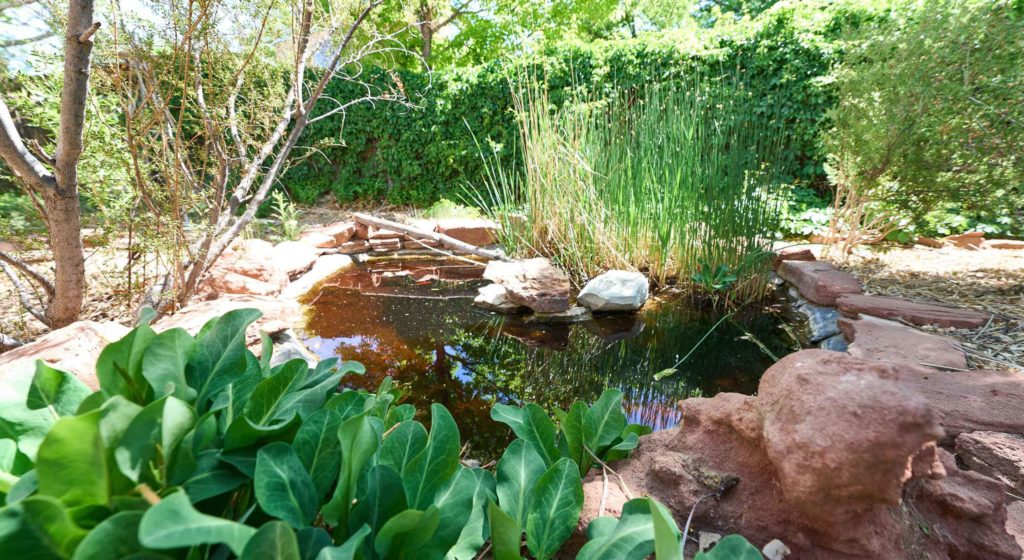
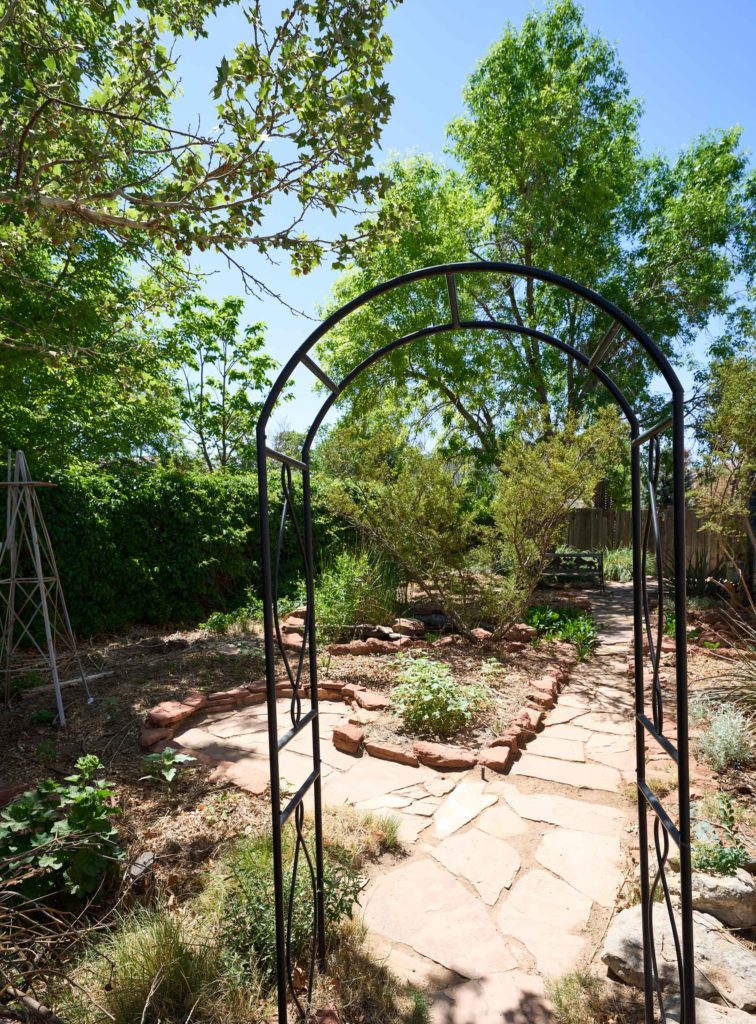
Local scientists Paul and Teri started with high-water use turfgrass and trees when they set out to make a wildlife habitat in their yard in the North Valley. They removed all the non-native grass and have been slowly replacing it with low-water native plants. Areas that haven’t yet been planted are covered with 3"-4” of organic mulch, which is an easy way to prep the soil before they’re ready to plant.
A pond was added to create a habitat for western toads. Other creatures have joined their landscape, and it is now a recognized Fish and Wildlife backyard refuge.
Part of the scientific work that Paul and Teri do involves mapping vegetation across the Southwest. Their extensive knowledge of local ecosystems has helped them select native plants that will thrive in different environments and through our changing climate, especially during times of drought. “Wild native plants can be very beautiful and add value to gardens because they remain resilient thru changes,” they said.
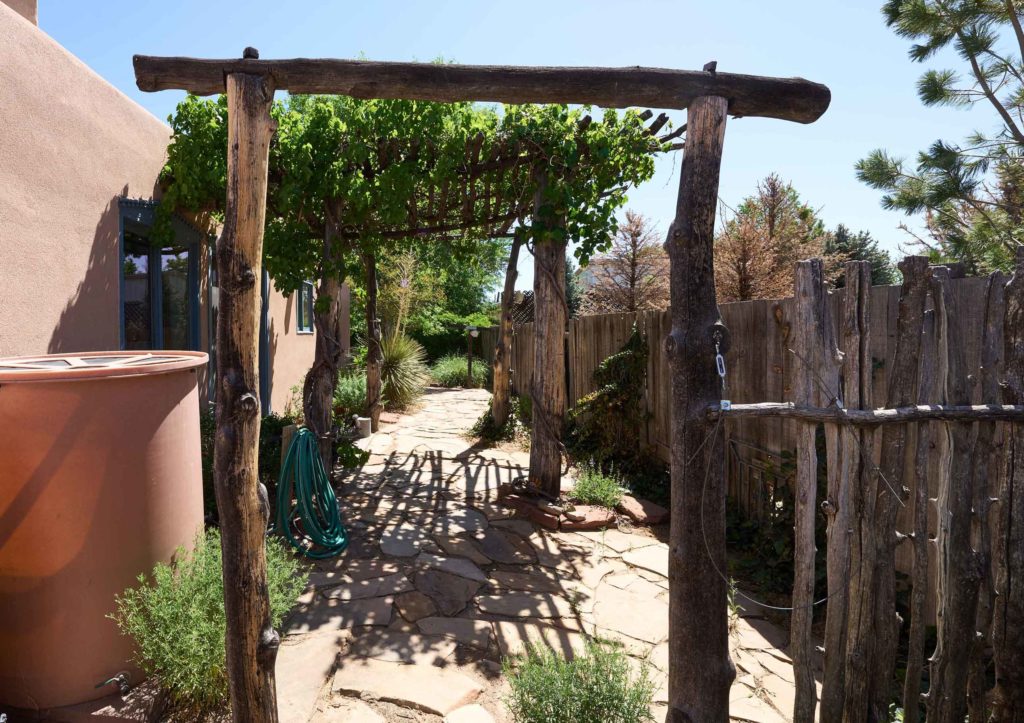
Their yard is set up with a drip irrigation system that waters as needed. During rainstorms rain barrels collect up to 1,500 gallons of water, which supplement their irrigation system.
“We are proud to minimize water use while maximizing pollinators, edibles and the abundance of plants,” they said.
Congratulations to the ten winners of our first annual Water Authority Desert Friendly Landscape Contest! Thank you for sharing your beautiful gardens with us. They will be an inspiration for others to make the switch to desert-friendly landscapes.
A Garden for the Senses
What once was a sandy empty lot in the NW has now become a garden that provides food, attracts birds and other pollinators and stimulates the five senses. “The flowers smell great through the seasons, we grow vegetables that we use on our plates,” say homeowners Adam and Meagan Henrie, who like the balance of having aesthetically pleasing and functional areas in the garden.
The Henrie’s accessed online resources, including 505Outside.com, to help decide which plants to incorporate into their garden. During trips to local garden centers, they identified plants that were thriving in their neighborhood. They chose low-maintenance, drought-tolerant plants and installed a drip and spray irrigation system using the latest technology. Local irrigation supply stores helped them choose irrigation system components and come up with a design for the irrigation system that they could follow.
When they planted new trees, they turned to the Water Authority and took advantage of the Treebate from the Water Authority. This rebate program also helps them with costs for tree maintenance.
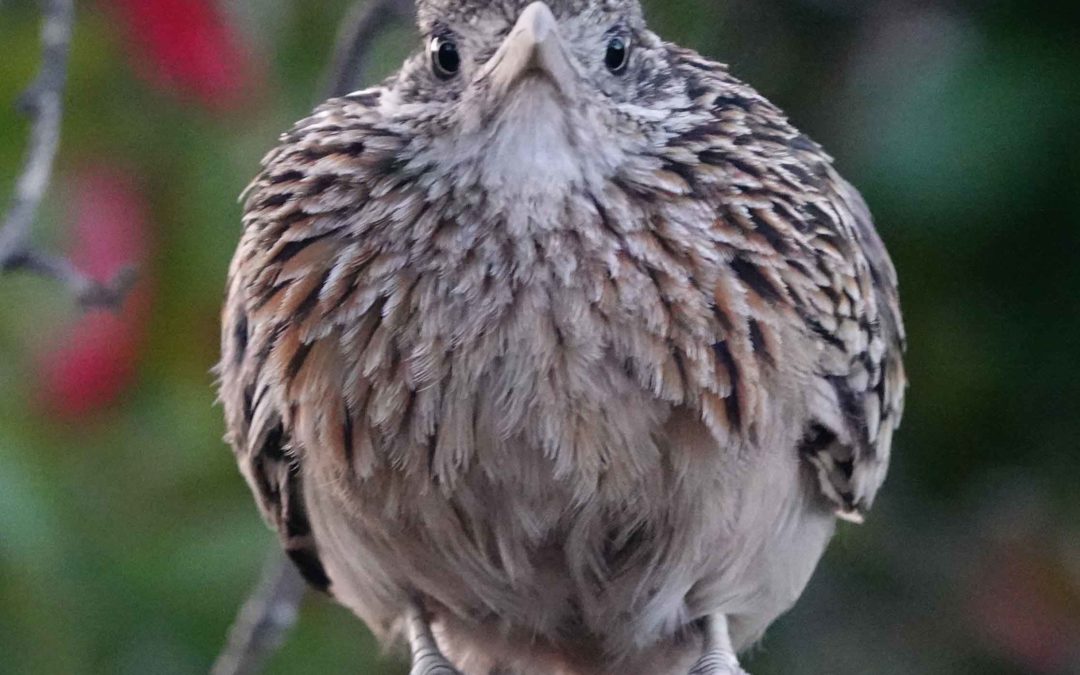
“We love that our oasis attracts pollinators like birds, bees, butterflies, and also other wildlife like rabbits and roadrunners,” say Meagan.
100’s of Pollinators Can’t be Wrong!
The landscape around Elliott house in the NE used to be a sea of gravel, but now it is recognized by the Fish and Wildlife Backyard Refugee Program. During the past several years, Elliott has spent time transforming his yard into a habitat that attracts insects and wildlife.
“I wanted a yard that will change through the seasons and has a diversity of local drought-tolerant native plants,” he explains. “My goal was to add plants that will attract pollinators, so I started with the ones that were growing in the wild.”
Elliott learned about plants by doing lots of research, including reading information on the Albuquerque Native Plant Society’s website, accessing a list of plants from the Backyard Refugee Program, and visiting the store Plants of the Southwest. His goal was to have a lush, diverse and sustainable landscape that benefits wildlife and does not depend on supplemental water outside of rainwater.
Like the Henrie’s, Elliott has taken advantage of the Water Authority’s Treebate when planting new trees.
“I love all the pollinators, diversity of plants, and my learning journey along the way. Now I get to educate and share my experience with others,” says Elliott, who hopes his yard is an inspiration to his friends and neighbors.
Low Water Paradise
With the goal of reducing water usage, the owners of this home in the Northeast Heights first turned their attention to the property’s big, hardly-used front lawn. Once they learned about the Xeriscape rebate from the Water Authority, they immediately called to get more information and help with choosing plants that would enhance their property.
The transformation started by renting a sod cutter to remove the lawn as part of the Desert Friendly Xeriscape Conversion Rebate. They were able to save the turfgrass and transplant it to their son’s yard.
Landscape professionals were hired to create a design and install the swale, plants, and drip irrigation system. It only took one week to transform the 880-square-foot front yard from a high-water use turf lawn to a desert-friendly xeriscape with a diversity of plants that are supported by rain and drip irrigation.
Because of the transformation, the homeowners earned an $880 credit on their water bill! An extra benefit came when they participated in the Treebate program. Now, the homeowners take pride in their yard, which has attracted pollinators and interest from neighbors. They also are learning how to maintain and care for their new plants so their landscape will continue to bring enjoyment in the years ahead
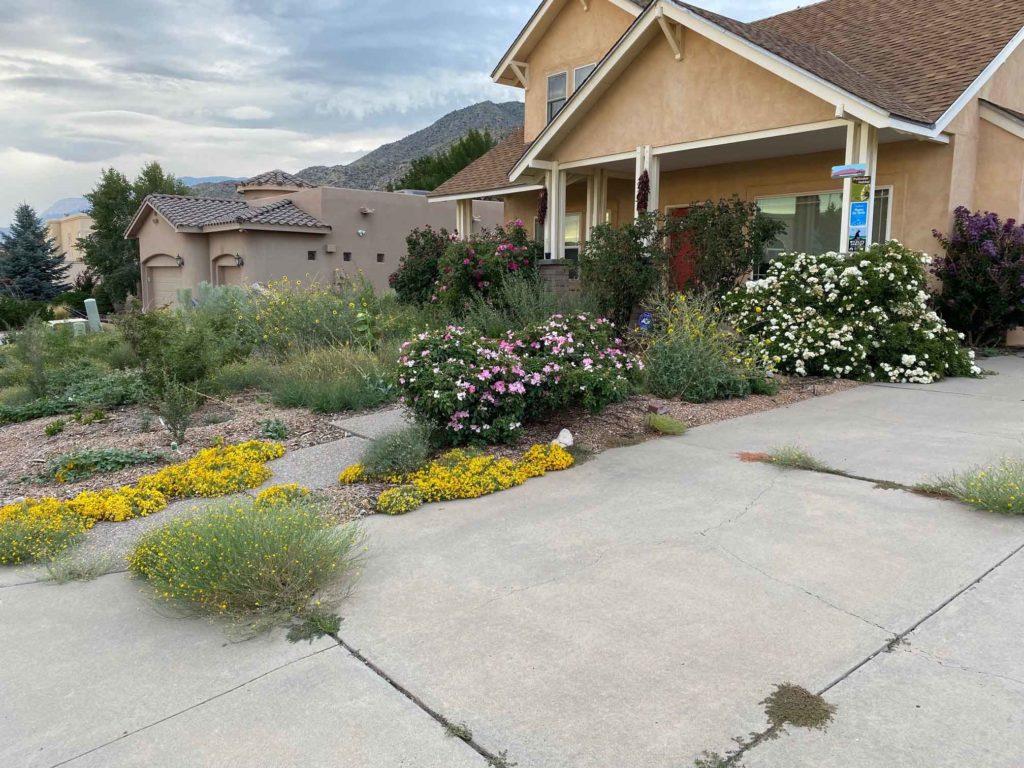
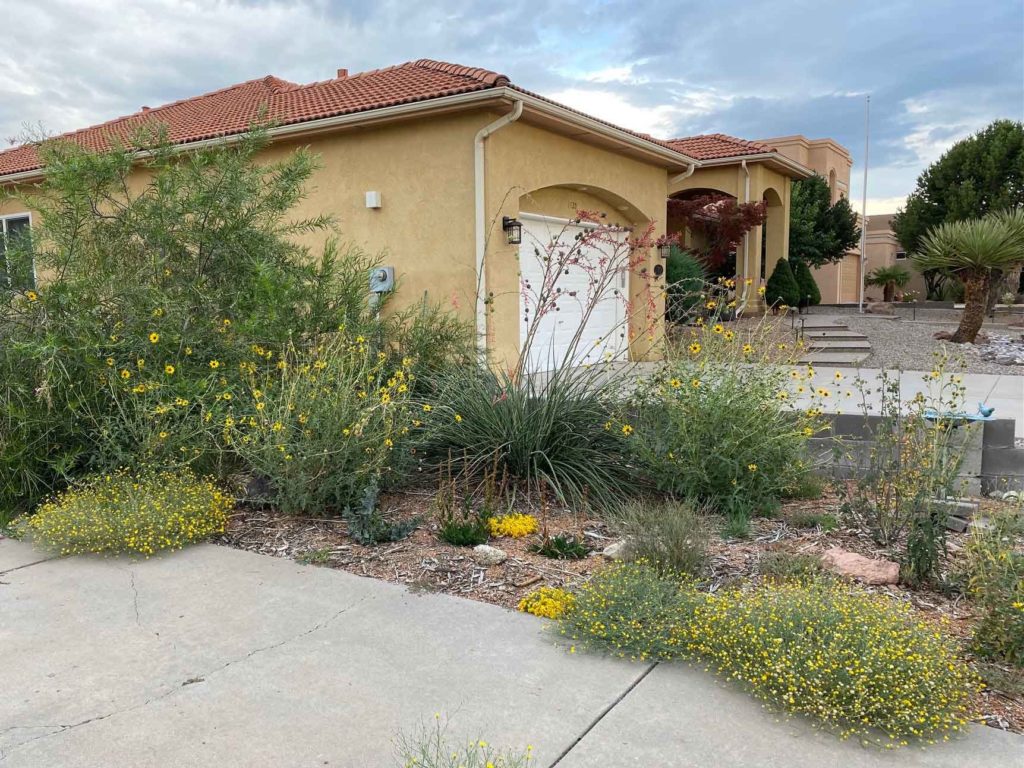
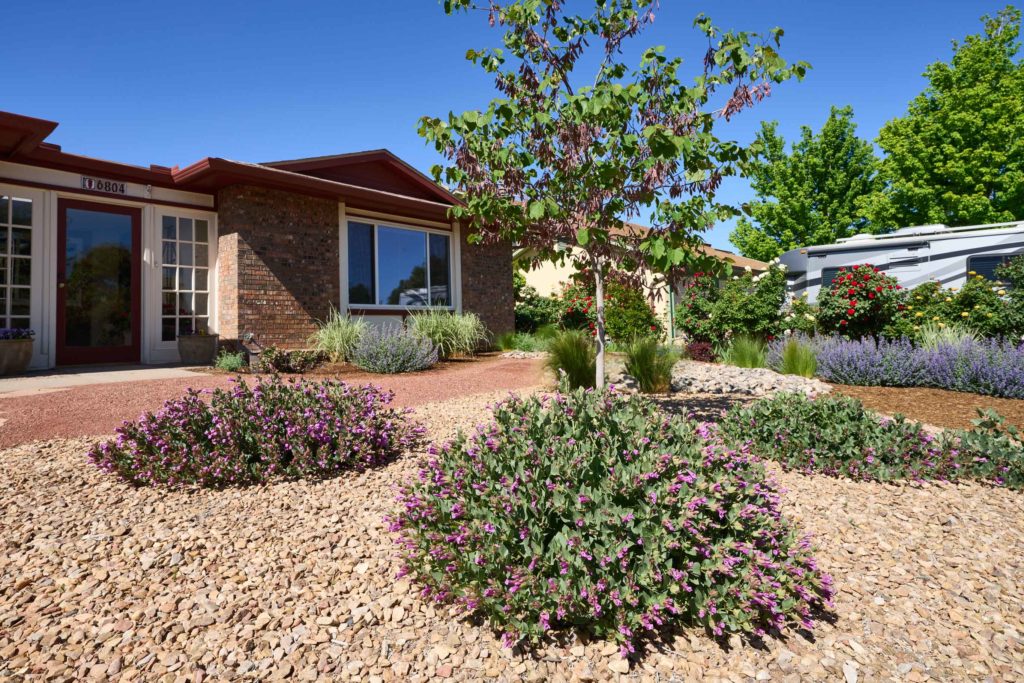
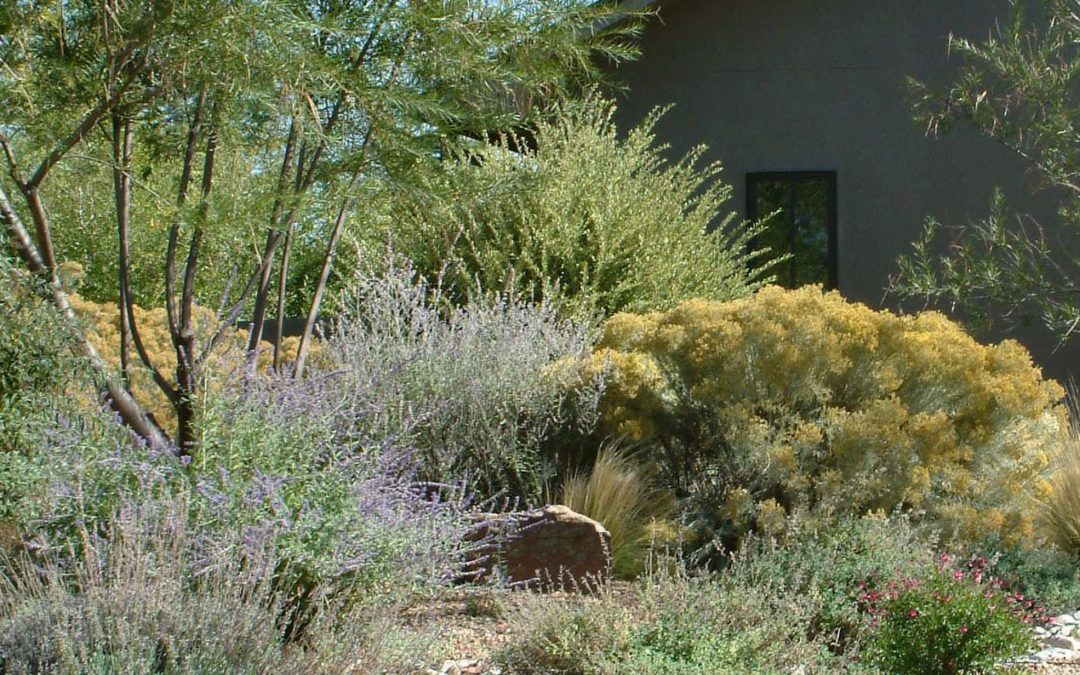
In these long, hot days of summer, especially if the summer rains don’t come, many plants really suffer from a lack of water. By incorporating native and very adapted plants into the landscape, we can still have attractive landscapes that don’t require a lot of irrigation, maybe even none in a good year!
These native plants are sometimes referred to as “luxury consumers." Their evolution, in an arid climate that occasionally has wetter years, has given them the ability to subsist reasonably well on low water. When there is an abundance of water, they take advantage of it and really grow. This kind of luxury growth may happen only every few years. In really dry years, they will lose some outer canopy. This adaptability helps them survive and even thrive in our natural landscape.
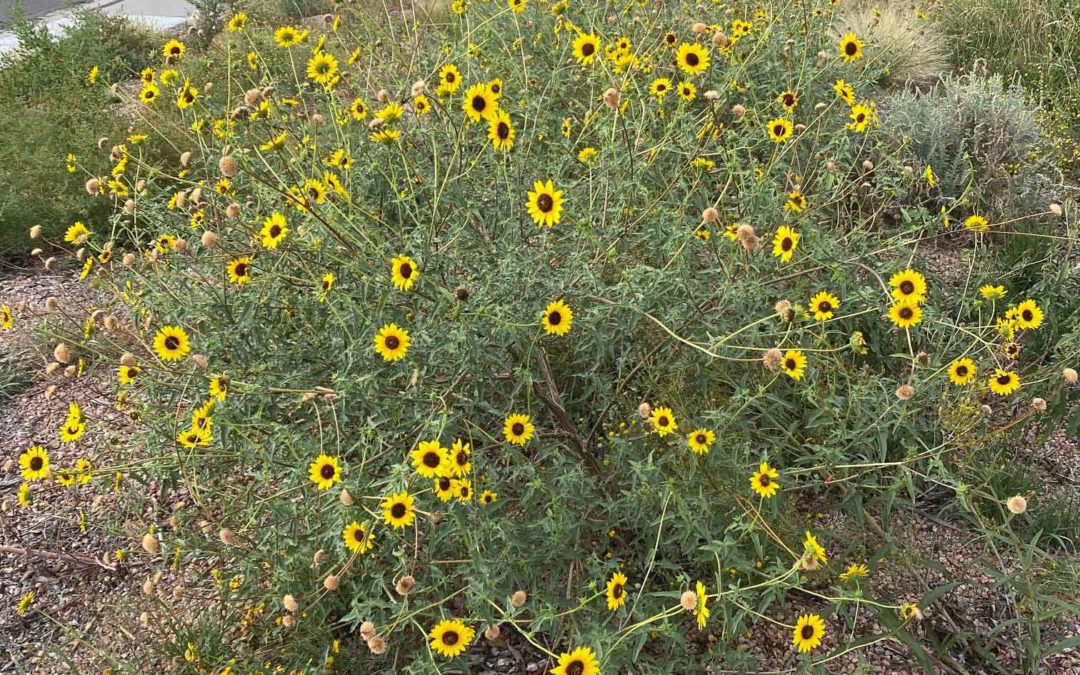
Among the plants that fit into this category are trees, shrubs, and native grasses: desert willow, Apache plume, three-leaf sumac, four-wing saltbush, chamisa, turpentine bush, and Mexican thread grass. There are others of a similar nature; native plants that really don’t need regular abundant water. Cactus is another type of plant that is easily over-watered. You might even end up killing it with too much water, as its roots rot away in constantly moist soil. If cacti don’t die, they may end up taking over a space.
One of the great aspects of xeric plants is that they are low maintenance. Small trees and shrubs live happily for years without needing pruning. Single stands of attractive, waving silky-looking grass seed heads don’t become a billowing menace when they quickly spread beyond the designed zone.
These plants should be irrigated regularly the year of planting but should be weaned to a lean water budget before they get too used to luxury living. A luxury level of irrigation should be saved for fruit trees and shade trees — plants that actually need that amount of water and produce fruit and shade.
To help save water, look for water harvesting opportunities in your landscape, especially when deciding where to plant. Where does water come off the roof, and where does it go on the ground? If you can redirect that roof water to a high spot that will flow into the yard — and maybe even contour the yard in shallow, subtle ways to get that water to spread out and slow down and sink in — then you can take advantage of the water by planting strategically along the flow line.
Mulches are a great water-saving step for native trees and shrubs. Rock is too hot for most things, except for ocotillo and some cacti, so use coarse chipped tree waste. Some local tree companies offer free mulch. Keep sunlight off bare ground around the plants and you will slow down evaporation from the soil while reducing the ambient air temperature enough to make a difference to the plants living out there all day, every day.
As far as shearing goes, this kind of pruning creates very tight outer canopies with lots of leaves (the resulting growth that follows previous cutting), usually in a simple geometric shape. Native plants that have less dense outer canopies end up having a higher water budget due to the excess foliage grown by shearing the canopy. A natural form could have the same overall size but with a more open, interesting branching framework supporting a more natural leaf density, and all of that on less water. It’s best to let the plant’s nature express itself through the form it grows without a lot of interference and to prune strategically to highlight well-placed branch systems and balanced mass.