Adopting water efficiency strategies will be the key to weathering the drought this year. These three simple steps can help you conserve water, rebates available for all three recommendations.
1. Update your controller with a WaterSense Smart Irrigation Controller
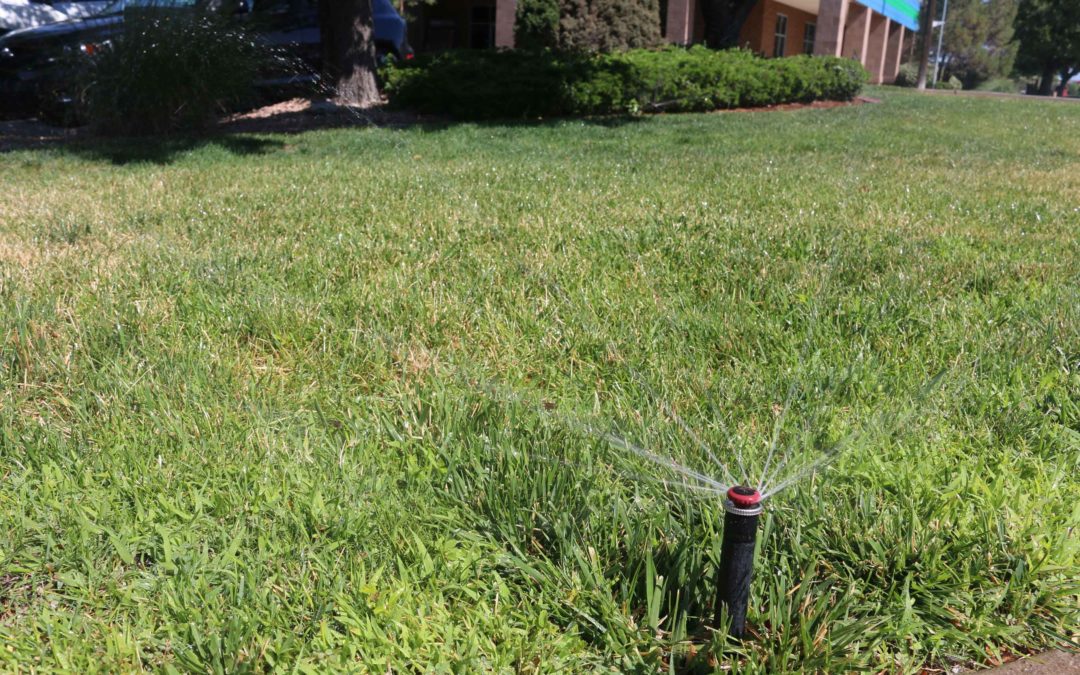
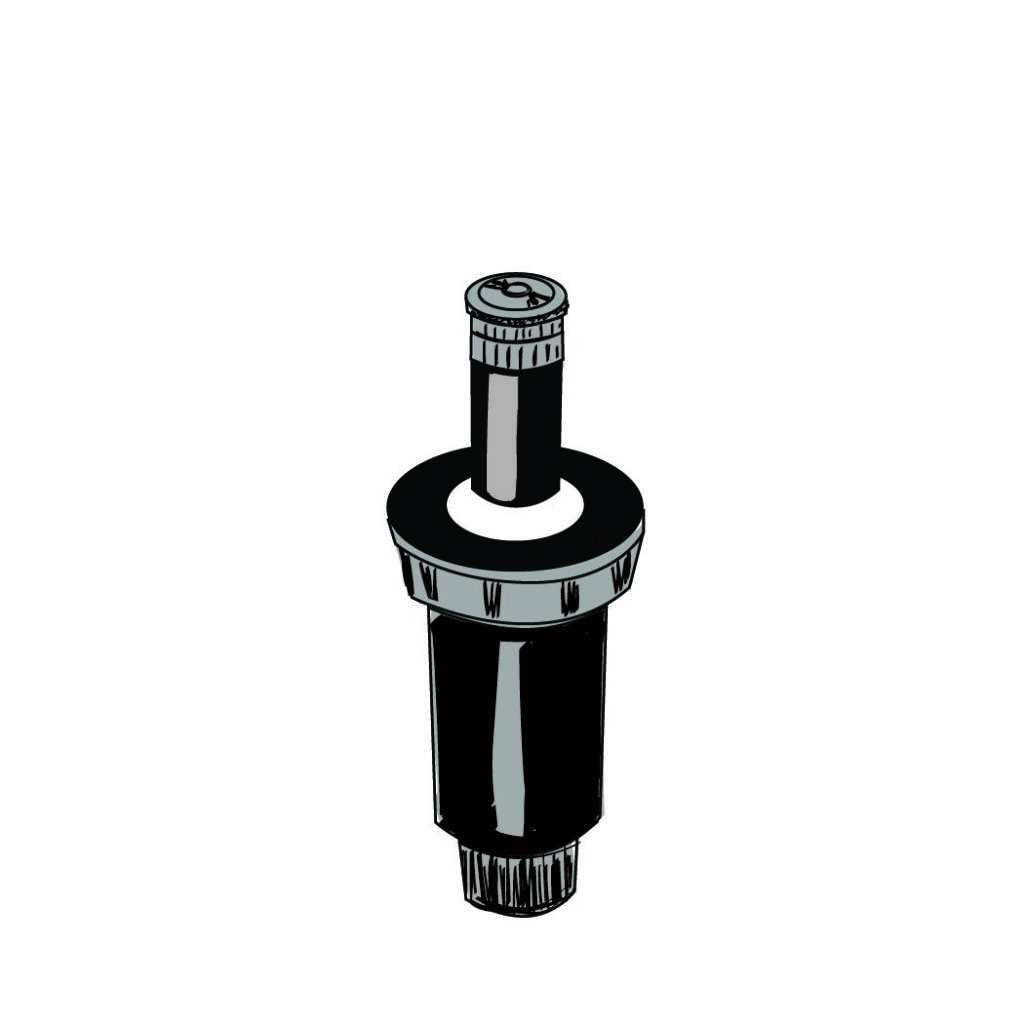
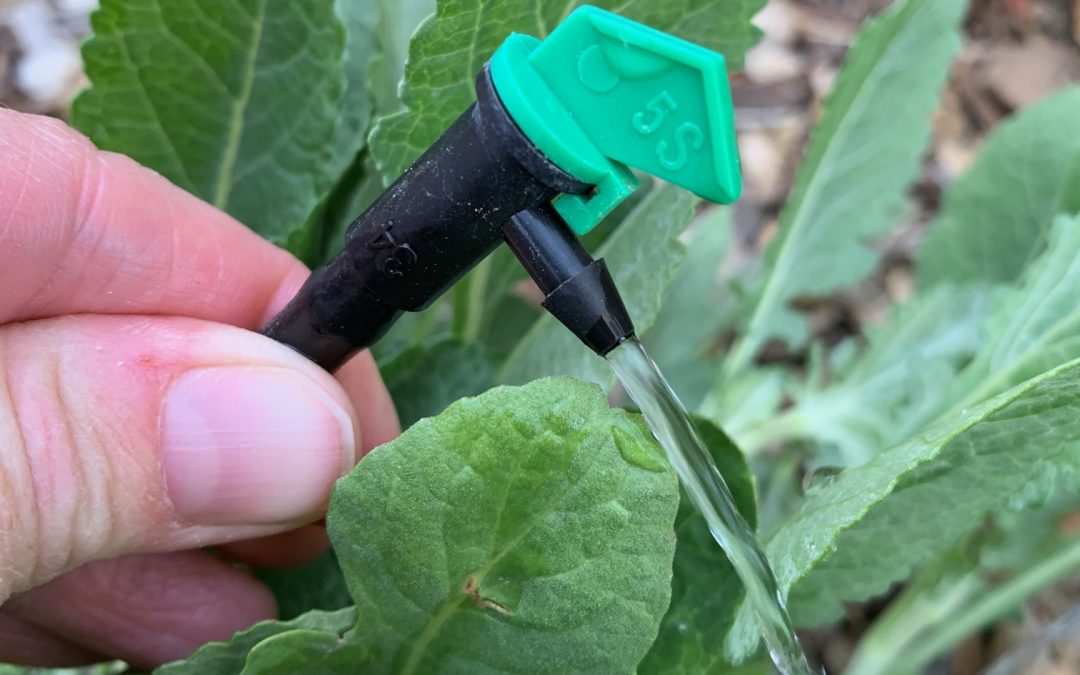
2. Replace your spray bodies with WaterSense Pressure Regulating Spray Sprinkler Bodies
WaterSense labeled spray sprinkler bodies with internal pressure regulation can reduce water waste by providing a consistent flow at the sprinkler nozzle. When the sprinkler body maintains pressure near its optimal operating pressure, the connected nozzle is better able to generate the right amount of water spray and coverage for a more uniform distribution of water across the landscape. Customers can choose from a list of pre-qualified spray sprinkler bodies.
High-efficiency sprinkler nozzles are a great solution for upgrading an old and poorly performing sprinkler system. These nozzles minimize water waste and feature a unique multi-trajectory rotating stream that delivers water at a steady rate. This slower application rate allows water to gently soak in at rates that soils can absorb. Use these nozzles to replace the sprinkler head on any conventional spray head body or pop up sprinkler. In most cases, you just remove the old, water wasting spray nozzle and replace it with the new head. For more information on these nozzles read this post.
Making these simple changes can result in 30% water savings. For installation, questions contact your favorite irrigation supply store professional or send us a question at AskAnExpert@abcwua.org
Author: Jill Brown, ASLA, is a Landscape Architect and owner of My Landscape Coach in Albuquerque, NM. Have a question about the article? AskAnExpert@abcwua.org
With drought conditions predicted to continue for the foreseeable future, we’re likely to water more often this spring and summer. Make every drop count – and keep us on track to meet our conservation goals – by performing routine maintenance to maximize your sprinkler system’s efficiency.
Monthly
Check for leaks by inspecting water lines, sprinklers, emitters, and other components. Look for wet spots in the landscape and listen for hissing to help locate issues.
Your irrigation system is only as good as its aim. Adjust sprinklers and emitters to make sure they’re delivering water to the landscape and not onto rocks, bare earth, or pavement.
Replace damaged parts immediately with identical or equivalent parts. This ensures uniform coverage and optimal system efficiency.
Locate and clean any clogged equipment.
Use water meter and historical data to help reveal hidden leaks.
Check to make sure irrigation controller is set appropriately for the season
Spring
As the watering season gets underway, check your irrigation system for leaks and clogged, broken, or missing sprinkler heads and emitters.
An outdated irrigation system can waste time, water, and money. Consider installing a new WaterSense-labeled, “smart” irrigation controller to take the guesswork out of scheduling (rebates available).
Set the controller for watering frequency, start times, and duration per zone per program.
Replace the back-up battery in the controller.
Test the manual shut-off or isolation valve.
Check the water pressure in each irrigation zone.
Check and clean filters, wherever they are in the system.
Check and clean the filter screen in each sprinkler body. Adjust the rotor arc or spray pattern to eliminate water waste.
Test heads to make sure they are delivering consistently and efficiently.
Inspect all drip emitters (look for wet zones after running a complete cycle). Unclog or replace any that are malfunctioning.
Early Summer
Adjust controller for the appropriate seasonal setting.
Adjust sprinklers and emitters to make sure they’re delivering water to the landscape and not onto rocks, bare earth, or pavement.
Check and clean filters, wherever they are in the system.
Inspect all drip emitters (look for wet zones after running a complete cycle). Unclog or replace any that are malfunctioning.
As plants grow bigger, move the emitters to the edge of each plant’s root ball or drip line to encourage further root development.
Fall
Adjust controller for the appropriate seasonal setting.
Test the manual shut-off or isolation valve.
Check and clean filters, wherever they are in the system.
Inspect all drip emitters (look for wet zones after running a complete cycle). Unclog or replace any that are malfunctioning.
Winter
Guard your irrigation system against freezing temperatures by draining pipes and tubing and properly winterizing your system.
When temperatures are below 40 degrees Fahrenheit, discontinue automatic watering and turn on systems manually or hand water as needed.
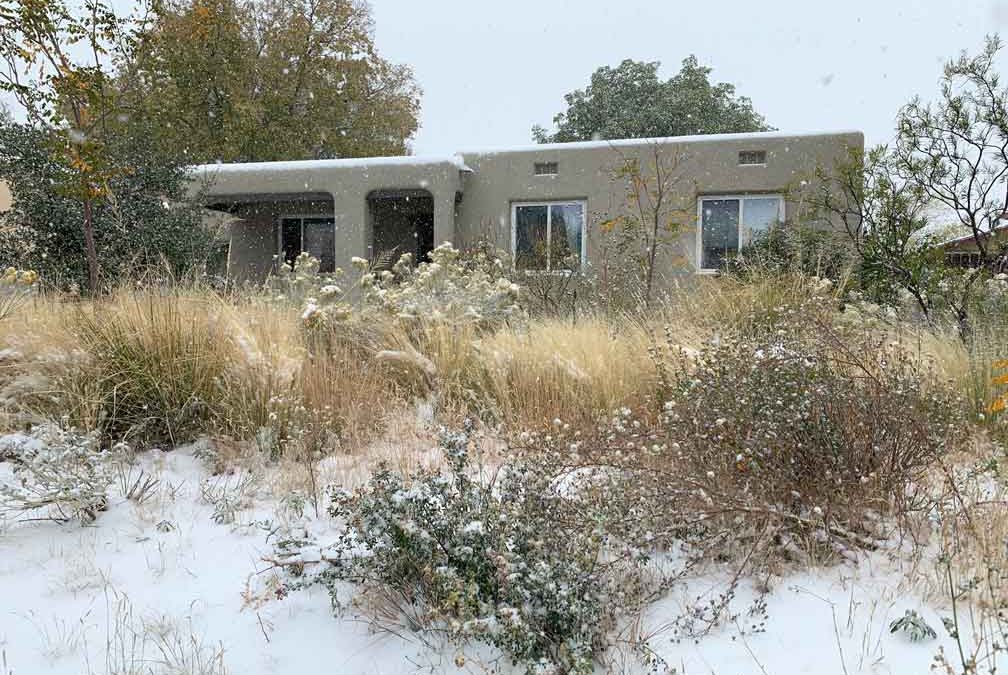
Just as we take shelter when the weather turns colder, so do your plants. This time of year, plants store most of their nutrients in the roots and find shelter in the ground. We can support this transition to help plants thrive during the entire winter season.
Also, it is time to give your irrigation system a rest. The recent storm brought much-needed precipitation and along with the snow came freezing temperatures. To avoid damage to your irrigation system we recommend setting it to the OFF position. Your next step will be to wait for a warm day, to deeply water one more time and then take steps to winterize your irrigation system.
Follow this advice to ensure landscape success:
How much should I water this November?
1-2 more times this month
Give individual trees 100 gallons to a depth of 24”
Skip watering if it rains or snows
Water turf to ½ inch, 7-10 minutes
Your outdoor water usage should be 80% less than in the summer season
How can I keep my landscape healthy this winter season?
Turf
Mow your lawn to 2-2.5 inches. Grass left too long over the winter can develop brown patches.
Aerate next time it is warm. Aerating your lawn will give it a chance to breathe before the grass goes completely dormant. This also provides relief of any compaction that has built up during the warmer months.
Rake or blow off the leaves that have fallen on your lawn. Leaves that are left on the lawn could become moldy, which invites disease.
Top dress with compost. Compost acts as a fertilizer, adds moisture retention capacity, and improves overall turf health.
Trees
Apply a thin layer of compost, about ½ inch, to provide nutrients.
Add mulch away from the trunk base, about 2 inches thick. Mulch helps maintain your ground at a constant temperature and helps retain moisture.
Water your trees thoroughly once a month, if needed, to support your plants' winter hardiness. Withholding water will not aid the plant in acclimating itself to winter.
How do I avoid irrigation and other plumbing system damage? To avoid costly repairs, we recommend that homeowners take the following steps:
Find the master shutoff valve. The master shutoff valve turns off the water to the entire house. If you have one, learn its location. This could be critical if a pipe should burst. Need an emergency turn-off? Call 842-WATR and select Option 1.
Insulate pipes and faucets in unheated areas. Wrap exposed water pipes in unheated areas (such as a garage, basement, crawl space, or space beneath your mobile home) with insulation or heat tape. Be sure to follow the manufacturer's instructions carefully.
Seal off access doors, air vents, and cracks. Winter winds whistling through overlooked openings can quickly freeze exposed water pipes. DO NOT plug air vents used by your furnace or water heater.
Author: Carlos A. Bustos, Water Conservation Program Manager with the Water Resources Division for the Water Authority. Have a question about the article? AskAnExpert@abcwua.org
We love our trees. Trees have a cooling effect in our yards by providing shade and they increase property value. When our trees do not “look good,” we try to help them, but when that one “magic” application does not solve the issue, we are often discouraged. A proper plant diagnosis will help your trees and save you time, money, and energy when dealing with the problem.
Damage to your tree can be caused by a living organism and/or environmental factors. Fungi, bacteria, viruses, nematodes, mites, insects, and animals fall under the living organism category and these tend to attack specific plants. Environmental factors that could affect trees include drought stress, salt injury, chemical injury, winter damage, improper planting, watering, and growing conditions, among others. Damage caused by living organisms can be similar to the damage caused by environmental factors. Here are a few tips to help you conclude what is causing damage to your tree:
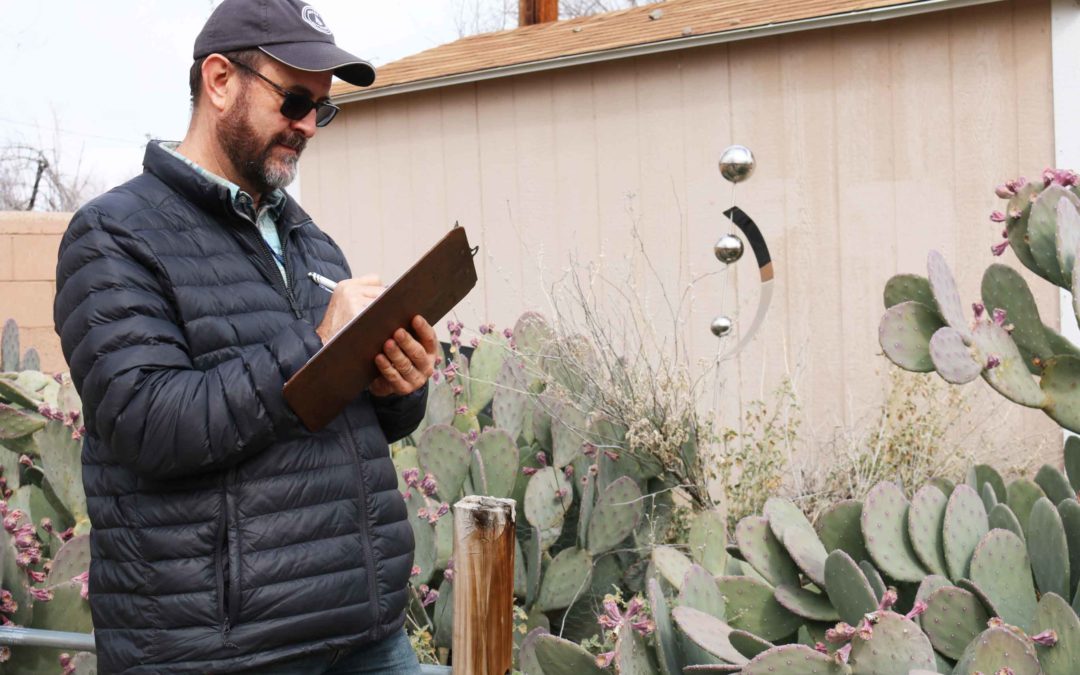
First, identify the tree and how old it is. Knowing this will help you become familiar with the best growing conditions for that tree, and what kinds of insects and diseases are specific to it.
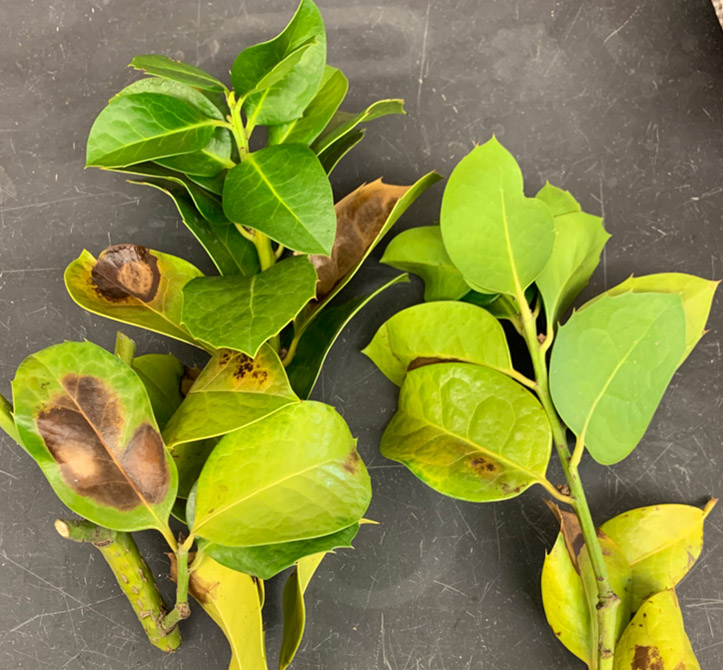
Inspect the tree – take a thorough look at the trunk, branches, and leaves. What abnormalities do you notice? Are the leaves discolored, bite marks, abnormal growth, unusual size, odd branches, or is the trunk oozing? What color is it? Does it smell? Do you notice any injuries or scars? Any holes? What size and shape?
Look at the environment where the tree is growing. How was the tree planted (burlap, chicken wire, planted too deep, girdling roots)? What kind of soil is it planted in (sandy, clay, poor drainage, compaction, etc.)? Is the tree near a foundation, driveway, traffic areas, wall structures, etc.? Any construction or change in the landscape around the tree area?
What watering conditions has the tree been subject to (water at the dripline, how much water, water throughout the year, etc.)? How is the water system checked? What is the soil coverage around the tree (rock, bare soil, lawn, organic mulch, etc.)? Any chemical application (herbicide, fertilizer, insecticide, etc.)?
Gather other information. Pictures help a lot to see how the issues have progressed. Collect any insect samples. Record when the symptoms started to appear.
All this information is crucial because symptoms caused by environmental factors can be like those caused by living organisms. In some cases, a lab analysis might be the best option to confirm or dismiss the presence of a pathogen and will help you develop a treatment plan.
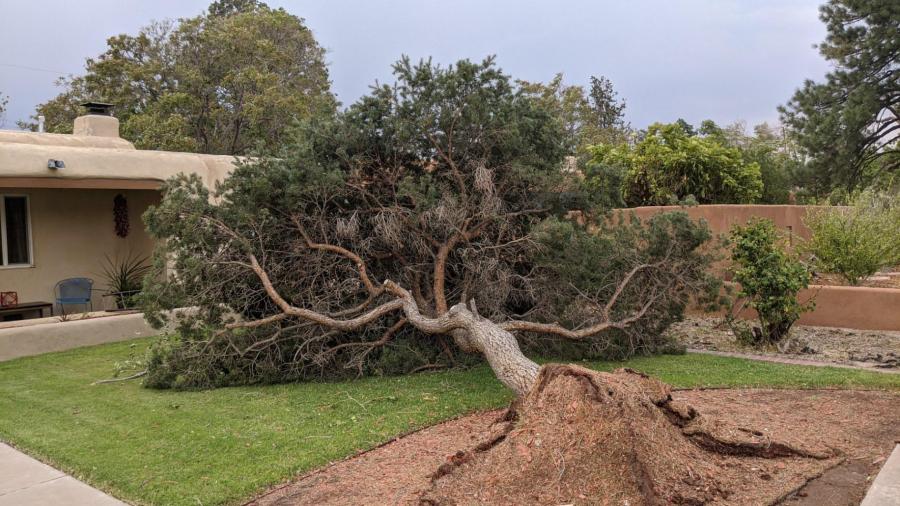
Consider this common scenario: A 15-year-old tree grows next to a paved driveway and a wall, with gravel mulch around the base. Underneath the gravel is a plastic layer of weed fabric.
Shallow roots due to heat stress and limited watering. Photography Courtesy of James Vocasek c/o KRQE.com
The tree does not receive enough water for many years and gets no rainwater through the weed fabric. This tree is struggling to develop a good root structure and starts looking unhealthy. Eventually the tree gives up and a strong wind brings it down. In this case, chemical treatment will not improve the tree’s appearance because it is not addressing the true cause of the problem: watering improperly.
Diagnosing what is wrong with your tree will take time, but it is worth it. These local resources can help:
Author: Sara Moran, Extension Horticulture Agent, Bernalillo County, NMSU Cooperative Extension Service. Have a question about the article? AskAnExpert@abcwua.org
September days can have widely varying temperatures, with some days getting into the 90s, but we can count on nights being longer and cooler. This means that plants do not need to be watered as often. Ramping down how often you water your yard is a great way to save money on your water bill and keep plants happy.
After spending the summer putting energy into growing leaves, flowers, and fruit, plants use the fall to store water and energy in their roots for winter survival and spring growth. Proper watering supports this activity.
Ramping down your irrigation does not mean you should stop watering altogether. If you have a lawn, cut back to two days per week. Cut back to two times a month for mature trees (4 times a month for younger trees).
The amount of water needed and where that water should be applied changes as woody plants (such as trees, shrubs and vines) get larger. Woody plant material has two types of roots, stabilizing roots and feeder roots. Both types of roots do just what their name implies. Stabilizing roots are thick and dense to keep the plant in place and support its weight. Feeder roots are super fine and grow more like a net to take in water and nutrients. Feeder roots expand out as the plant grows.
Some woody plants require more water as they mature, but more desert-friendly species may not require extra water or may even be able to survive without supplemental irrigation once established. Perennials normally do not need to have expanded watering the same way woody plants do as they mature.
Some examples of this:
Plant Type
Plant
1st summer
2nd summer
3rd summer
Tree
Desert Willow (Chilopsis linearis)
60 gallon per month
120 gallons per month
400 gallons per month
Shrub
Butterfly Bush (Buddleia davidii)
60 gallon per month
70 gallon per month
100 gallon per month
Desert-Friendly Shrub
Chamisa (Ericameria nauseosa)
20-30 gallons per month
20-30 gallons per month
Usually possible to remove from irrigation
Vine
Trumpet Vine (Campsis radicans)
40 gallons per month
60 gallons per month
100 gallons per month
Woody Groundcover
Prostrate Sumac (Rhus trilobata)
20-30 gallons per month
40 gallons per month
60 gallons per month
For those plants that do have increased irrigation needs as they mature here are three easy ways to apply the right amount of water in the right place depending on the type of irrigation you are using.
Drip Emitters – Move the drip emitters out to stay in line with the outer edge of the plants leaves where the feeder roots will be. Increase the number of emitters watering the plant too, placing them evenly around the outer perimeter of the plant.
Netafim (in-line professional drip line) – this is typically installed in rings around the plant and additional rings can be added as the plant grows larger. Netafim can also be laid out in a grid pattern, particularly when being installed around an already established plant.
Hand-watering – Build and maintain a watering well at the outer edge of the plant perimeter. As the plant grows, increase the size of the well.
Author: Richard Perce, Irrigation Efficiency Specialist with the Water Resources Division for the Water Authority. Have a question about the article AskAnExpert@abcwua.org