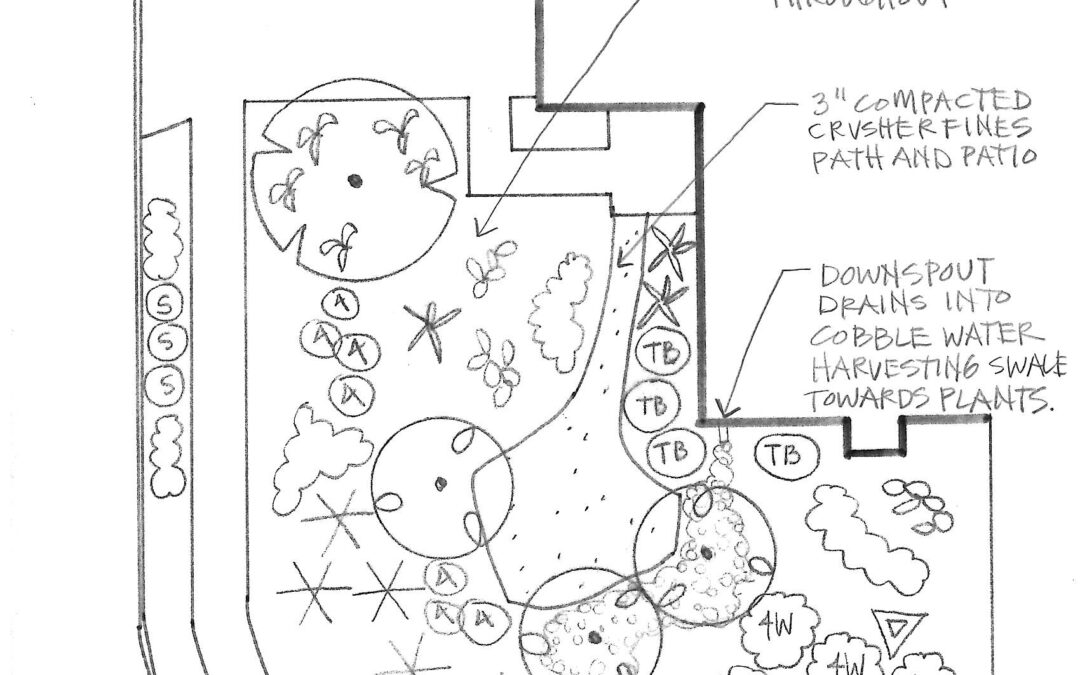
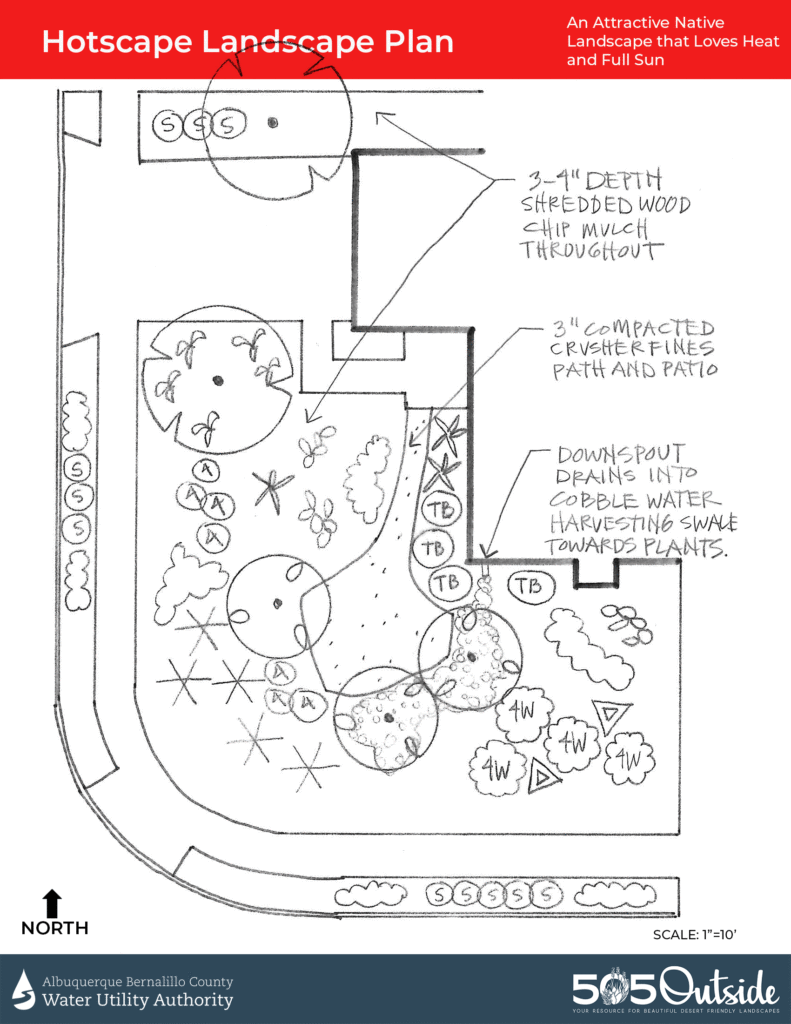
A lot goes into creating a landscape plan, and it helps to have some expert help. Landscape architects specialize in designing outdoor spaces. Today, we’re sharing a plan particularly suited to our climate by New Mexico landscape designer David Cristiani. You can follow this design right down to each individual plant or customize it to fit your own yard. We’ll be sharing two more landscape plans in future issues of 505Outside.
Many plants from higher elevations or moister areas struggle when subjected to the long, torrid summers common in Albuquerque. The plants in this landscape are intended to thrive on heat, limited irrigation and minimal care — while exploding the popular myth that cacti and succulents look stark and don’t belong near our homes.
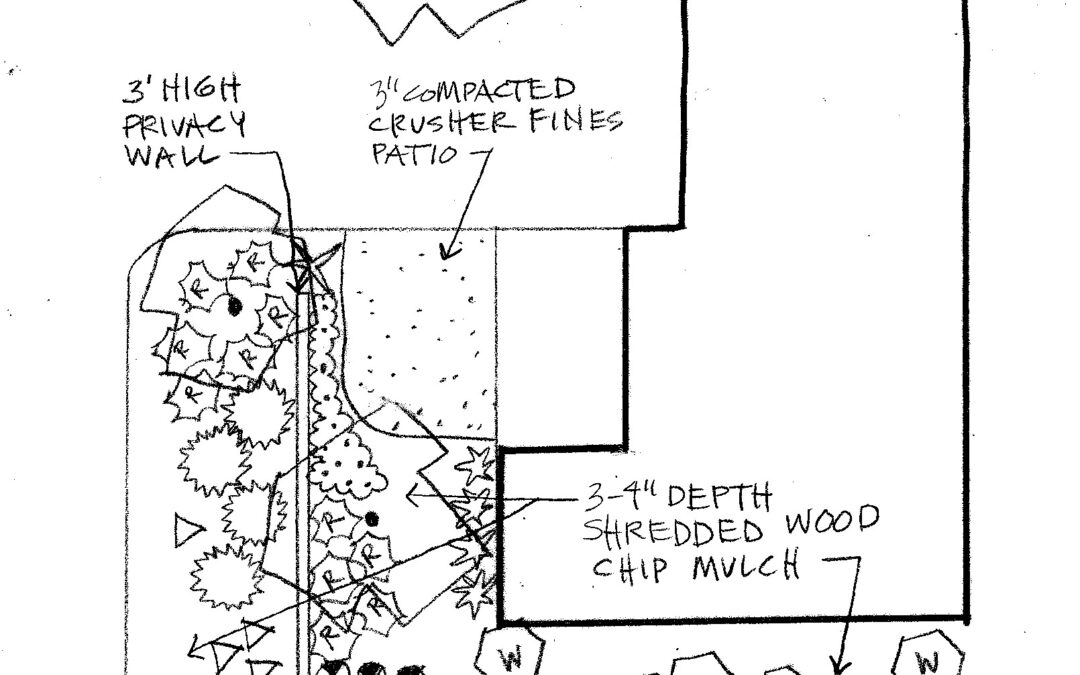
The Hotscape design embraces the environmental and visual qualities of Albuquerque’s high Southwestern desert location. Two areas of compacted crusher fines serve as a combined pathway, informal sitting area and a channel to harvest water from the occasional storm. A low berm provides visual interest, keeping the plants that cannot tolerate much extra moisture dry.
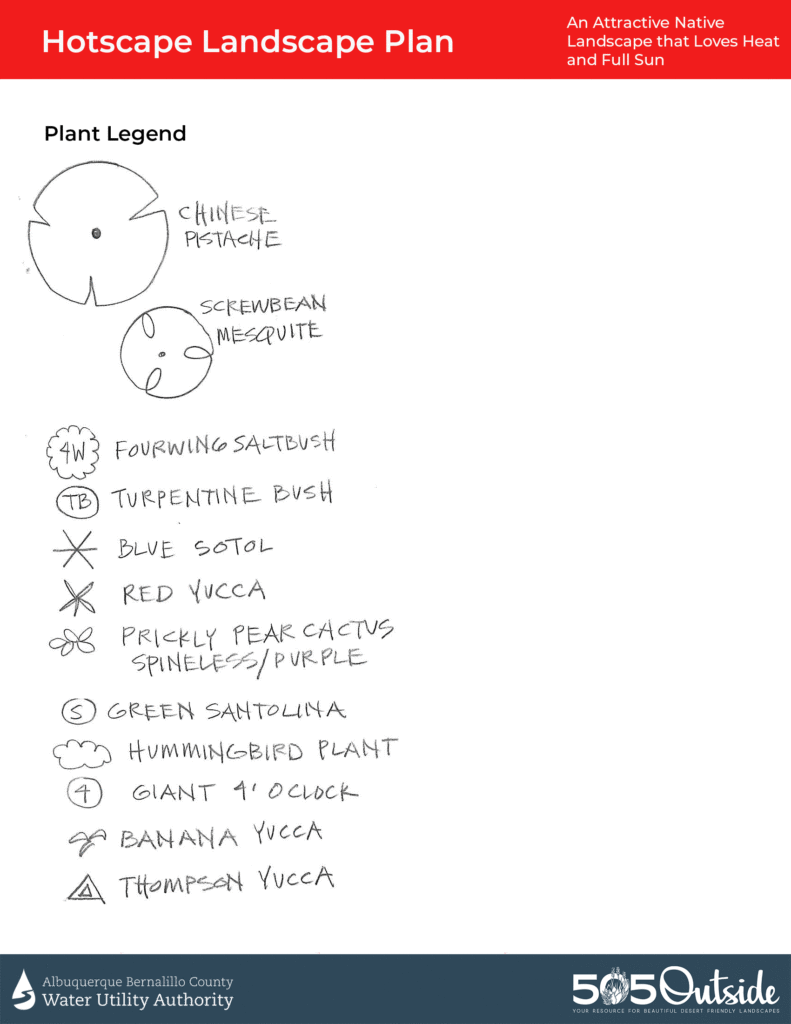
Modeled after the strikingly attractive and often evergreen plant communities native to the edges of Albuquerque, this design provides a great deal of visual interest throughout the year. The open, irregular canopies of Chinese pistache and screwbean mesquite provide filtered shade in summer and warming sunshine in the winter — an effect suggesting a desert arroyo. Fourwing saltbush screens the view to the street, and the dark, compact turpentine bush adds a pleasant fragrance with yellow fall flowers. The last, crucial ingredient to this design is the generous use of native desert accent plants, including the bold, blue-green forms of sotol, desert prickly pear and banana yucca. These local signature plants are accented further with small masses of seasonal color from low perennials and groundcovers, attracting both hummingbirds and passing neighbors!
Learn more about specific types of gardening here:
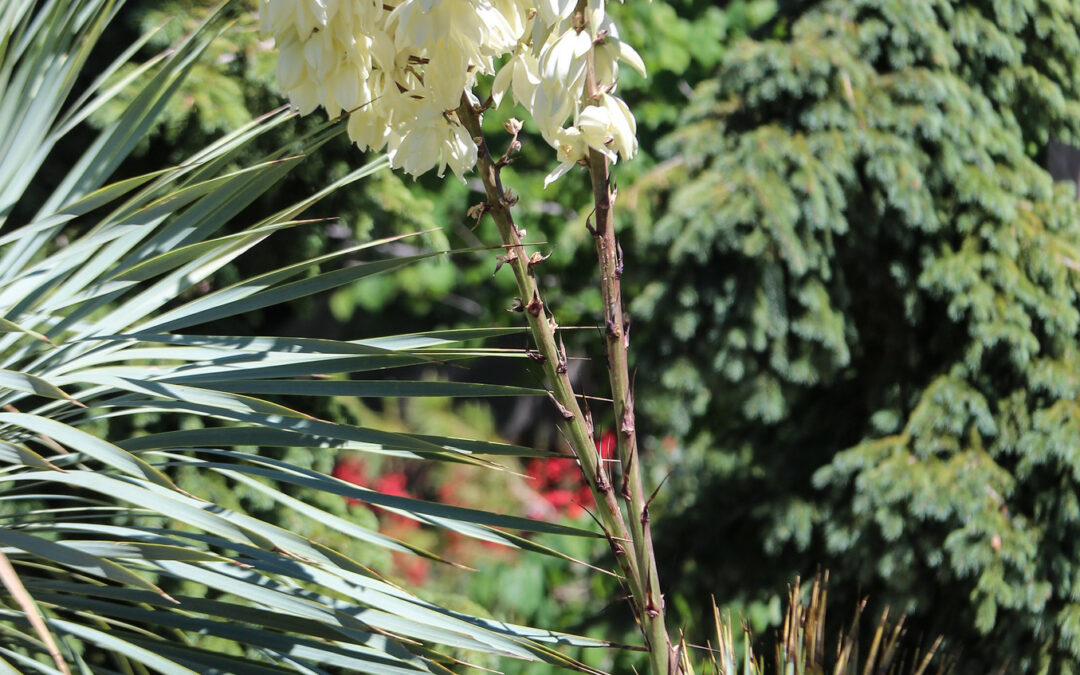
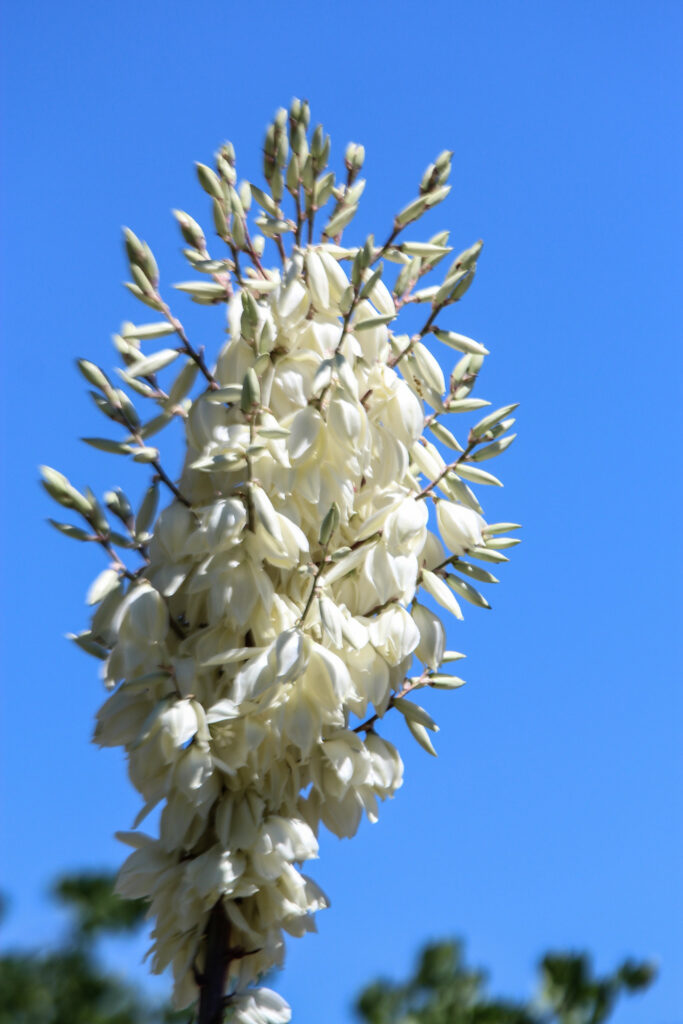
This is a small tree-forming yucca. It can grow from 5 to 8 feet tall and 6 feet wide. Its trunk can grow around 5 to 8 inches in diameter. The light green leaves with pale yellow margins grow in a mass radiating near the top and can be 8 to 24 inches long. It loves well drained soil and extreme heat conditions. It produces 3-foot-tall creamy white blooms from April through May. This yucca stays neat in appearance and requires little maintenance.
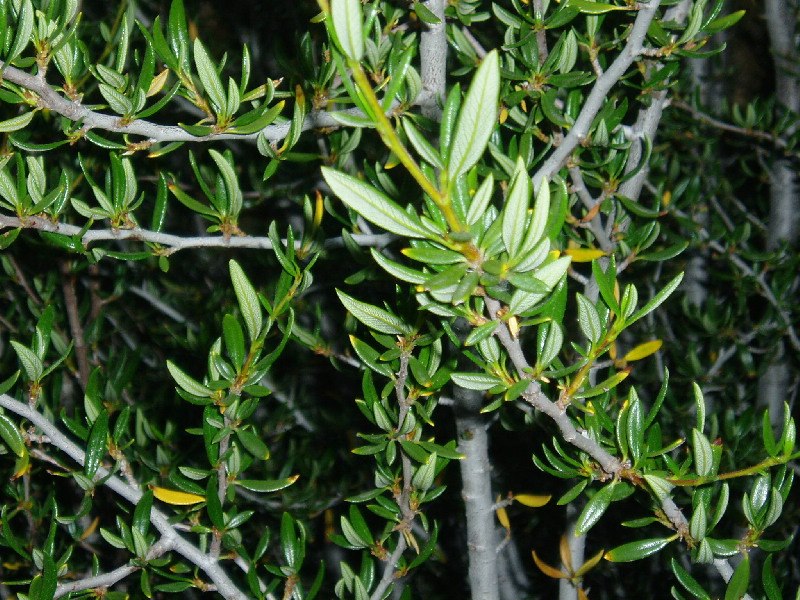
This semi-evergreen shrublike tree puts on an interesting fall display as the white seeds twist into a feathery white tail so big it obscures the green leaves. It thrives in hot sunny spaces and can live with neglect. It requires little pruning and deep watering only once a month.
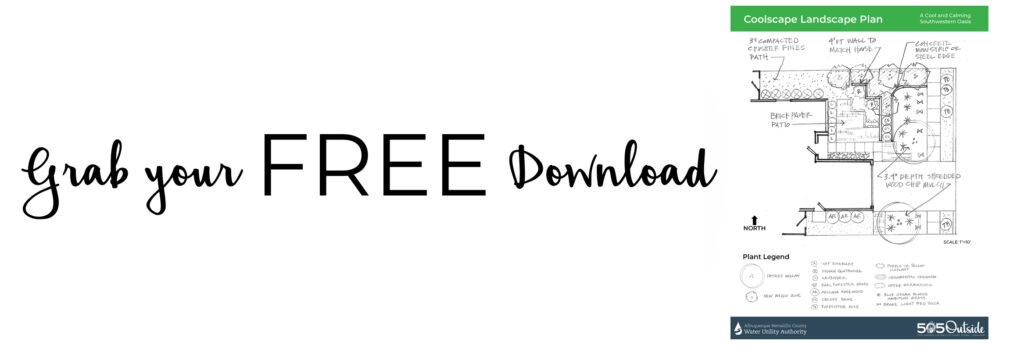
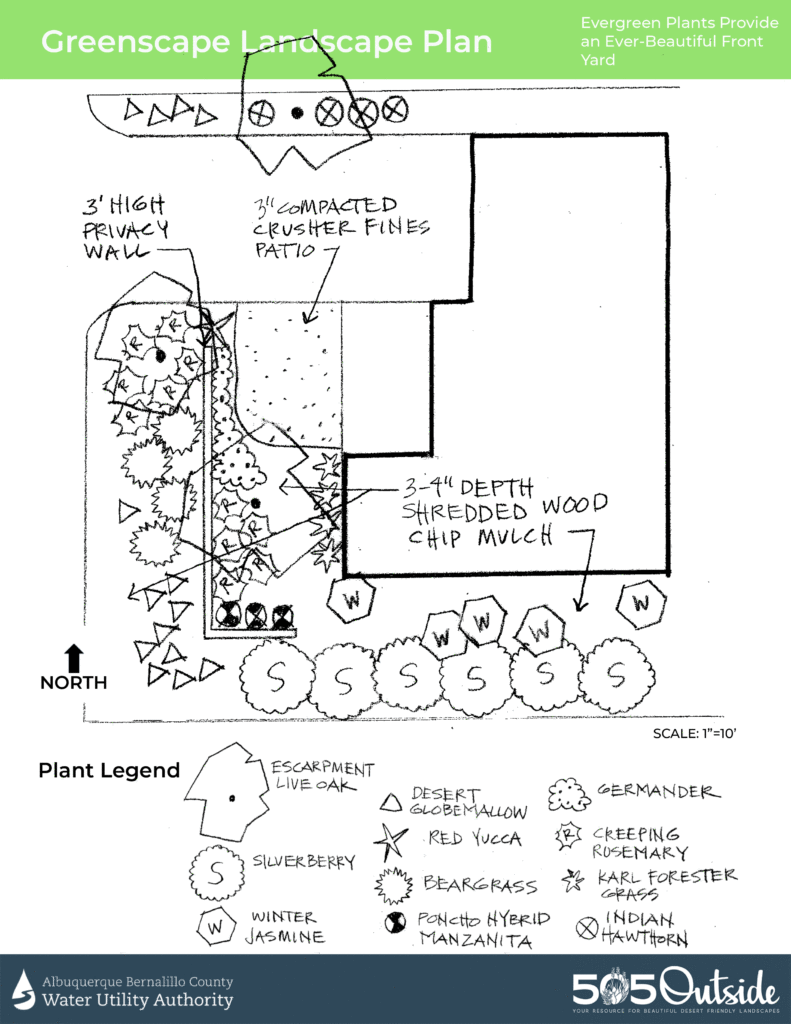
Creating a landscape plan is a complicated endeavor. Luckily for home gardeners, landscape architects specialize in designing outdoor spaces. Today, we’re sharing a unique plan by New Mexico landscape designer David Cristiani to give you some inspiration and ideas for designing your own yard. We’ll be sharing three more landscape plans in future issues of 505Outside.
Green spaces and water conservation need not conflict, nor does an oasis require the use of high-water-use and high-maintenance turf grass at the exclusion of native plants and succulents. This typical front yard area contains mostly evergreen plantings and an inviting entry experience to welcome guest and owner alike, no matter the season. A low wall and climbing evergreen vines combine to provide additional screening and intimacy for sitting out on the front porch and also extend the architecture into the plantings. While designed for a smaller front area, the plantings can be increased in scale and number to fill a larger property.
The sculptural and leafy forms of an evergreen escarpment live oak grouping provide a canopy to the plantings below, which offer seasonal interest using native and adapted species. Native bear grass provides a soft yet bold texture, as do the spiky flower stalks of red hesperaloe, or red yucca. The loose forms of colorful desert globemallow provide masses of pink-toned flowers throughout much of the growing season. Germander and trailing rosemary generously fill in the ground surfaces with dark green color, fragrance and seasonal flowers. Durable materials prevail, while the plant spacing provides both screening from adjacent neighbors and ample room to access both sides of the home.
Learn more about specific types of gardening here:
Sometimes you need help to create your perfect desert friendly landscape. Many times, this involves hiring a landscape contractor. The Water Utility Authority is committed to helping its customers. Below we share some tips to help you choose a landscape contractor.
It’s important to start with a to-scale landscape design plan. This may be done by a professional landscape architect or a landscape designer. Or perhaps you worked up your own design plan.
Hiring a landscape contractor requires research similar to what you would do when hiring any home repair contractor. It’s important to consider the following:
Is the contractor able to secure bonding and are they insured?
What are the contractor’s credentials (formal training, references, professional certification)?
Does the contractor belong to a local or national trade association and abide by its standards?
Does the contractor have a Water Smart Contractor listing through the Albuquerque Bernalillo County Water Utility Authority?
The contractor should provide references for projects similar in size, scope and design so you can talk to previous customers about their experiences.
The contractor should share photographs of other projects you can check out.
Estimate/Bid and Contract
The contractor should provide you with a detailed, line-item estimate for the work. This will include the price of the materials, labor, taxes and permit costs if applicable. A detailed estimate will help you accurately compare pricing and services.
A signed estimate may act as the official contract, a legal requirement that will protect both you and the contractor if anything goes wrong.
What is the payment schedule? Most contractors will ask for anywhere from 30% to 50% up front so they can purchase materials. They should provide you with a general timeline or payment schedule.
How long will the construction take, and what does the sequencing/schedule look like?
How does the contractor manage additional work that may be added in the middle of the project and is not on the plan?
During and After Construction
Who will be the contractor’s point person, someone you can go to with questions? How will they communicate with you and how often?
How will the contractor handle variabilities that come up during construction?
What happens if there is a delay once construction has started?
The contractor should show you how to maintain the landscape after it is built and how to work the elements installed, such as the irrigation controller.
What are the warranties for the project? What do they cover and exclude?
Does the contractor provide troubleshooting support during the first year after installation?