Prep Now for a Great Edible Winter Garden
Growing winter veggies is a fun and valuable effort more people should experiment with in our area. In many ways, winter gardening is a lot easier than trying to garden in the summer — there are fewer pests, cooler temperatures require less watering and common winter veggie’s seeds are super easy to germinate and then cultivate. Two things are important to ensure success: the timing of starting seeds and modifying the climate to extend the season.
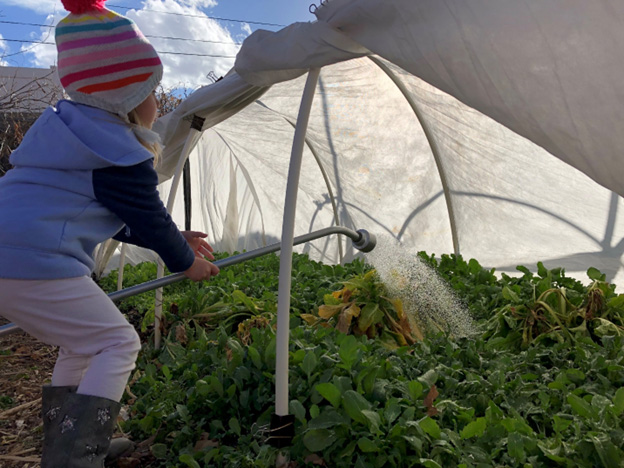
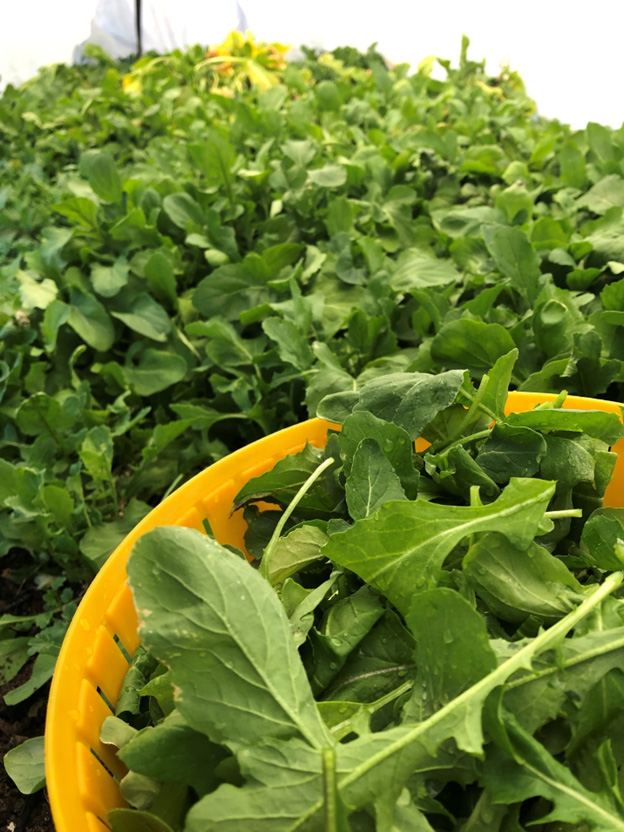
If you're hoping to enjoy sweet, delicious, and healthy salads and other dishes all winter long, it's important to start your seeds by the middle to late August. Unfortunately, by then, we're usually very tired of the heat and of taking care of the plants in our yards. It’s not a time we often think about starting new seeds. However, it's important to start seeds early so the plants can reach a good size before it gets cold. This is where being able to modify the climate in your garden is important on both sides of the spectrum. When starting seeds at the end of the summer and it's still hot, having some sort of shade fabric to keep things a little bit cooler makes all the difference. Later, when it starts to get cool, being able to cover your garden bed with a row cover material, sometimes called Reemay (white polyester nonwoven fabric), modifies the climate in the other direction by making it a few degrees warmer and more protected — crucial for having productive beds of kale, Swiss chard, beets, lettuce, spinach, radishes and other yummy veggies. Most of those veggies are super easy to germinate, usually popping up within a couple of days — another reason why this kind of gardening is especially fun for beginners or people feeling frustrated with starting seeds.

Being able to walk out to your garden and harvest a colander full of fresh kale and Swiss chard is a true delight and can save a lot of money if it's something that you purchase at the store regularly. Winter gardening is easier because the temperatures are cooler and you have to water only once about every two or three weeks, December-February. Also, the cold temperatures don't allow for many pests. Some of my favorite veggies to grow in the winter are kale — I really enjoy red Russian and Dino — beets and collard greens, all of which increase in sweetness substantially once the temperatures begin to drop.
There are substantially less pests in the fall, winter, and early spring compared to the summer. Two pests that you might encounter are aphids and cabbage worms which are relatively easy to manage. Cabbage worms can be avoided by covering your plants with the row cover material to exclude the cabbage moth from laying eggs on your tender greens.
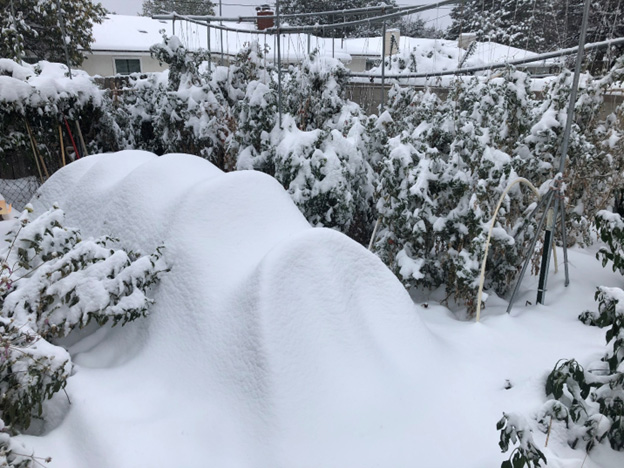
Another advantage of having hoops and shade or frost fabric is that it can protect plants from hail damage. Similarly, some people like to start their tomatoes under row covers to exclude leaf hoppers which can transfer the curly top tomato virus (Learn More in this article by NMSU.)
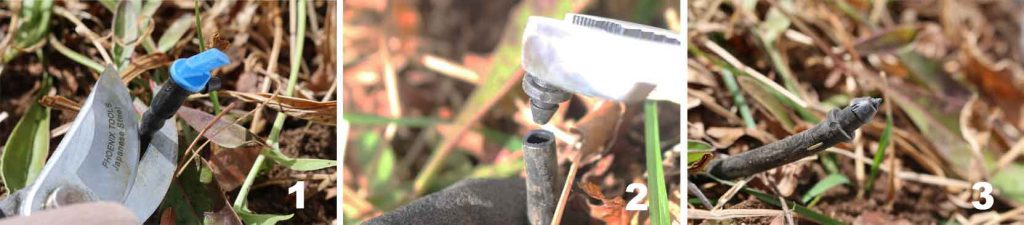
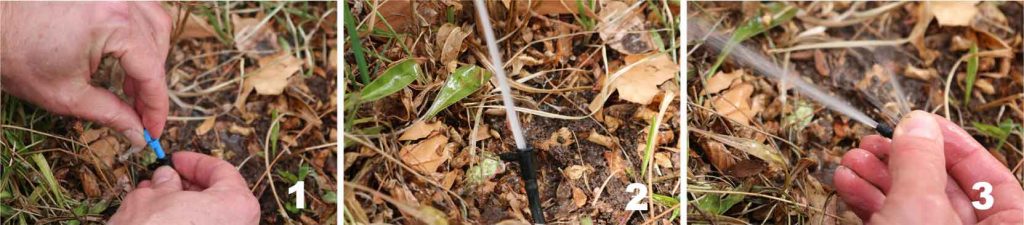
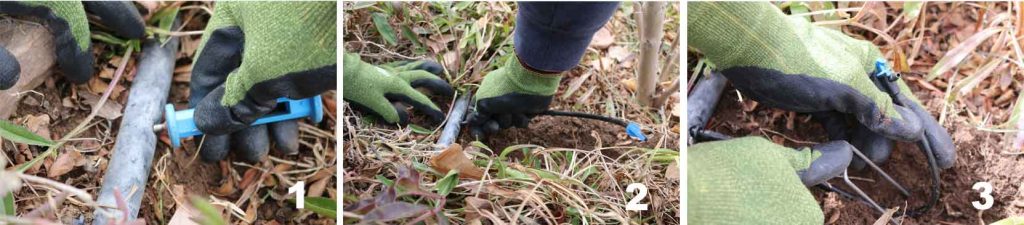
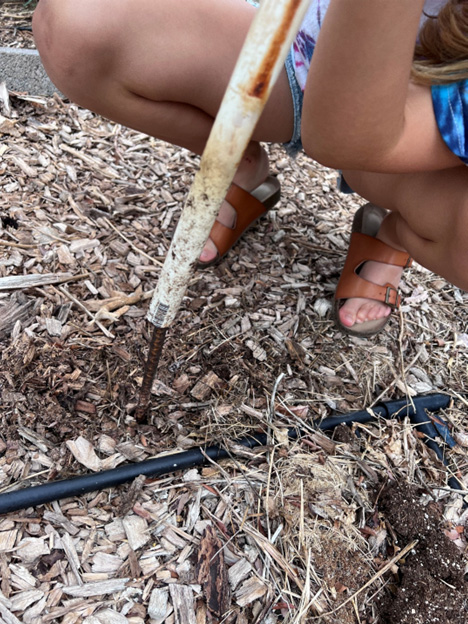
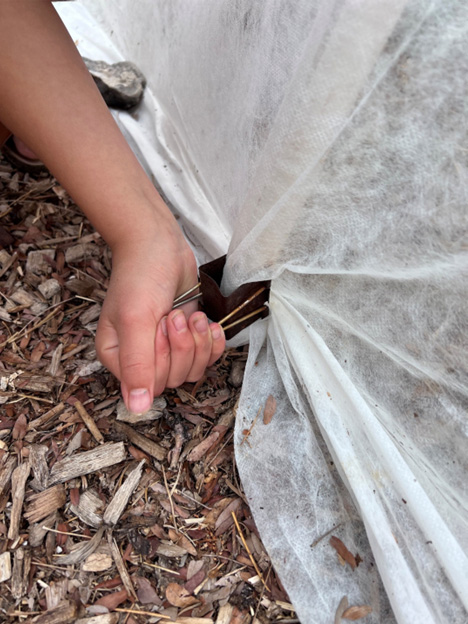
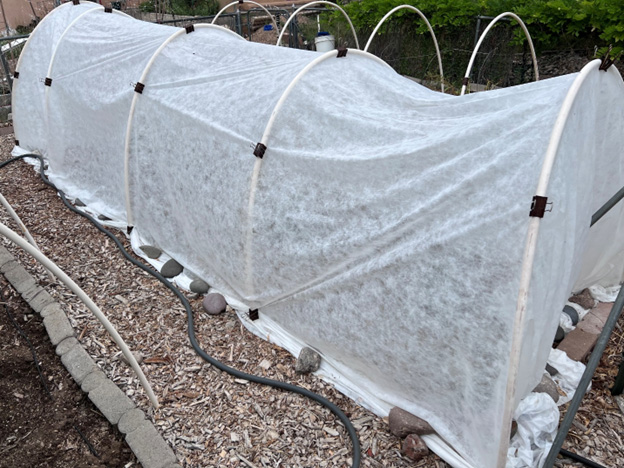
Creating hoops for your garden to help modify the climate and extend the season is easy to do using common materials — ½” by 10-foot lengths of PVC, 2-foot lengths of 3/8” rebar (both items can be purchased pre-cut at home improvement centers), extra-large binder clips (available at office supply stores), row cover material or shade fabric (available at some local nurseries and greenhouse supply stores), and some stones or bricks to help hold down the fabric at the edges and ends. You may also consider having loose-weave burlap to lay on the soil to facilitate seed germination and keep foraging birds at bay.
Other Tips:
- Use burlap to help retain soil moisture between waterings and keep birds away when germinating seeds.
- A thick, 3-4” layer of mulch such as straw or leaves (once seeds have germinated) is incredibly helpful for keeping moisture in the soil and regulating soil temperature.
- If you have room, allow winter veggies such as arugula to flower and go to seed. Arugula flowers are beautiful and beneficial for pollinators. If left to go to seed, they also benefit birds and often result in new “volunteer” plants the following year.
- You don’t need much space for a winter garden — a thriving 4’ x 8’ bed of leafy greens is plenty for a small family.
- Installing hoops is simple: Pound the 3/8” rebar about 12”-14” deep, slip the ½” PVC over the rebar, clip the fabric to the PVC with extra-large binder clips and weigh down the edges and ends with stones.
- A 10’ length of PVC on a 4’ wide bed makes a hoop about 4’ tall. Having a 12’ wide piece of row cover fabric allows for 1’ on each side to secure it with stones.
Learn more here:
Vegetable and Herb Gardening in Small Spaces
Easy Edibles for First-Time Growers