One hundred years ago, almost every house with a yard had a vegetable garden. This was before the era of mass-produced, well-traveled foods readily available in the big grocery stores. People grew these gardens out of necessity. The whole family joined in, breathing fresh outdoor air and staying active while growing super healthy food to eat.
While we don’t have to do that now, every year more people are discovering the joys (and pains) of growing their own fresh produce. Maybe you’re one of those folks who has recently picked up a hoe and a packet of seeds.
Here are tips for starting gardens as well as suggestions for easy and tasty plants to grow.
Good soil and regular watering are keys to having a successful garden. In the dry Southwest rich soils don’t form naturally, so you’ll need to create a good soil first, and then maintain it.
Setting up wide garden beds makes the most efficient use of amended garden soil and applied irrigation (read John Jeavon’s excellent book How to Grow More Vegetables Than You Ever Thought Possible on Less Land Than You Can Imagine for more on the hows and whys of wide beds).
You may need to break up the soil before planting your first garden. Once the soil is loosened and amended, it’s better to work in new compost with hand tools and to mulch deeply with an organic mulch. Hand tools have advantages: They don’t destroy the living soil the way mechanical tillage does, they aren’t noisy, they don’t smell like exhaust and you get good exercise while using them!
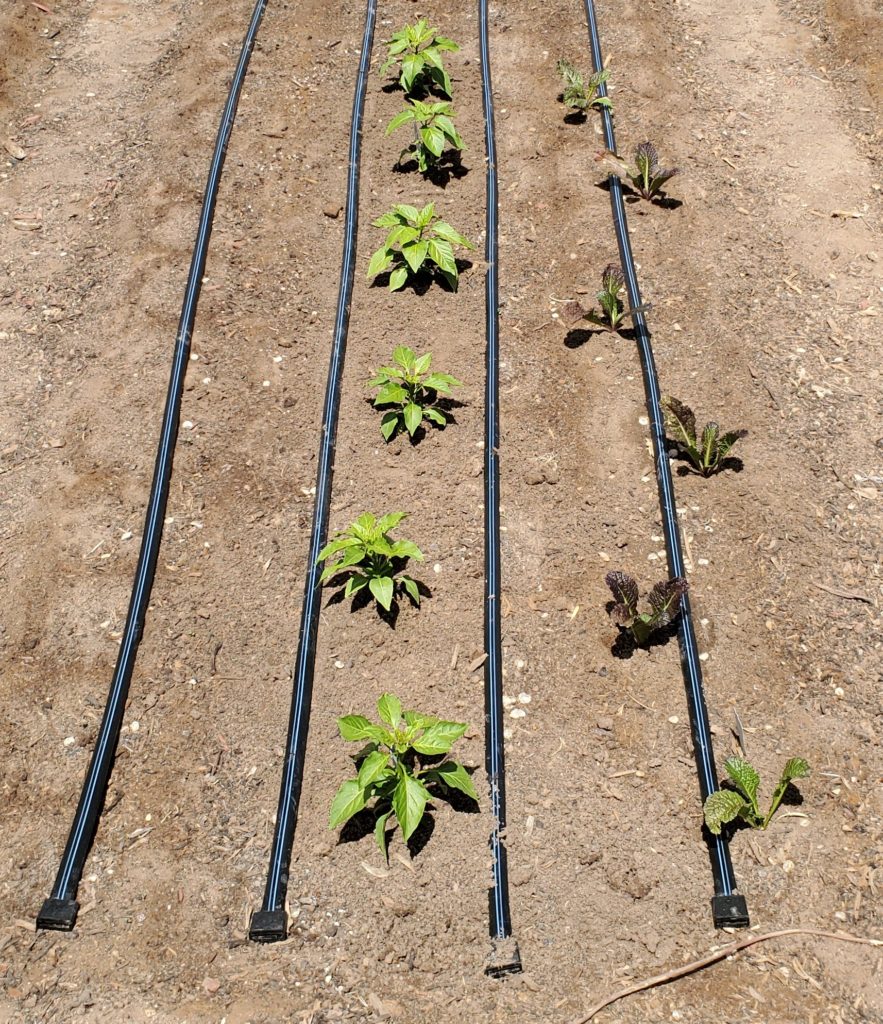
Drip irrigation is ideal for vegetable beds, and there are numerous ways to set up a good system. If you are using the outdoor hose bib, be sure to include anti-siphon devices, pressure reducers and good filters to keep everything safe and functional. Timers are optional but recommended. It sounds complicated but really isn’t hard, and the results are well worth the effort.
Add organic mulch! There are a number of good choices for organic mulch.
Garden beds are in and ready. What are you going to plant?
Some vegetable species prefer warm (even hot) temperatures, while others grow best in cooler weather. At this point in the season, start with the warm weather crops.
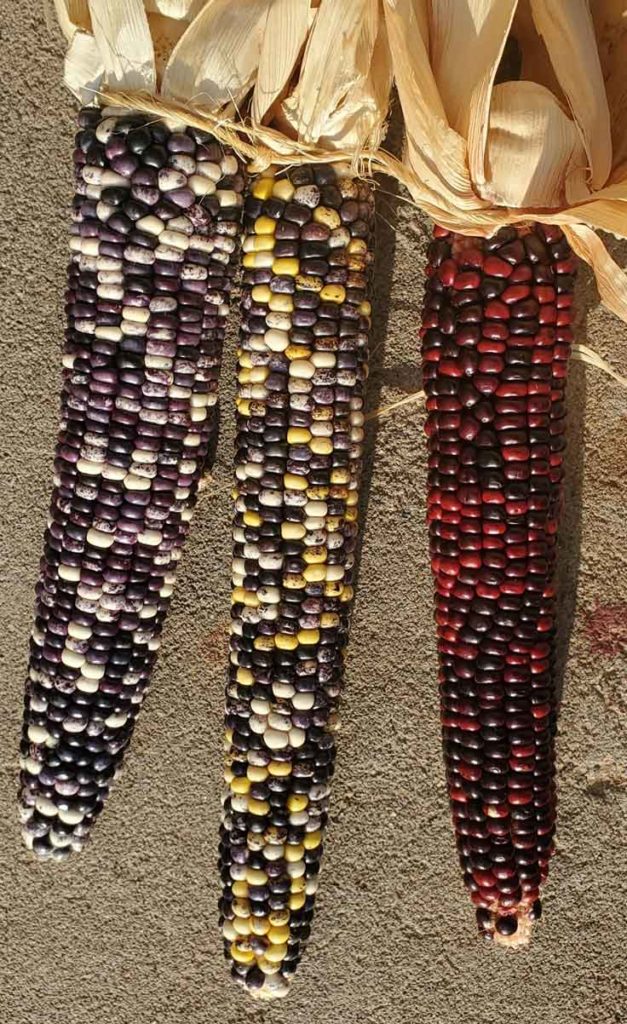
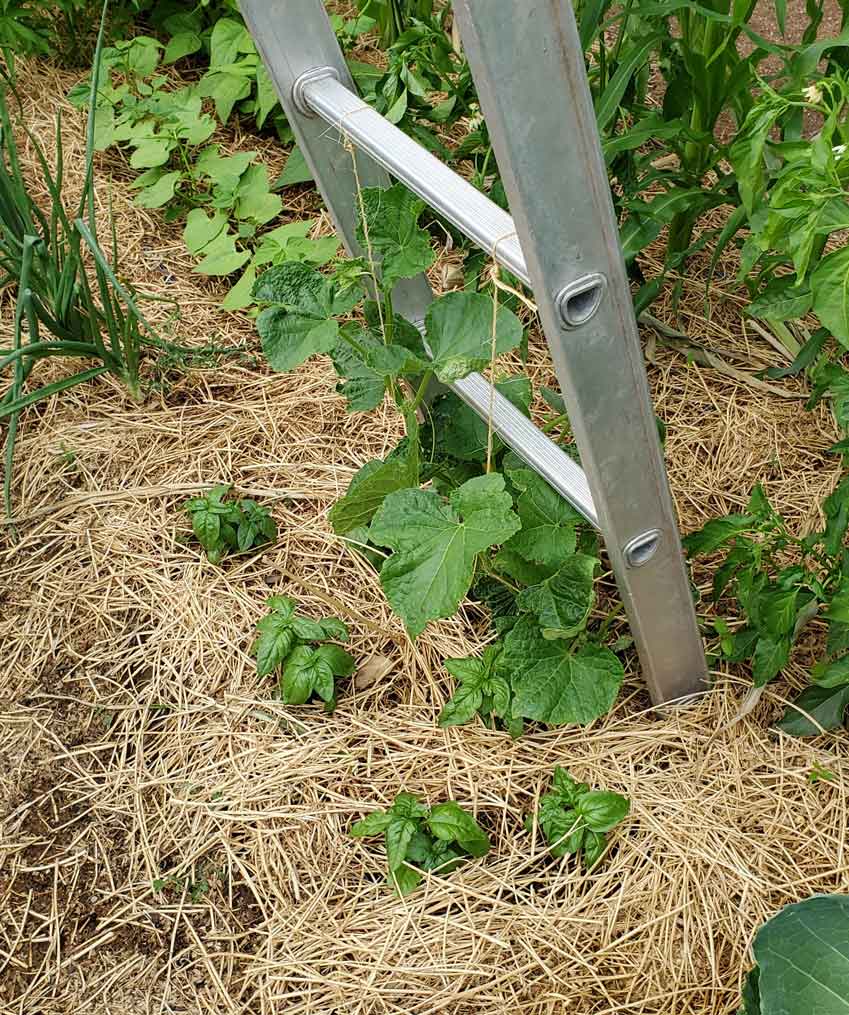
Corn is fun to grow. In a small garden, you don’t really get a lot of food for the space that corn uses, but those tall stalks play other roles as well. The shade they cast, especially in the afternoon, helps other plants grow in our hot, sunny climate. Pole beans, which can be planted around the new corn plants when they’re about a foot tall, will climb the corn stalks. Beans can also add nitrogen to the soil in partnership with certain symbiotic bacteria living in their roots. Flat Italian pole green beans are a true fresh garden delight! Almost any green beans — bush or pole — are easy and satisfying to grow.
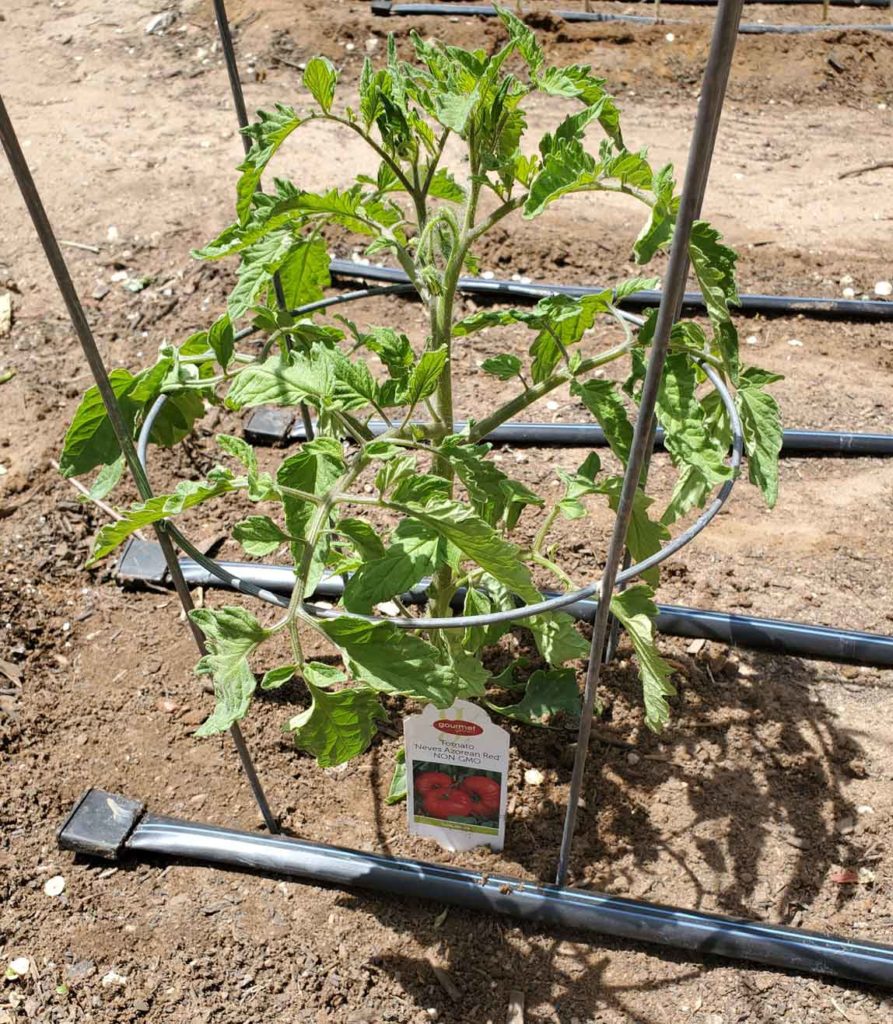
Tomatoes are an annual favorite for many gardeners. There are so many varieties of tomato plants, from short patio container plants and wild rambling cherry tomatoes to dense San Marzano paste tomatoes and Cherokee Purple slicers. The curly top virus can be a problem, but plants growing in light shade are less likely to contract the illness. Blossom end rot sometimes crops up and is most easily controlled with good mulching and regular irrigation. Adding some bone meal to the garden bed may help a bit, too.
If you have room for them to roam, consider planting watermelons! The smaller icebox varieties are a great size, and when planted in our area they tend to have few if any, pest and disease problems. They do, however, need an ample amount of water. Diversify your landscape by planting them in border flower beds where the vines can grow across the yard. They can take over small garden beds, so be careful where you plant them.
As the cooler fall temperatures arrive, lots of other veggies can be planted. Many of them should be seeded in August for fall harvest. Be sure to keep the seed beds moist and shaded a bit so the soil is cooler. Alternatively, you can start them in trays or little pots indoors. If they start to get long and thin, it’s a sign that they need more light!
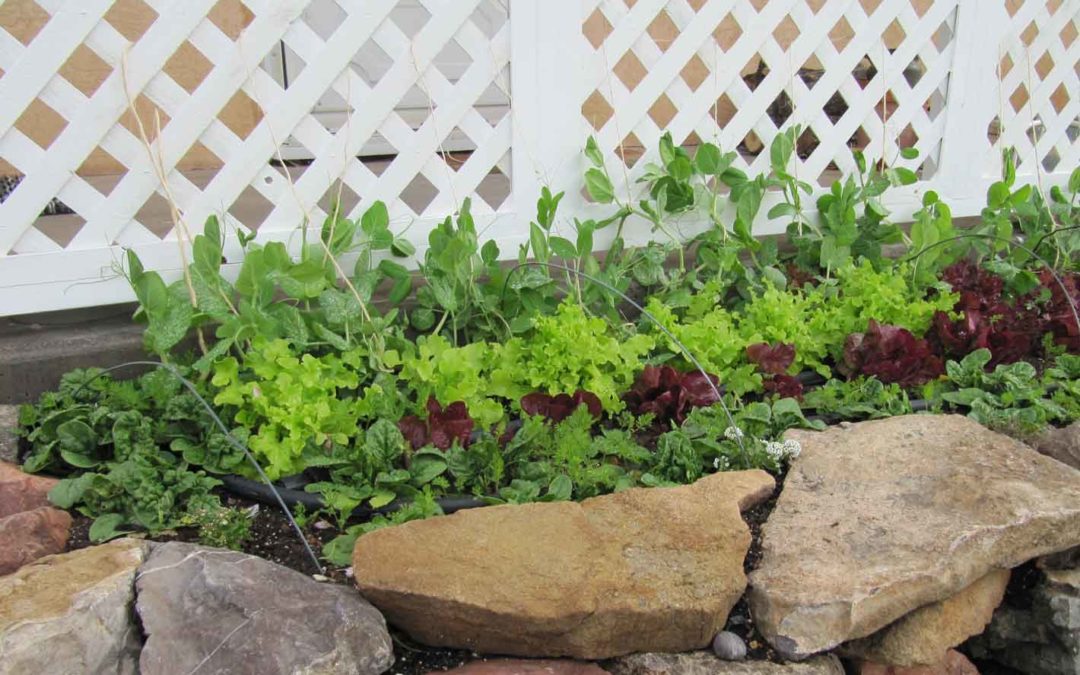
Lettuce is a great fall crop. Romaine and butterhead varieties do well here and are distinct enough to add culinary variety. Other great greens for fall include spinach, kale and Swiss chard. Greens are high nitrogen users, so amend the beds again for fall planting, and periodically give them a light fertilizing with something like fish emulsion (smells awful, grows great plants!) or another soluble plant fertilizer.
Fall is also a great time to plant root crops. Both beets (botanically, the same plant as Swiss chard) and carrots do well in the autumn. Don’t try to start these in pots or trays. Root crops do much better when directly seeded into the ground. There are many gourmet varieties of both beets and carrots, even carrots that come in a mix of orange, yellow, white and purple colors. Shorter varieties are better for most home gardens, as the long ones require deep loose soil to form well.
All the cool season crops can be grown right through the winter if they are harvest-size by the time very cold weather hits. Keep them well mulched. As far as greens go, buy some spun-bound row cover material to drape over them. It’s amazing how well they will do with just a little protection. These crops can be started again in early spring for the spring, cool-season garden.
Learn more by checking out these other useful drip irrigation articles:
The most important part of watering is figuring out how deep you need to water your plants. Once you figure that out, you can easily follow our chart that tells you how often to water.
Here are six simple steps to figuring out your watering depth:
Step 1: Water your landscape for the usual amount of time. If it’s the first time you’re watering, start with the number of minutes found in this Irrigation Advice Chart.
Step 2: Wait 24 hours after watering so the water has a chance to percolate into the soil.
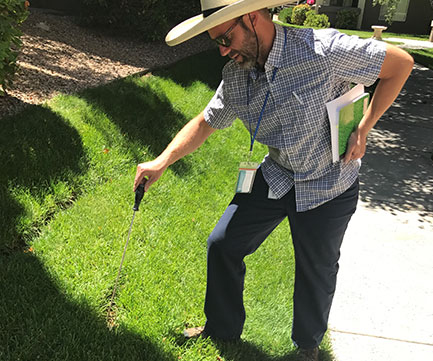
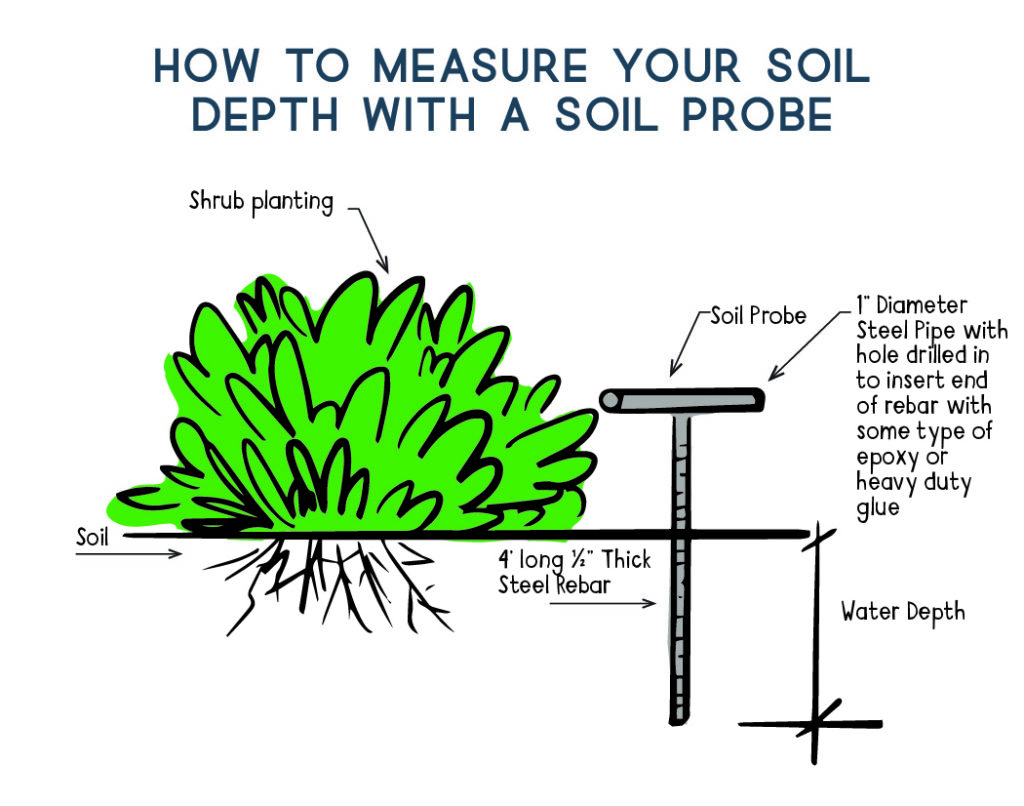
Step 3: Grab a measuring tool, such as an 18” depth screwdriver, soil probe, barbecue skewer or 24” long piece of rebar, and probe your tool into an area you didn’t water to check the soil resistance. Next, go to an area that you watered the day before. Push the probe in until it stops. It should go in fairly easily. Don’t try to push it in further once it stops because you can accidentally break a pipe. Mark the spot it went into with your finger, tape or a permanent marker. Pull out the probe and measure the number of inches. Those inches represent your current watering depth. Using the Seasonal Watering Recommendations chart you can find out the depth you need for your type of plant.
Step 4: Adjust your watering time to correctly determine the watering depth. Did you only water 4” but needed a 12” watering depth? If so, then add more time to your watering schedule and perform the test again. Did you water 24” but only needed 18”? If so, then subtract time from your watering schedule. Water again and wait 24 hours to retest.
Step 5: Once you figure out the amount of time you need to water so the water penetrates to the correct soil depth, you are set.
Step 6: Set your controller for the correct amount of time. Use our handy Seasonal Watering Recommendations chart to see how often you’ll need to water your plants.
Don’t overthink it. Our local, desert-friendly plants (native and adaptive plants typically found in our local nurseries) usually thrive in our native soil.
Learn more by checking out these other useful drip irrigation articles:
Author: Jill Brown, ASLA, is a Landscape Architect and owner of My Landscape Coach in Albuquerque, NM. Have A question about the article? [email protected]
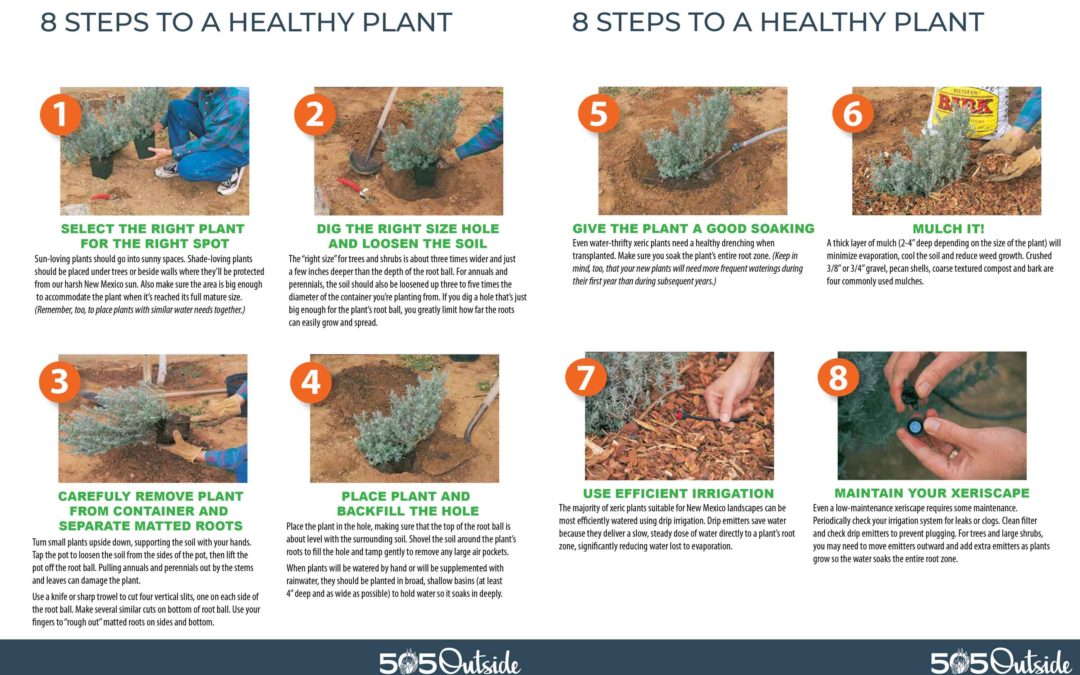
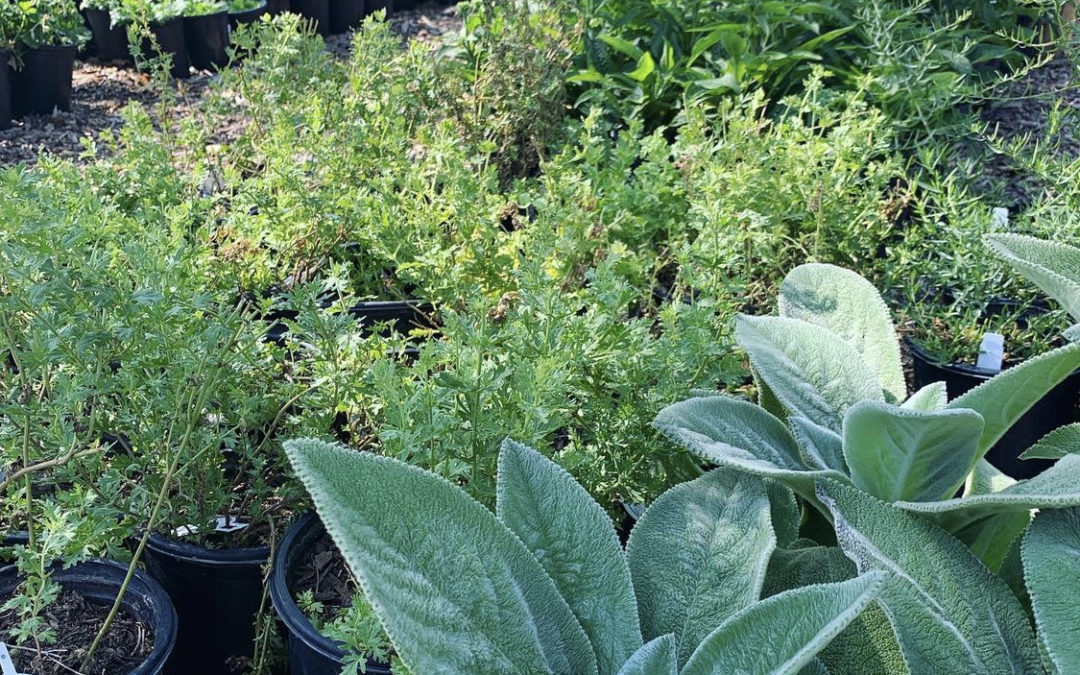
With spring fast approaching and many homeowners heading out to local plant nurseries, we want to remind you how to plant for a healthy plant. Choosing the right plant for the right place is the most important consideration. Once you’ve selected the perfect desert-friendly plant, installing and irrigating it correctly are the next steps for success.
Step 1: Select the Right Plant for the Right Spot
Sun-loving plants should be planted in sunny spaces. Shade-loving plants should be placed under trees or next to walls where they’ll be protected from our intense New Mexico sun. Be sure the area is big enough to accommodate the plant when it reaches its full mature size, and remember to place plants with similar water needs together.
Step 2: Dig the Right Size Hole and Loosen the Soil
The right size hole for trees and shrubs is about three times wider and just a few inches deeper than the depth of the root ball. When transplanting annuals and perennials, look at the diameter of the plant’s container and make sure the soil around the hole is loosened up three to five times the size of the diameter of the container. If you dig a hole that’s just big enough for the plant’s root ball, you greatly limit how far the roots can easily grow and spread.
Step 3: Carefully Remove the Plant from its Container and Separate Matted Roots
Turn small plants upside down, supporting the soil with your hands. Tap the sides of the pot to loosen the soil, then lift the pot off the root ball. Pulling annuals and perennials out by their stems and leaves can cause damage.
Step 4:Place the Plant in the Hole and Backfill the Hole
Place the plant in the hole, making sure that the top of the root ball is close to level with the surrounding soil. Shovel the soil around the plant’s roots to fill in the hole and tamp gently to remove any large air pockets. If plants are going to be watered by hand or supplemented with rainwater, they should be planted in broad, shallow basins at least 4” deep and as wide as possible to hold water so it soaks deeply into the soil.
Step 5:Give the Plant a Good Soaking
Even water-thrifty xeric plants need a healthy drenching when transplanted. Make sure you soak the plant’s entire root zone. Keep in mind that your new plants will need more frequent watering during their first year than in subsequent years.
Step 6:Add Mulch!
A thick layer of shredded wood chip mulch, 2”- 4” deep depending on the size of the plant, will minimize evaporation, cool the soil and reduce weed growth.
Step 7: Use Efficient Irrigation
The majority of desert-friendly plants suitable for New Mexico landscapes can be most efficiently watered using drip irrigation. Drip emitters save water because they deliver a slow, steady dose of water directly to the plant’s root zone, significantly reducing evaporation.
Step 8:Maintain Your Desert-Friendly Xeriscape
Even a low-maintenance xeriscape requires some maintenance. Periodically check your irrigation system for leaks or clogs. Clean the filter and check drip emitters to prevent plugging. For trees and large shrubs, you may need to move emitters outward and add extra emitters as plants grow to make sure water soaks the entire root zone. Use our Water by the Seasons Watering Recommendations for all your seasonal water needs.
Check out our free .pdf, display it in a visible place and use it when you start your spring plantings.
Learn more by checking out these other useful drip irrigation articles:
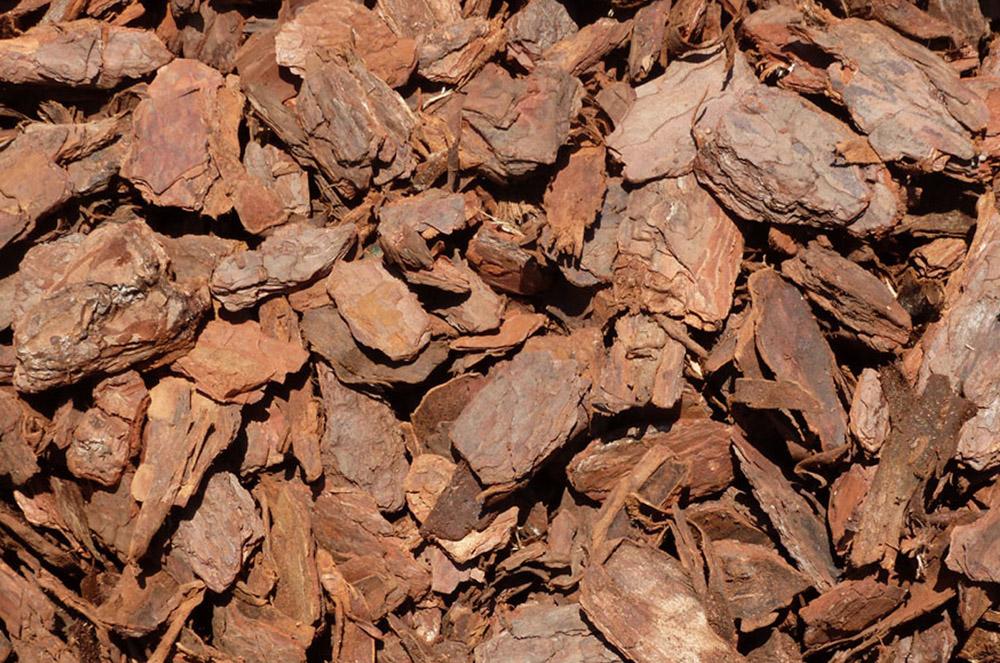
Mulch is any material laid on the surface of the soil to improve growing conditions. Mulchinsulates plant roots from both heat and cold, reducing moisture loss from the soil by evaporation, feeding beneficial soil microorganisms that enhance plant growth, and improving soil health. Because organic mulches were once alive, they contain essential nutrients, minerals, and energy that nourish the soil ecosystem as they decompose. An important consideration when using mulches is to skip using landscape fabric, which prevents both the rich organic matter created by decomposition from working its way back into the soil and rainwater from soaking into the soil.
Below are the basic types of locally available organic mulches that we recommend. Remember to install to a depth of 3”-4” over bare dirt.
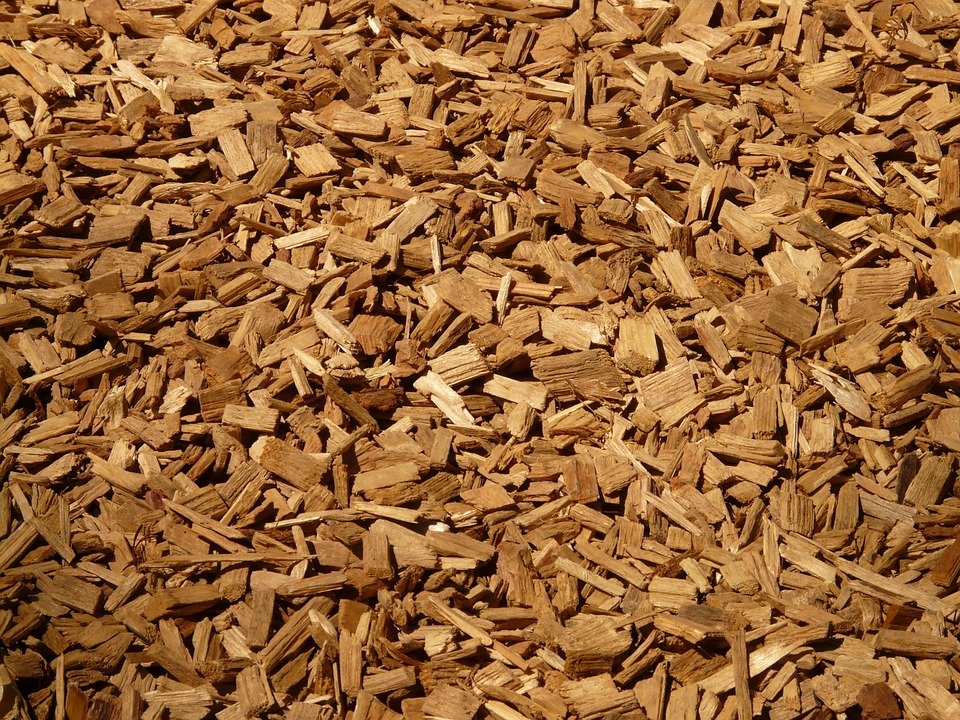
Wood chips: Wood chips are chipped pieces of trees. This is a long-lasting mulch that decomposes slowly over bare dirt, retains moisture, and prevents weeds. Most wood mulches available on the market are chipped flat and consistent in shape in size. These are great in areas that receive foot traffic as they compact down to a firm surface.
In areas of higher wind exposure or periodic inundation with water, use a shredded wood mulch that is more irregularly shaped and sized as the pieces will knit together better. This type of mulch can be recycled yard waste and tree trimmings as well as commercially available, locally processed wood products.
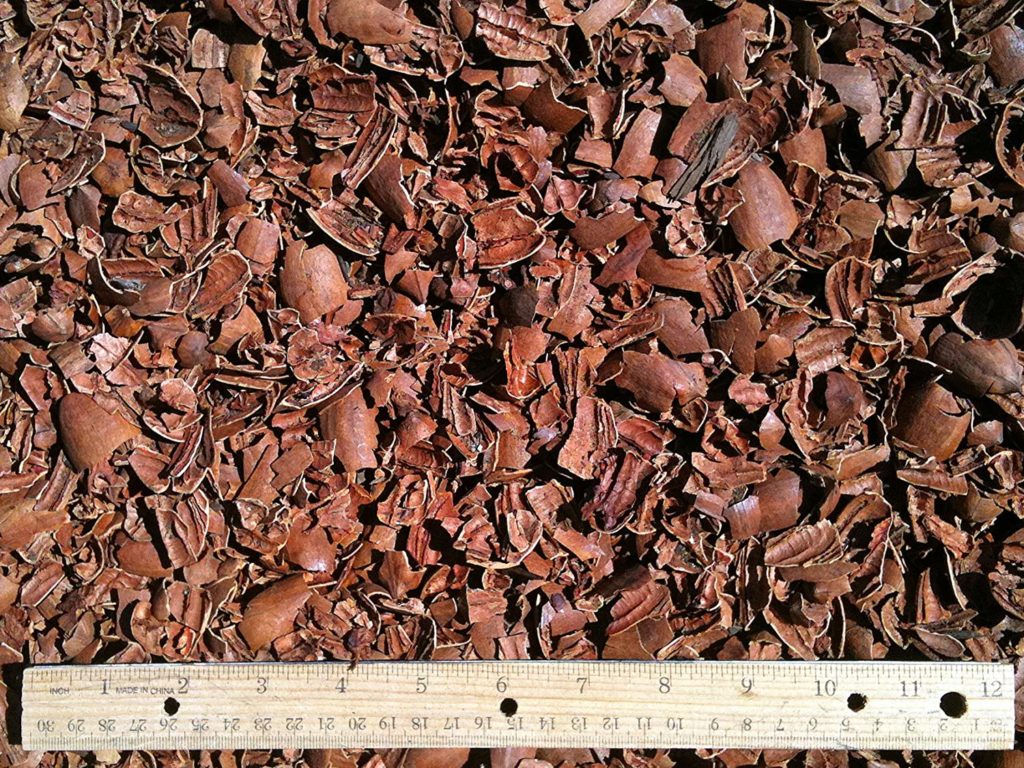
Pecan Shells: This long-lasting mulch has a nice color and good texture. It is very slow to break down into the soil. However, it attracts birds and rodents and blows in the wind unless partially cultivated into the soil. It also tends to mat together, creating a crust over the top of bare dirt.
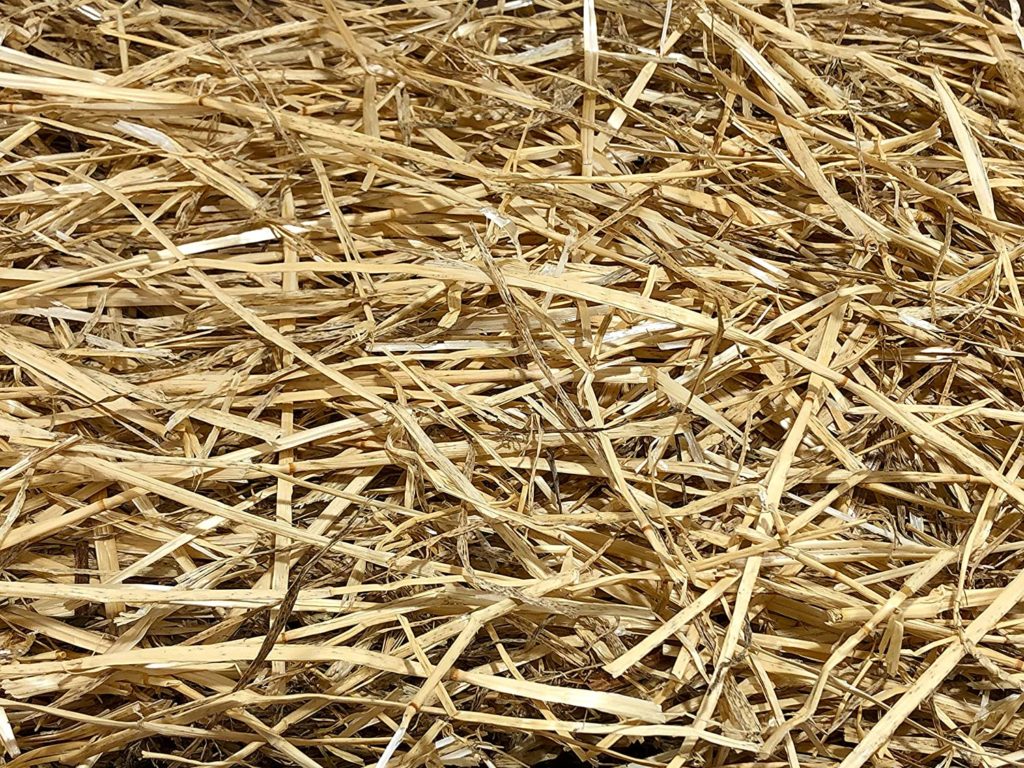
Straw: Straw breaks down quickly so it is most useful for mulching vegetable beds where it is renewed as crops are replanted. It is a good general mulch for winter protection and can be used on paths between vegetable rows. Keep in mind that it may carry weed seed.
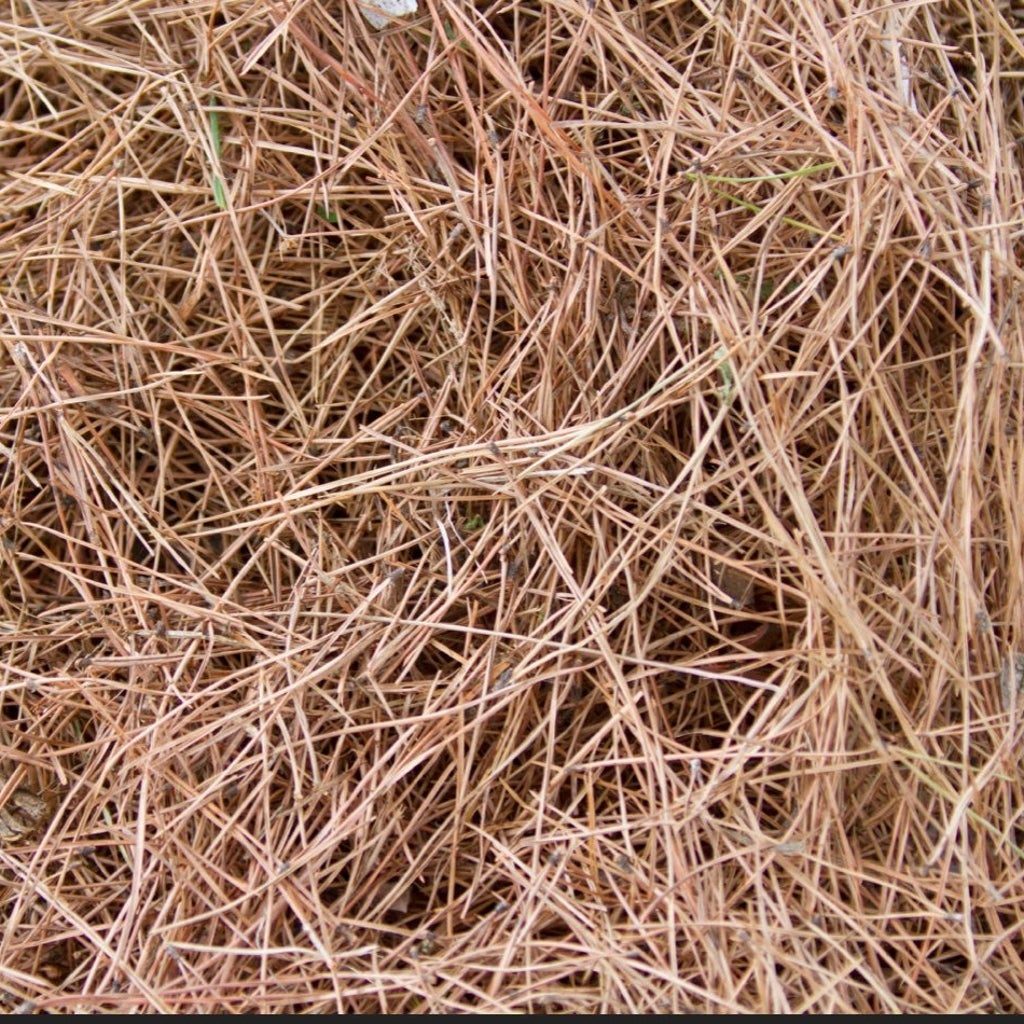
Pine Needles: Pine needles are a very good mulch. They are light, airy, and attractive but can be a fire hazard. These needles are safe to use as mulch around most plants, especially perennials, in your garden. Because pine needles contain high levels of resins, they repel water and decompose much more slowly than leaves from most deciduous trees. Because of their shape, they don’t become moist or compost rapidly. This makes them especially useful in areas where you will not be digging frequently. The fragrance of pine needles on sunny days is also an added benefit when they are used as garden mulch. No need to be concerned that pine needles are too acidic for use in our gardens. The added acidity, which happens slowly, is beneficial to our soils. They are very slow to compost, so they are often a better mulch than compostable material.
Other Mulches:
Bark: Large 2”-4” bark pieces are not recommended because they take too long to break down. The mulch made from bark tends to be lighter and can tend to migrate more easily. The bark is naturally water-resistant, so it has minimal value in feeding soil microorganisms and improving soil health.
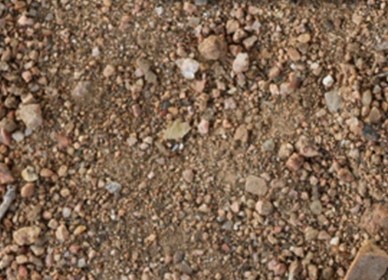
Crushed Stone, Crusher Fines, or Decomposed Granite: Crusher fines come in a variety of aggregate colors. They are recommended for use as pathways and patios or as mulch under plantings for heat-loving, desert-accent plants.
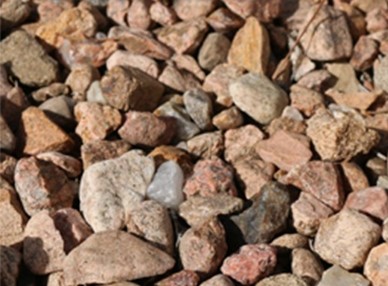
Gravel Rock and Cobble: While you see these used throughout the city in landscapes, they are best used to prevent erosion on steep slopes or in swale areas. They are difficult to maintain without regular weeding or pre-emergent treatments.
Useful tips: Mulch typically packs down over time. Use a 3”-4” layer of mulch, which is about one yard of mulch per 100 square feet. “Spend an hour deepening the organic mulch and save several hours of weeding.” By Judith Phillips
Fall can be a great time to plant, especially if you are planting higher elevation and temperate climate plants that are adapted to cooler, more humid growing conditions. In the fall, the soil is still warm enough to encourage roots to develop so watering properly makes a big difference on preparing them to survive in the winter season. What to plant? Most conifers, shade trees, cool season grass and moisture-loving fruit and ornamental trees, such as crabapples, apples and pears, are a great selection for planting in this autumn.
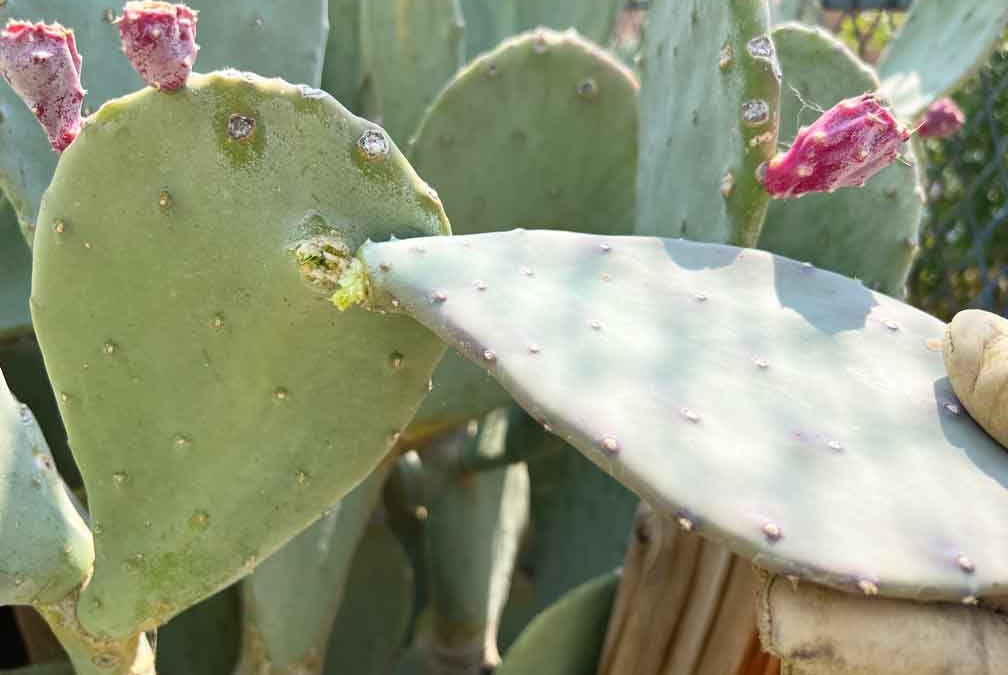
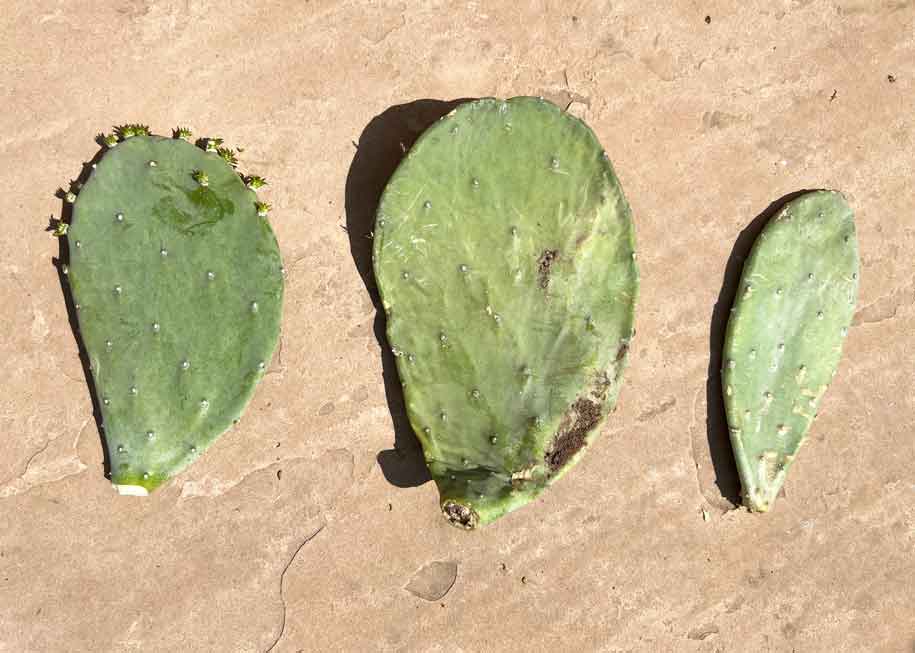
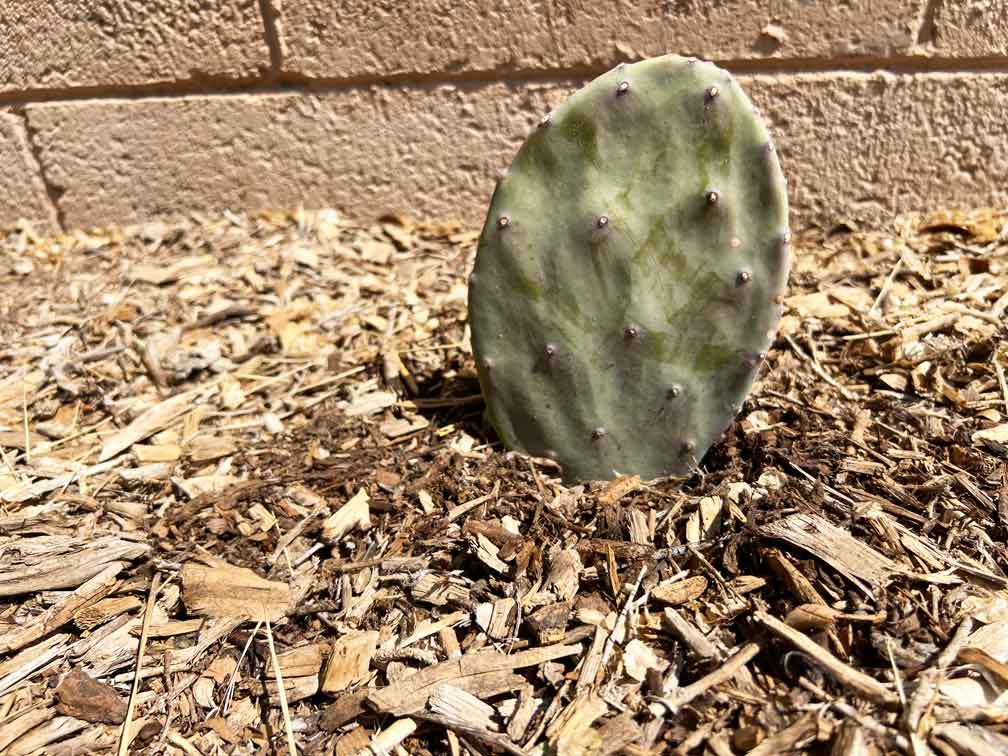
What not to plant this fall? The answer is plants from desert ecosystems like southern New Mexico and the Mediterranean natives. Their newly planted roots are less able to survive our winter cold. The same is true for perennial wildflowers and warm season grasses. These should be planted in the spring through early August. Succulents are another group of plants that thrive after settling into the garden during the warmer part of the growing season, so wait until the spring to plant them.
Knowing what to plant at this time of year will give you that edge you need to grow healthy plants!
Author: Judith Phillips, owner of Design Oasis, landscape designer, and garden writer with 30 years of experience designing arid-adapted and native gardens in the high desert. Photography:Plants of the Southwest. Have a question about the article? [email protected]