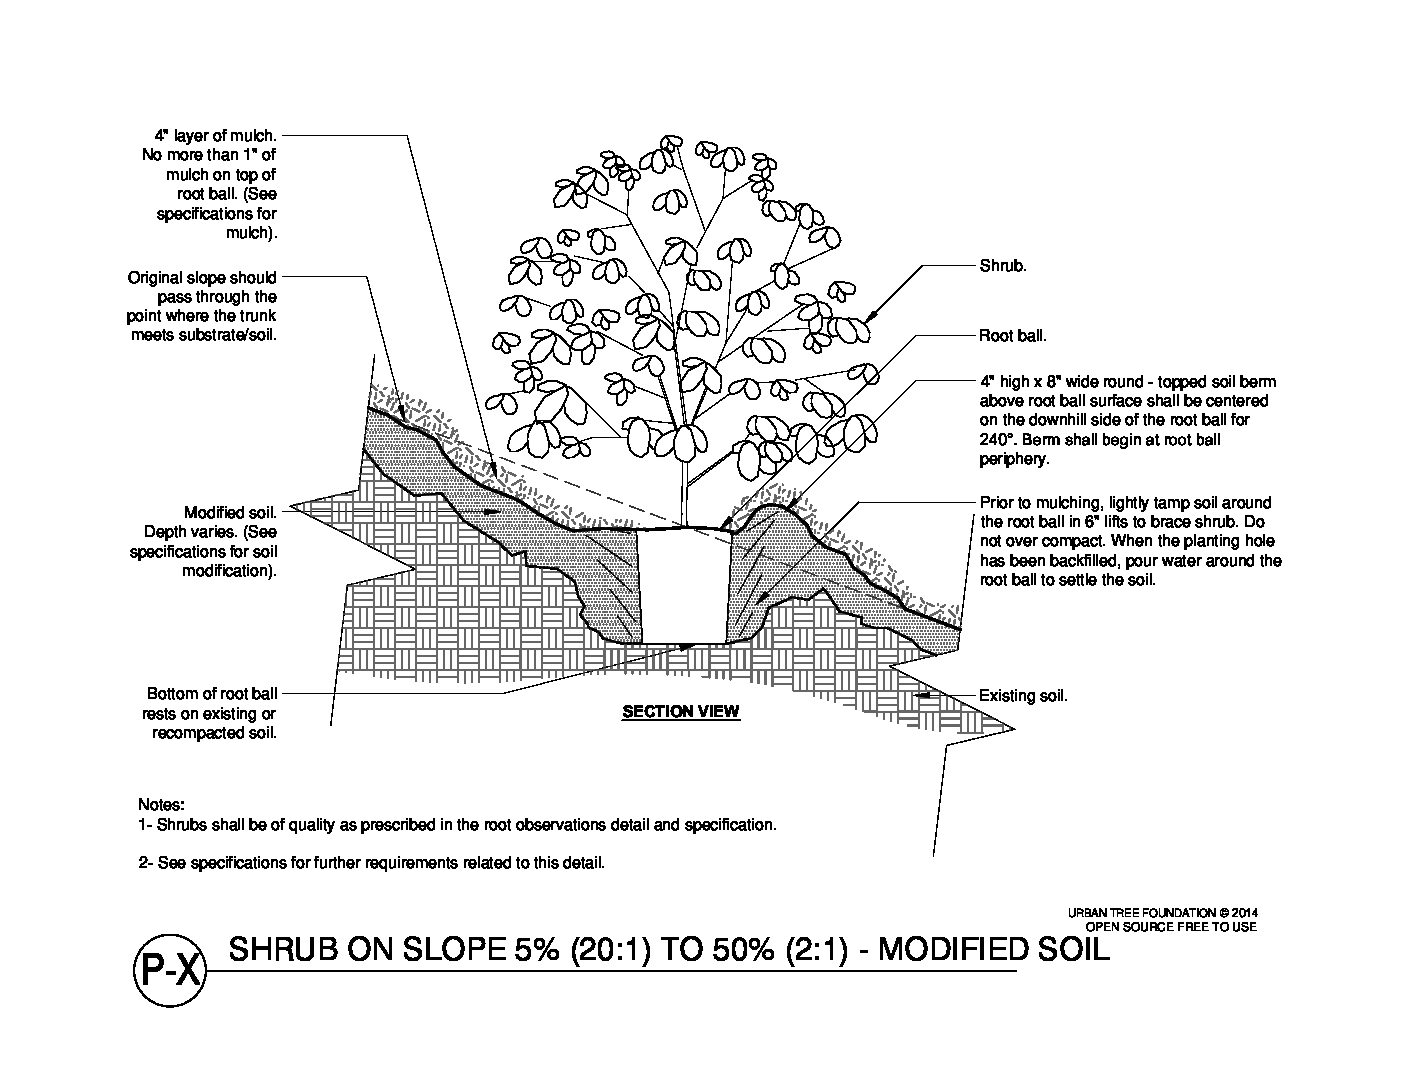
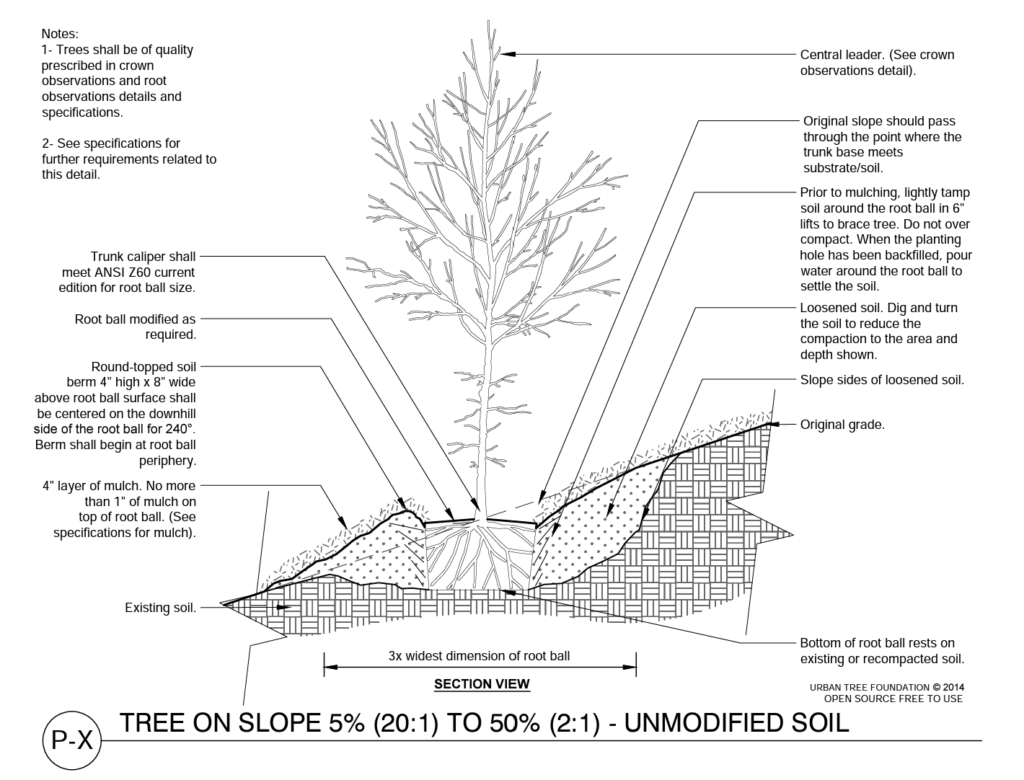
Regardless of how you water, you will want to create a berm, or raised “dam,” on the downside when planting on a slope. This berm captures any rainfall coming down the slope, detaining it long enough to soak in, and also holds water that comes from irrigation or hand-watering. By cutting away part of the slope on the upside of the plant, there’s additional room to capture and retain more water. Our diagram (put the word “above” or “below” here, as is appropriate) shows these methods using a berm with wood mulch. Our preference is to create the berm out of soil and apply shredded wood mulch inside the well created by the berm because shredded wood mulch will help moisture stay longer in the soil.
If you are watering plants by hand, turn down the pressure and place the hose on the uphill side of the plant so the water runs into the well and the berm slowly. By doing it this way, you will have to repair the well and berm less frequently. If you are watering with a bubbler or drip system, always make sure that the bubblers or emitters are placed on the upside of the slope and the plant so the water comes down the slope into the well and has a chance to penetrate the root zone located in the well and bermed area. Finally, if you are watering plants on a slope with Netafim (in-line emitter drip tubing), you can place the loops or grid of tubing throughout the well area, held in by the berm. The water will drip very slowly and be contained within the bermed well.
Having grass on slopes is discouraged because it is very difficult to keep your grass healthy without watering inefficiently. If you need to water grass on slopes, please carefully check out the section of our irrigation efficiency guide on cycle and soak.
By following these simple steps, you should be able to efficiently water and successfully plant on a slope.
Edible garden landscapes need to have dedicated valves so they can be watered more frequently than our average desert-friendly landscapes. These landscapes should not be watered at the same time as the rest of the drip zones.
The key to growing the best quality produce, fruit-bearing trees, shrubs and vegetables is having a consistent watering schedule that is maintained until harvest. If you are unable to install a new irrigation valve for your edible garden, you can connect it to your hose spigot with a spigot irrigation timer. We recommend the smart versions of these timers. Rebates are available.
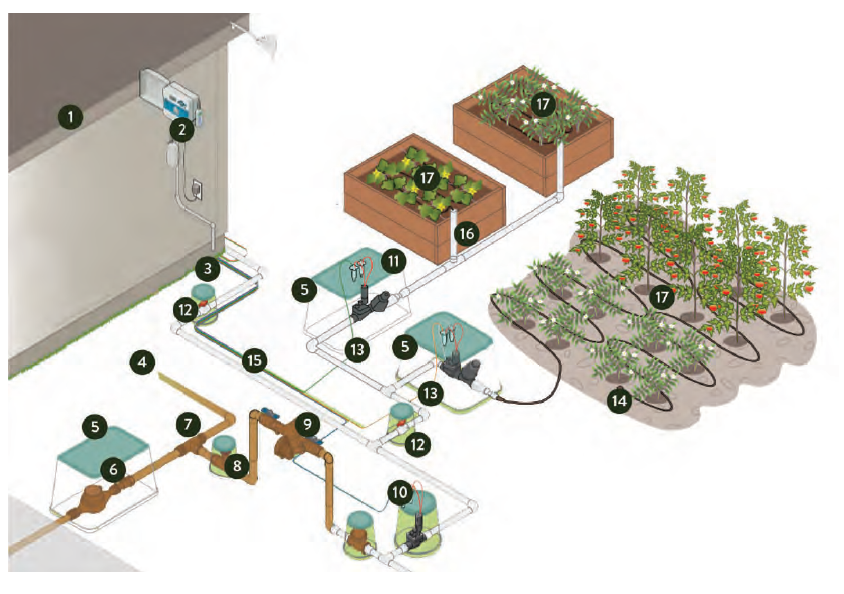
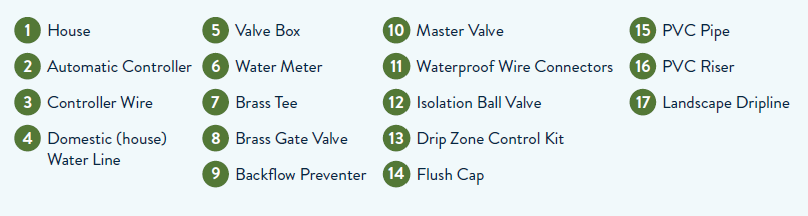
We recommend using ¼” polyline with inline drip emitter tubing. Drippers should be located every 6” along the tubing for irrigation in both raised beds and veggie rows. The drippers require no maintenance since they are installed within the polyline. Each dripper is engineered with a little bit of copper that kills off roots that try to grow into the dripline. They are easily connected to a ¾” polyline flexible irrigation supply line. Metal irrigation stakes help keep everything in place.
All these materials can be purchased at local irrigation stores. Drip irrigation is not only the most efficient way to water your edible garden but it is also very affordable.
Typically, a conventional turfgrass yard includes a few large trees and some planting beds for flowers and shrubs around the foundation of the home. This type of yard often has a couple of existing irrigation valves for sprinkler irrigation. A conventional turfgrass landscape requires tremendous amounts of water to thrive in our region — a minimum of 40” (with an average of 50"-55”) of water per growing season, which is about three to five times more than what is provided by natural precipitation each year. This is why we do not consider a turfgrass yard a desert-friendly landscape.
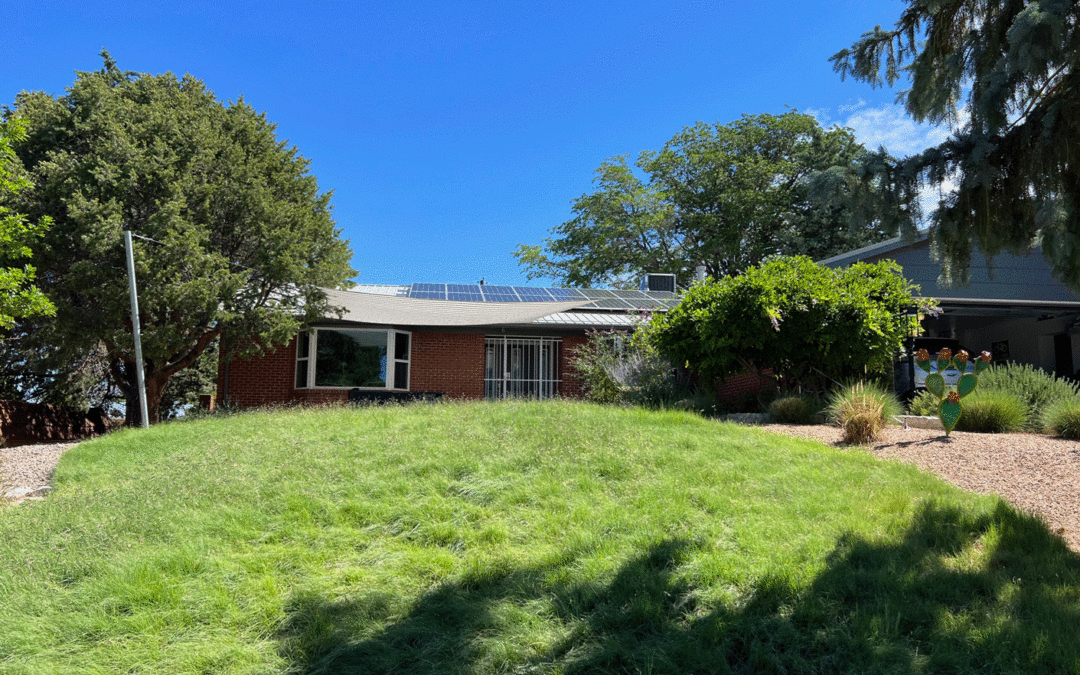
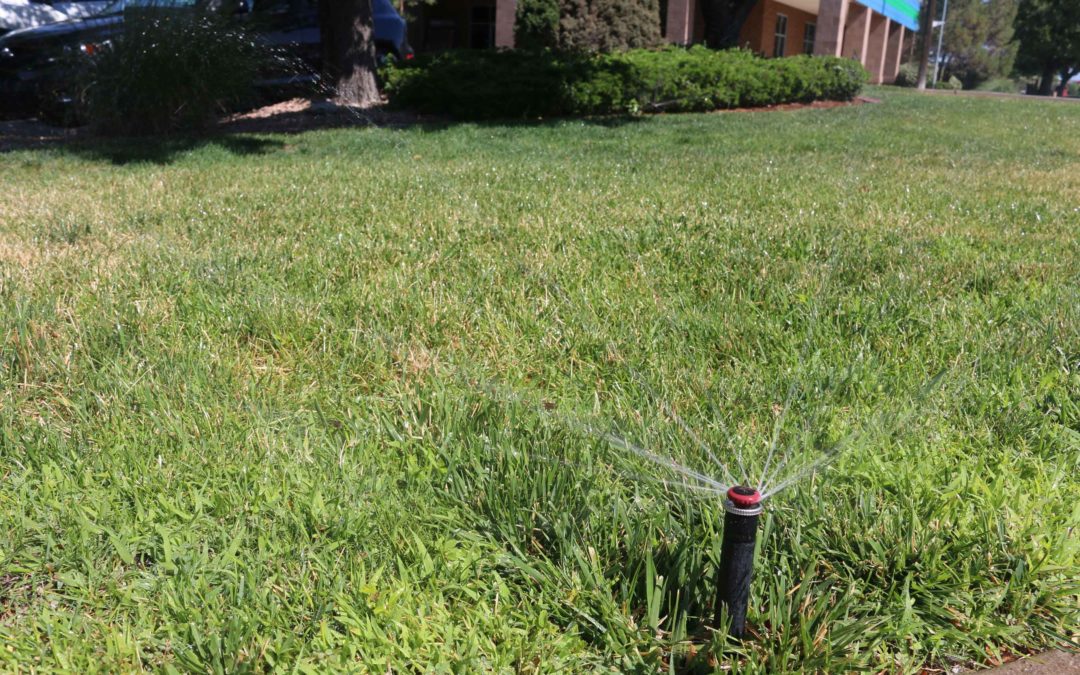
Climate change is causing us to rethink our yards, and that includes yards with lawns. For a yard with a lawn to be truly desert-friendly, the amount and type of grass used must be considered. A desert-friendly turfscape should also have efficient sprinkler nozzles and pressure compensating sprinkler bodies to maximize the water that’s used to maintain the lawn.
We recommend that no more than 10% of your total yard is devoted to a lawn. Research from various universities in the Southwest and lawn seed producers (such as Pennington Seed) is now suggesting that New Mexico’s climate is no longer suitable for cool-season grasses to thrive. Instead, we need to make a shift to various warm-season grasses, which will grow well with significantly less water.
Cool-season and warm-season lawns are the two different categories of turfgrass lawns found in Albuquerque. Cool-season grasses (Kentucky bluegrass, perennial ryegrass and tall fescue) thrive between 65F and 75F degrees in the summer. They create a softer, darker green and lush-looking lawn. In Albuquerque, most lawns are composed of cool-season grasses that are cold-tolerant and green most of the year. They can withstand considerable amounts of foot traffic. One disadvantage is that they use a substantial amount of water in the summer months. Parkblend (a blend of cool season grasses) is the most common lawn in the Albuquerque metro area. It uses around 40” of water a year.
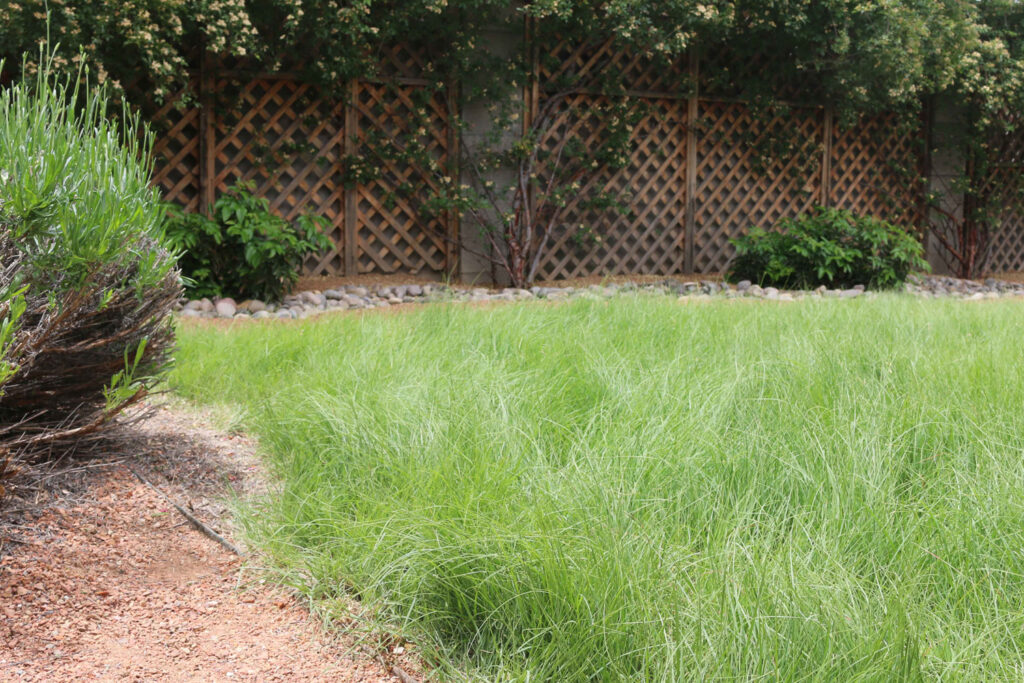
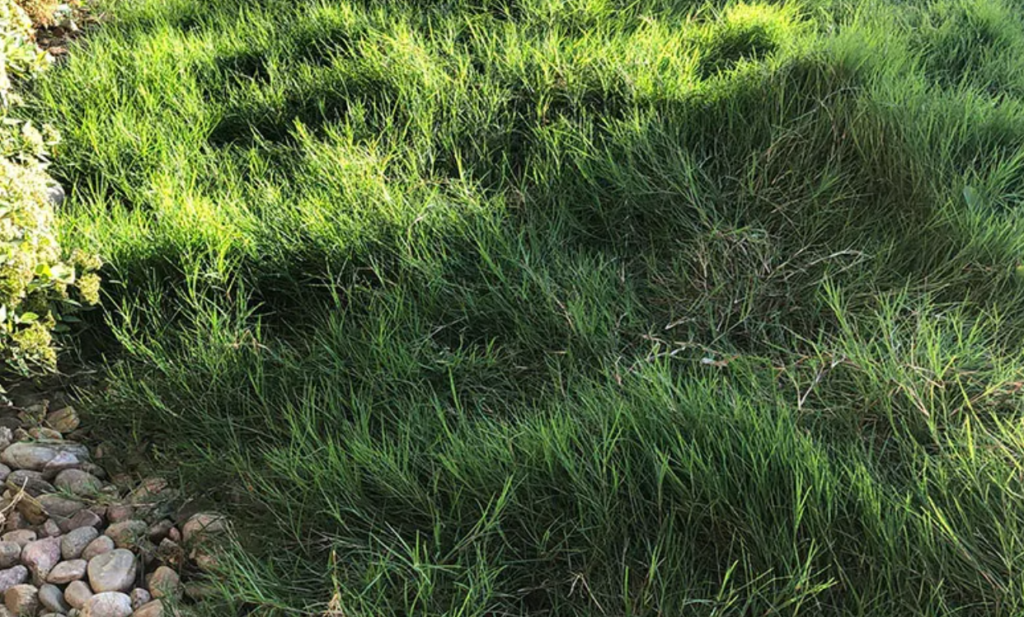
Warm-season grasses (Bermuda grass, blue grama, and buffalo grass), which thrive in 70F to 90F degrees, have been used in Albuquerque for many years. There are parts of town where they are quite prevalent. Warm-season grasses have a shorter growing season. They green up later and go dormant earlier than cool-season lawns. They are low maintenance and require less water than cool-season grasses.
Buffalo GrassBermuda Grass
Knowing what type of lawn or turfgrass is being installed or already being watered can make a significant difference in how much water should be applied. The key to choosing a turfgrass for a new area is to determine the one most suited to the specific needs of the landscape.
Water Budget (this includes 1,000 square feet of cool-season grass and a number of mature trees, shrubs and vines):
Most irrigation work can be done by the homeowner, except for one component. Tapping into your home's main water line needs to be done by a licensed contractor to ensure it is completed safely. To help homeowners know how to select and work with a contractor, we have provided the Irrigation Association's Irrigation Consumer Bill of Rights in the Appendix.
To make sure you have an efficient system, we highly recommend that you hire a professional irrigation designer to create a custom plan. Having a custom plan minimizes water waste and the chance of problems in the future and also helps ensure an efficient distribution of water, which reduces water usage. We also recommend asking a designer to produce a "call-out" list of all the parts required for the installation or renovation. This helps homeowners decide whether to DIY or hire a contractor.
SEPARATINGIRRIGATIONZONES&HYDROZONING
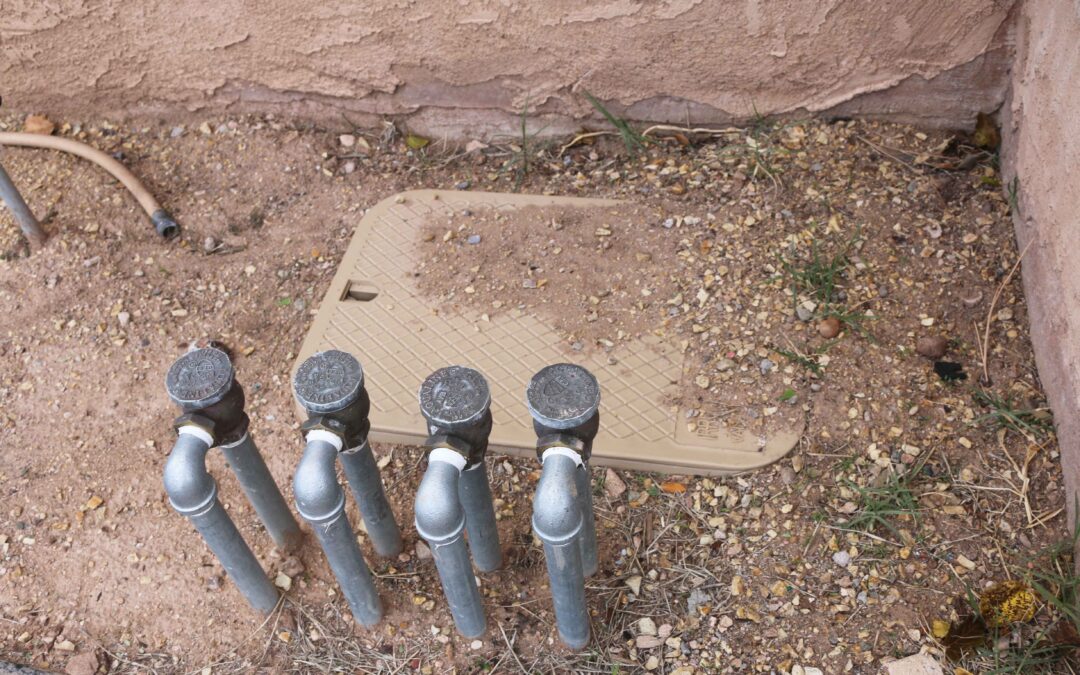
When you begin to plan a drip system, whether you’re installing a new system or retrofitting an existing system, it is imperative to design it so the drip valves are separate from your lawn valves. If you plan to grow a vegetable garden or water annual beds with a drip system, those areas also need to be on separate valves.
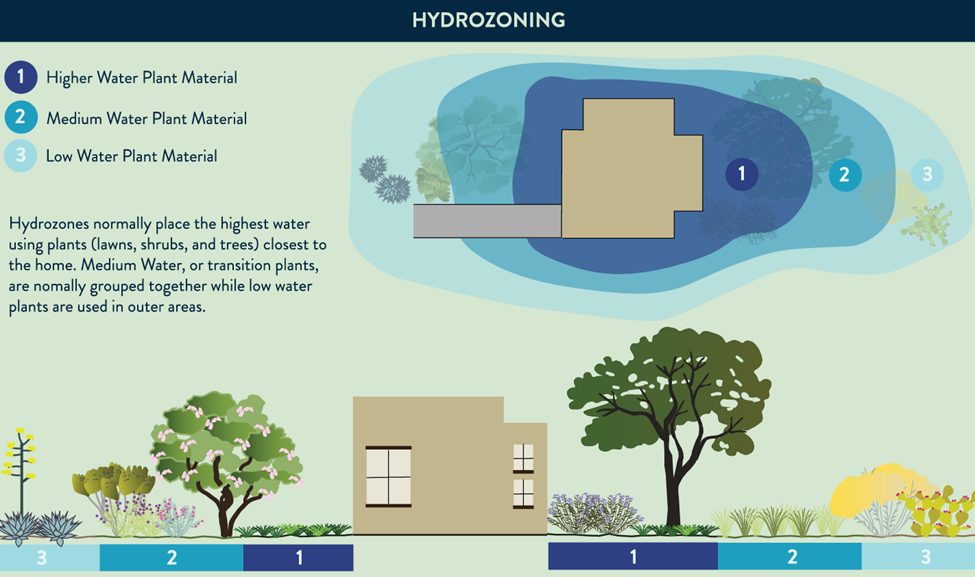
The next thing to do is organize your drip zones by plant watering needs. This means that higher water plants and lower water plants should be on separate valves (hydrozoning) whenever possible, so watering is much more efficient. Hydrozoning is not always possible when retrofitting an established landscape. In that case, you can adjust your water delivery with various sized drip emitters so plants with higher water needs receive more water per hour.
Check out our New Irrigation Efficiency Guide: Beautiful Landscapes with Less Water. Download the guide here.
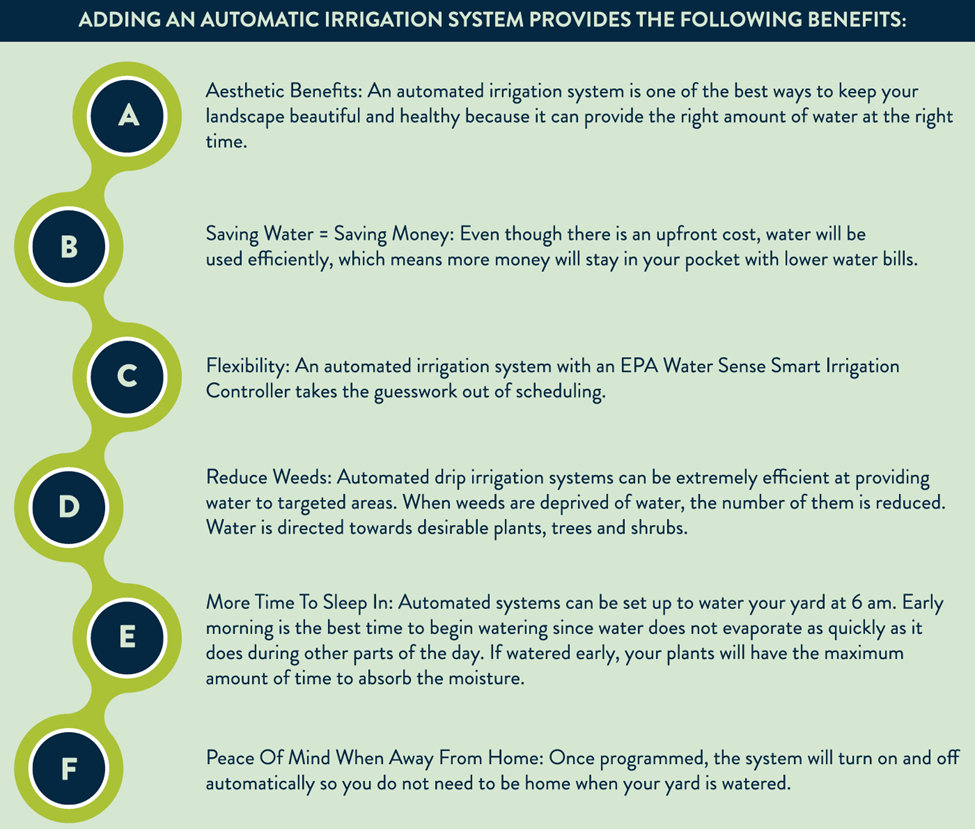
Does the thought of making changes to your yard seem costly? Can you still get reasonable benefits from just changing a few things instead of your whole yard? Do you feel overwhelmed because you don't know where to start? Do you feel like you don't know enough about irrigation systems to know what to do?
Having an efficient automatic irrigation system can be financially affordable for homeowners, especially with help from our rebates. Homeowners can choose to install or update a spray or drip irrigation system. To figure out your budget using our rebates, consider the following questions: How much can I spend on irrigation updates this year? It's important to be realistic about what you can spend and stick to your budget. You don't necessarily need to spend thousands of dollars to begin saving water. We offer rebates to help you cover some of the costs. Upgrades don’t have to be completed all at once. They can be done in phases.
Check out our New Irrigation Efficiency Guide: Beautiful Landscapes with Less Water. Download the guide here.
Most irrigation systems have a lifespan of 20 years before they begin to break down. If your house is older than that, most likely you are dealing with issues (water pressure, uniformity of watering, overspraying and possible leaks) that negatively affect the quality of your landscape. If you are going to go through the time, effort and cost of a total yard transformation, seriously consider replacing your whole irrigation system.
PRO TIPS FOR SPOTTING POSSIBLE PROBLEMS WITH THE IRRIGATION SYSTEM:
• Grass is often taller and darker green around a sprinkler that is leaking or in the middle of a lawn where a pipe is leaking.
• Wet spots in a pathway could indicate either a broken emitter is shooting water or a leak is occurring in piping underneath the path.
• Odd sounds, like hissing or splashing, or squishy areas in the lawn or gravel often indicate a leak.
• Calcium deposits on gravel without plants can indicate a leak.
• A wilting plant can indicate a clogged emitter.
• Small areas of dry turf, often near a sprinkler, usually mean there's a clogged nozzle.
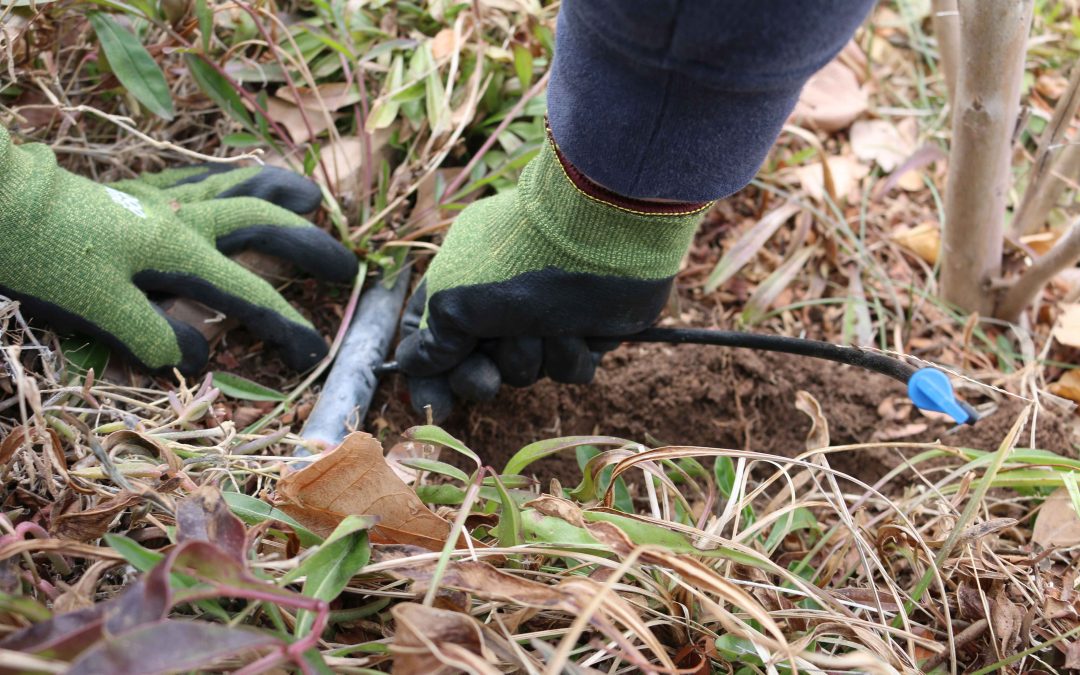
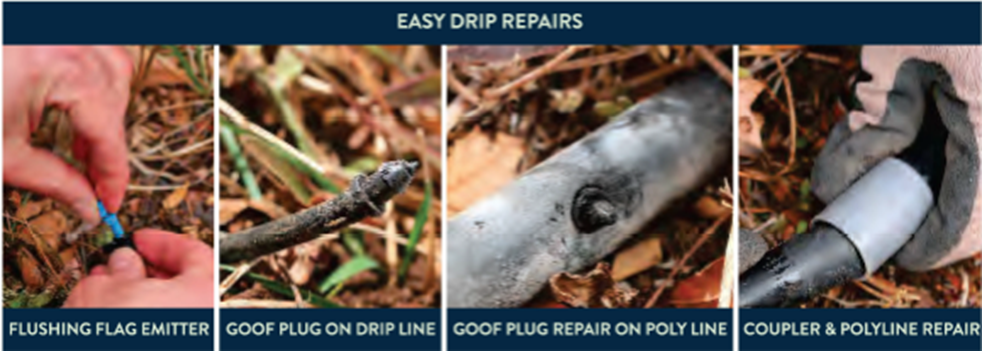
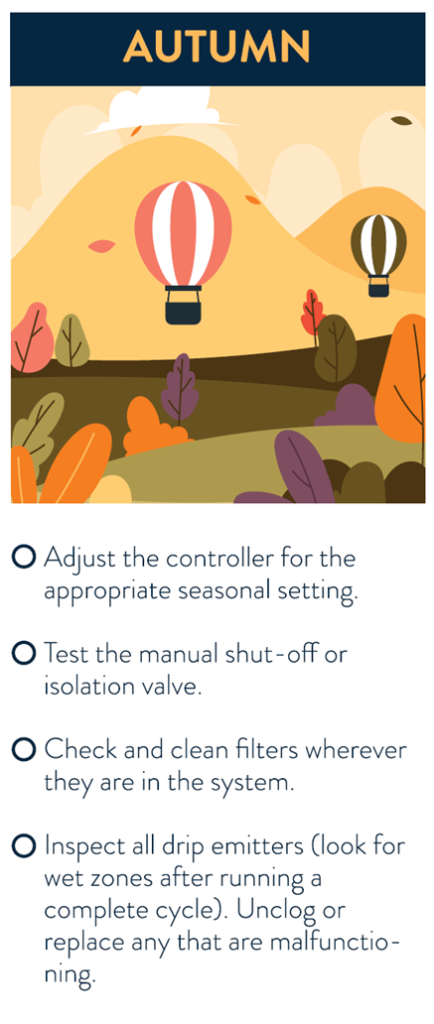
To achieve higher efficiency over time you need to maintain your system. Extending the lifespan of your system requires some upkeep. Most often this maintenance is very easy and won't take much time at all.